Our DIY Jewelry Tray is easy to make and looks beautiful on your dresser.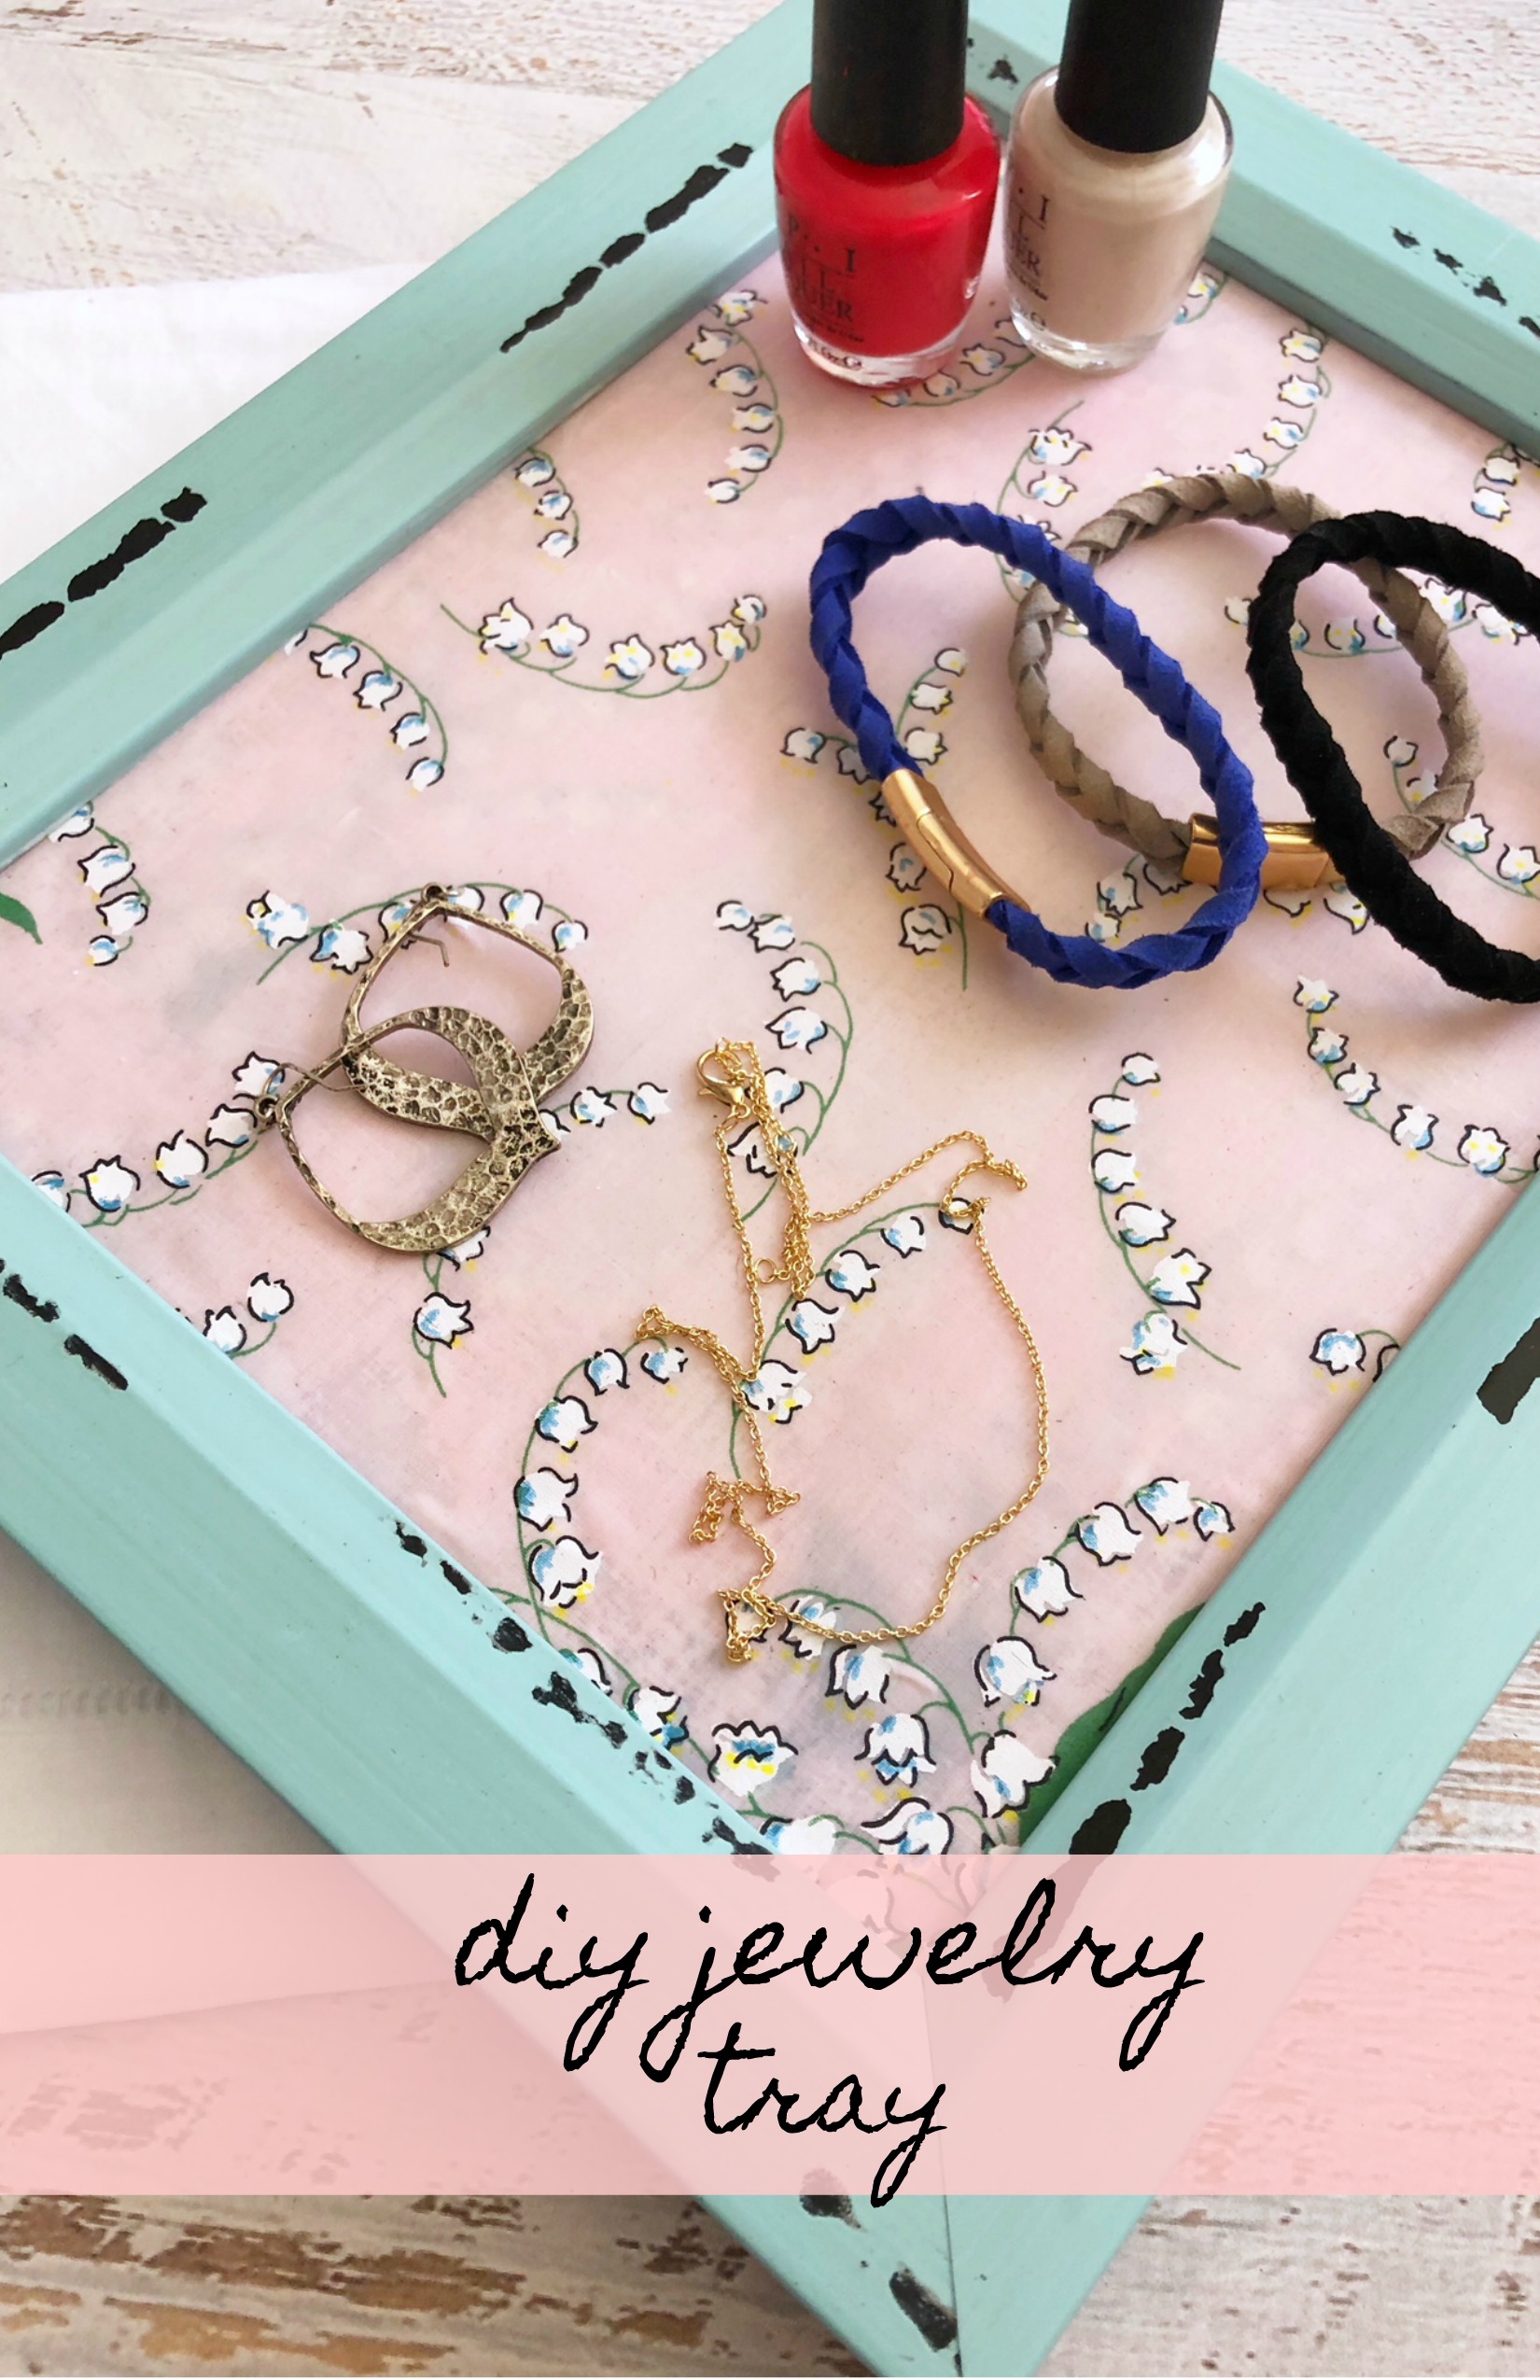
Do you ever come home after a long day and take off your earrings, necklace, bracelets and rings and the next day or a couple days later you cannot find the earrings you wore a couple days before? This DIY Jewelry Tray is the perfect solution. It not only looks beautiful placed on your dresser but you can place all your jewelry onto the tray when you get home.
This DIY Jewelry Tray is also perfect for nail polish or smaller items from your purse you don’t want to lose.
I found an adorable picture frame at my local craft store that I knew would be perfect for this project but you could use a thrift store frame or one you already have laying around your house. A little paint to spruce it up would be great too.
How to make our DIY Jewelry Tray: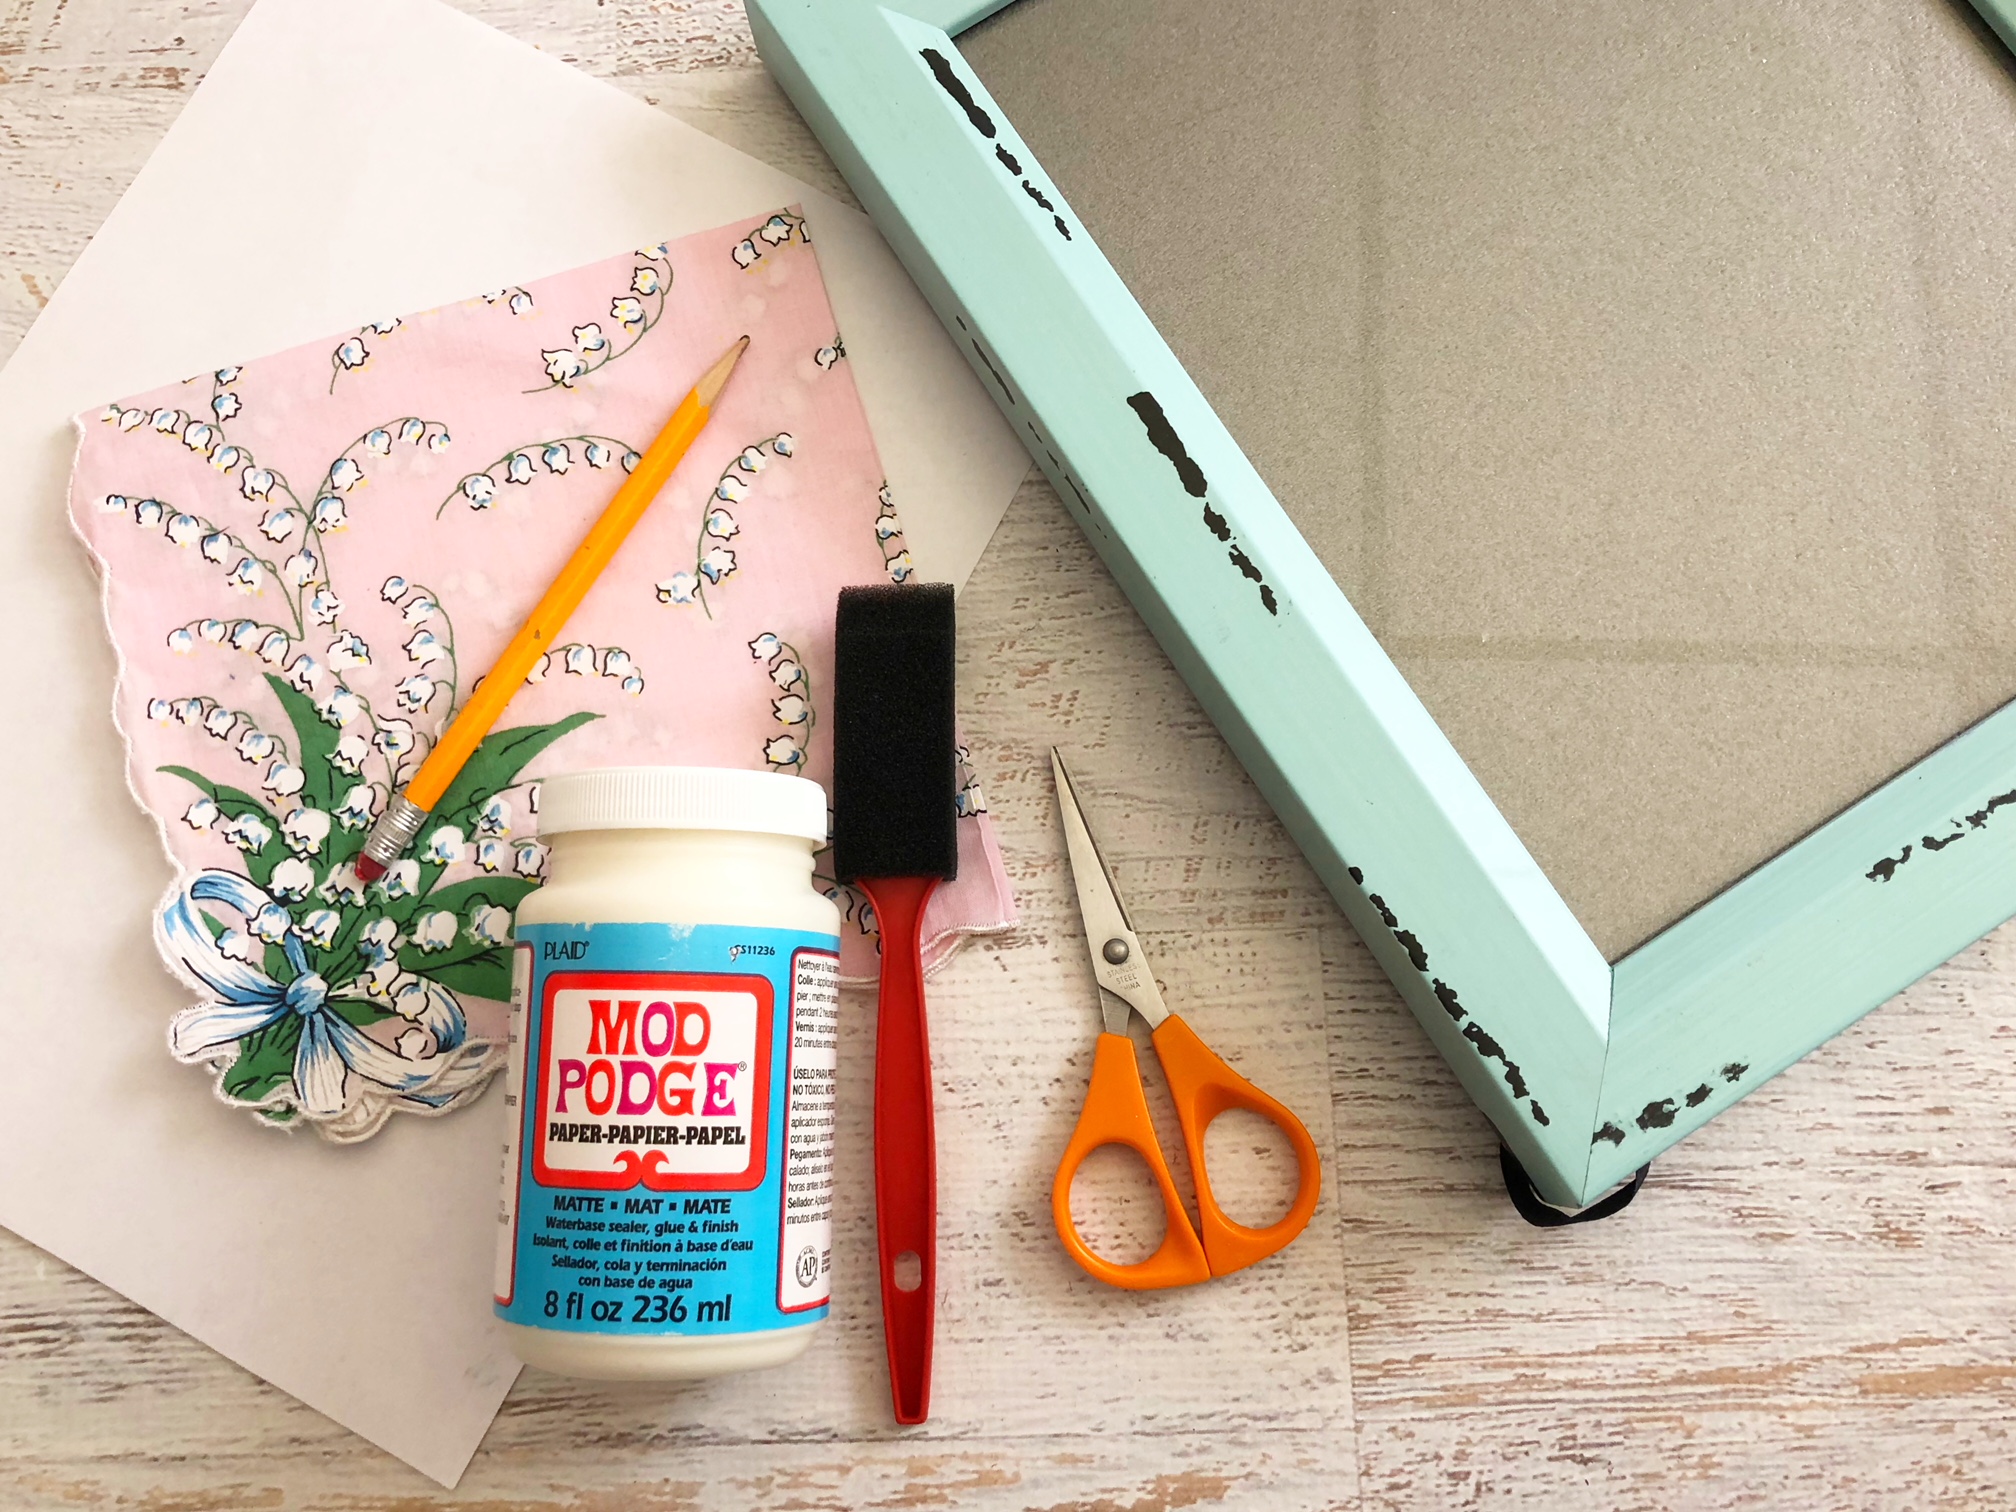 Materials:
- handkerchief
- 8×10″ colored picture frame
- Mod Podge
- white paper
- foam paint brush
- pencil
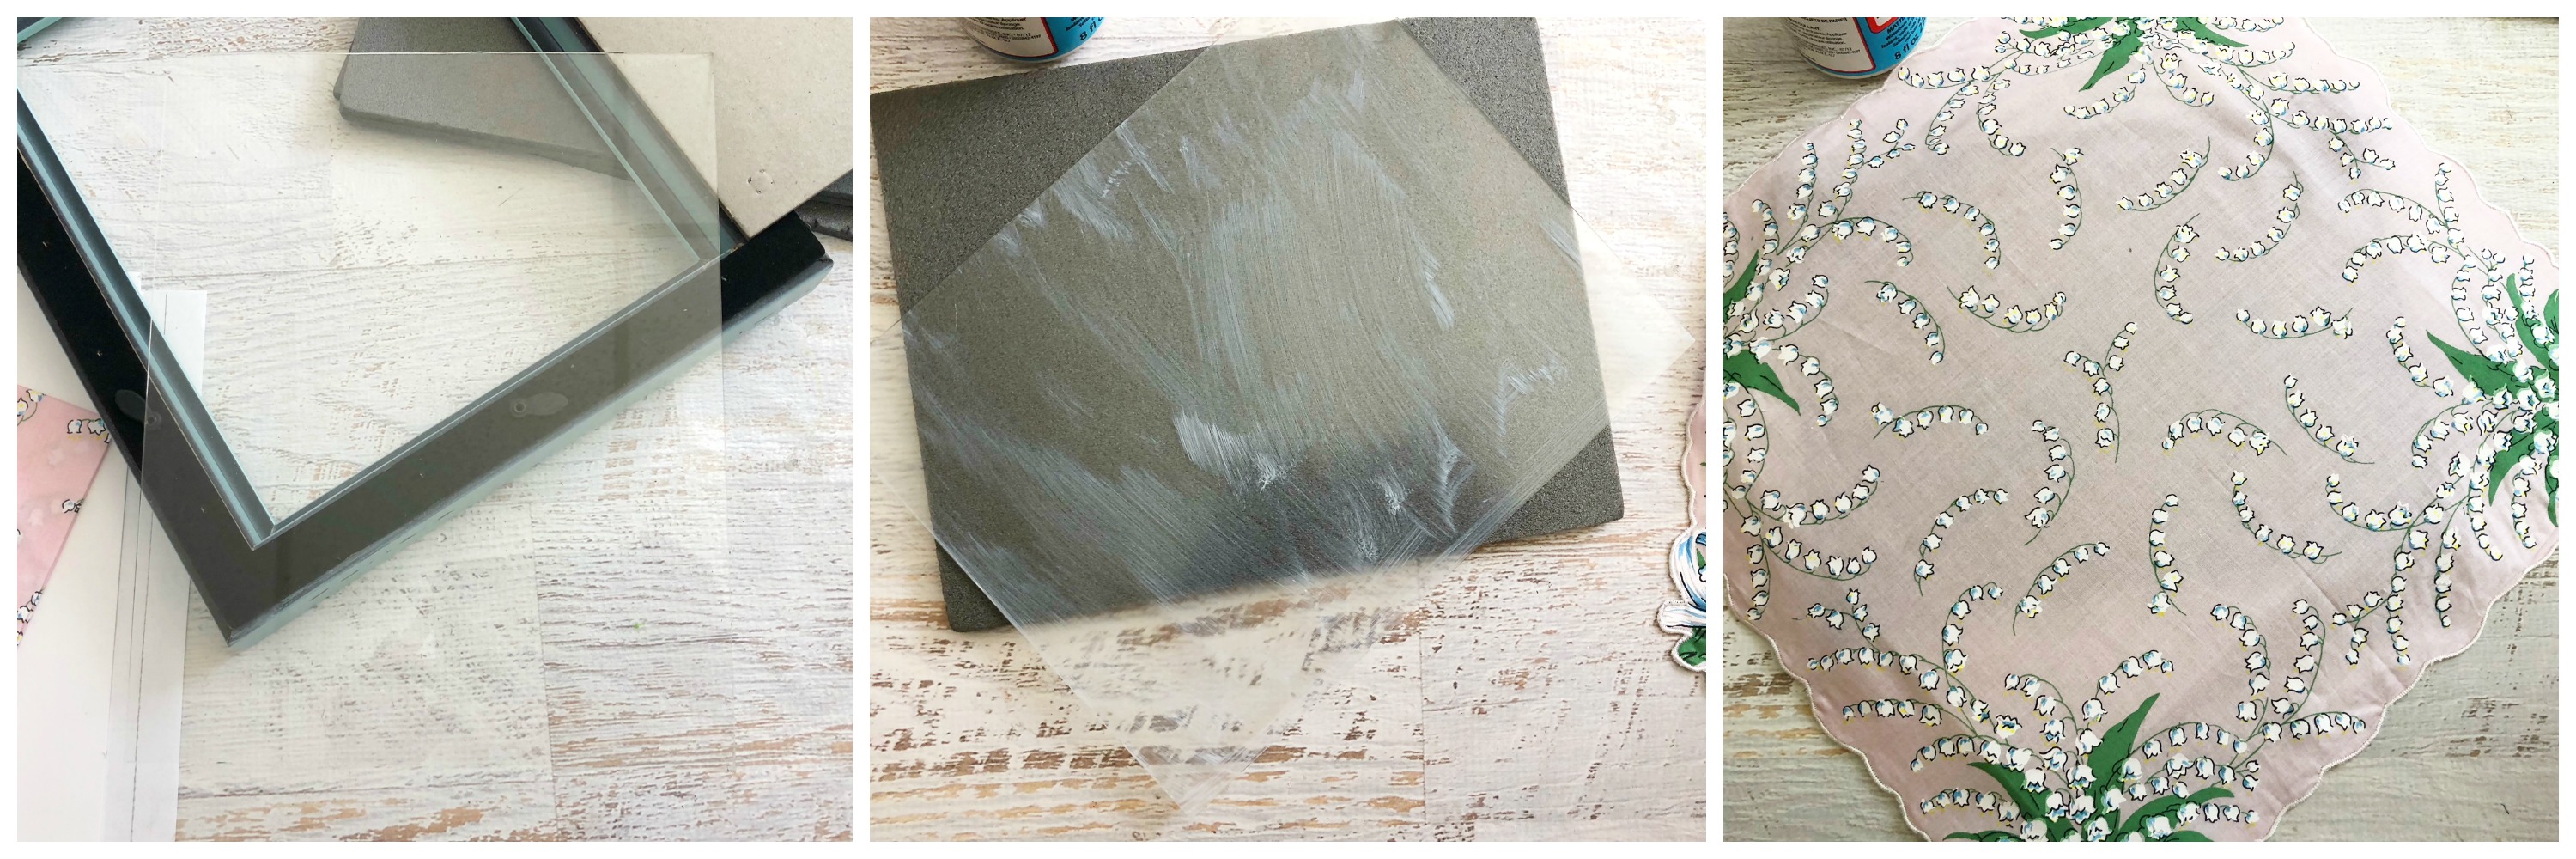
1. Carefully remove the glass from your picture frame.
2. Use your foam paint brush to paint a layer of Mod Podge onto the glass.
3. Carefully iron out the creases from the handkerchief and lay it smooth onto the glass.
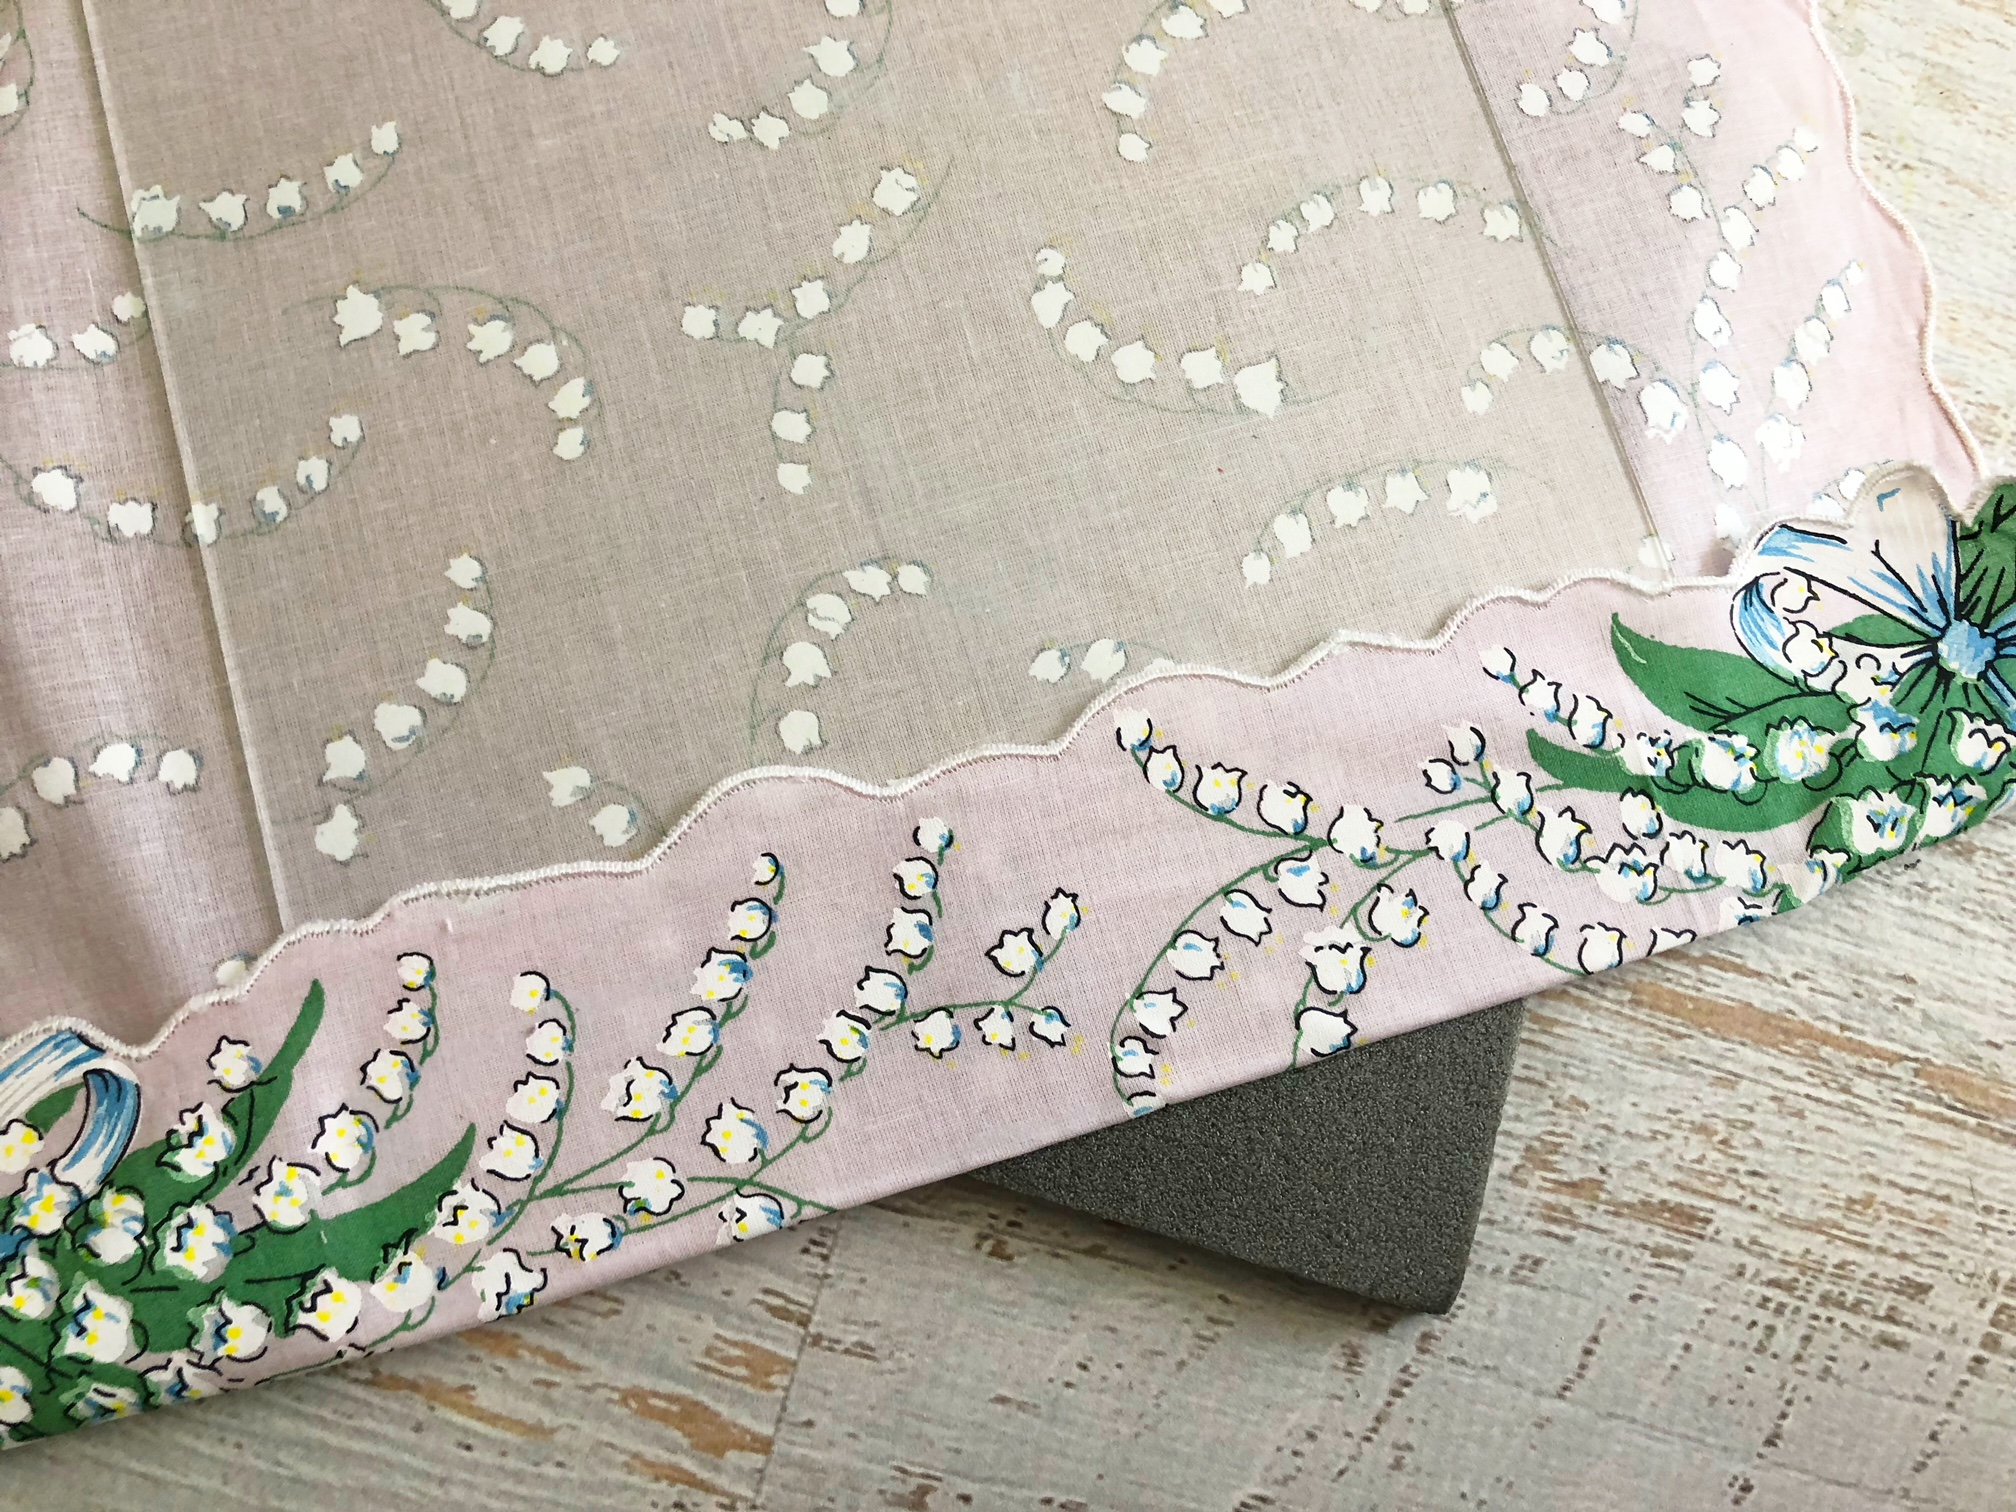
4. Turn the glass over and apply a layer of Mod Podge around the edges and fold the edges over tightly onto the back of the frame.

Your glass should look like this.
5. Turn your glass back over to the front and apply another layer of Mod Podge over the top of the fabric and smooth out any bubbles.
6. Place your glass back into your frame with any styrofoam onto the back and close your frame back up.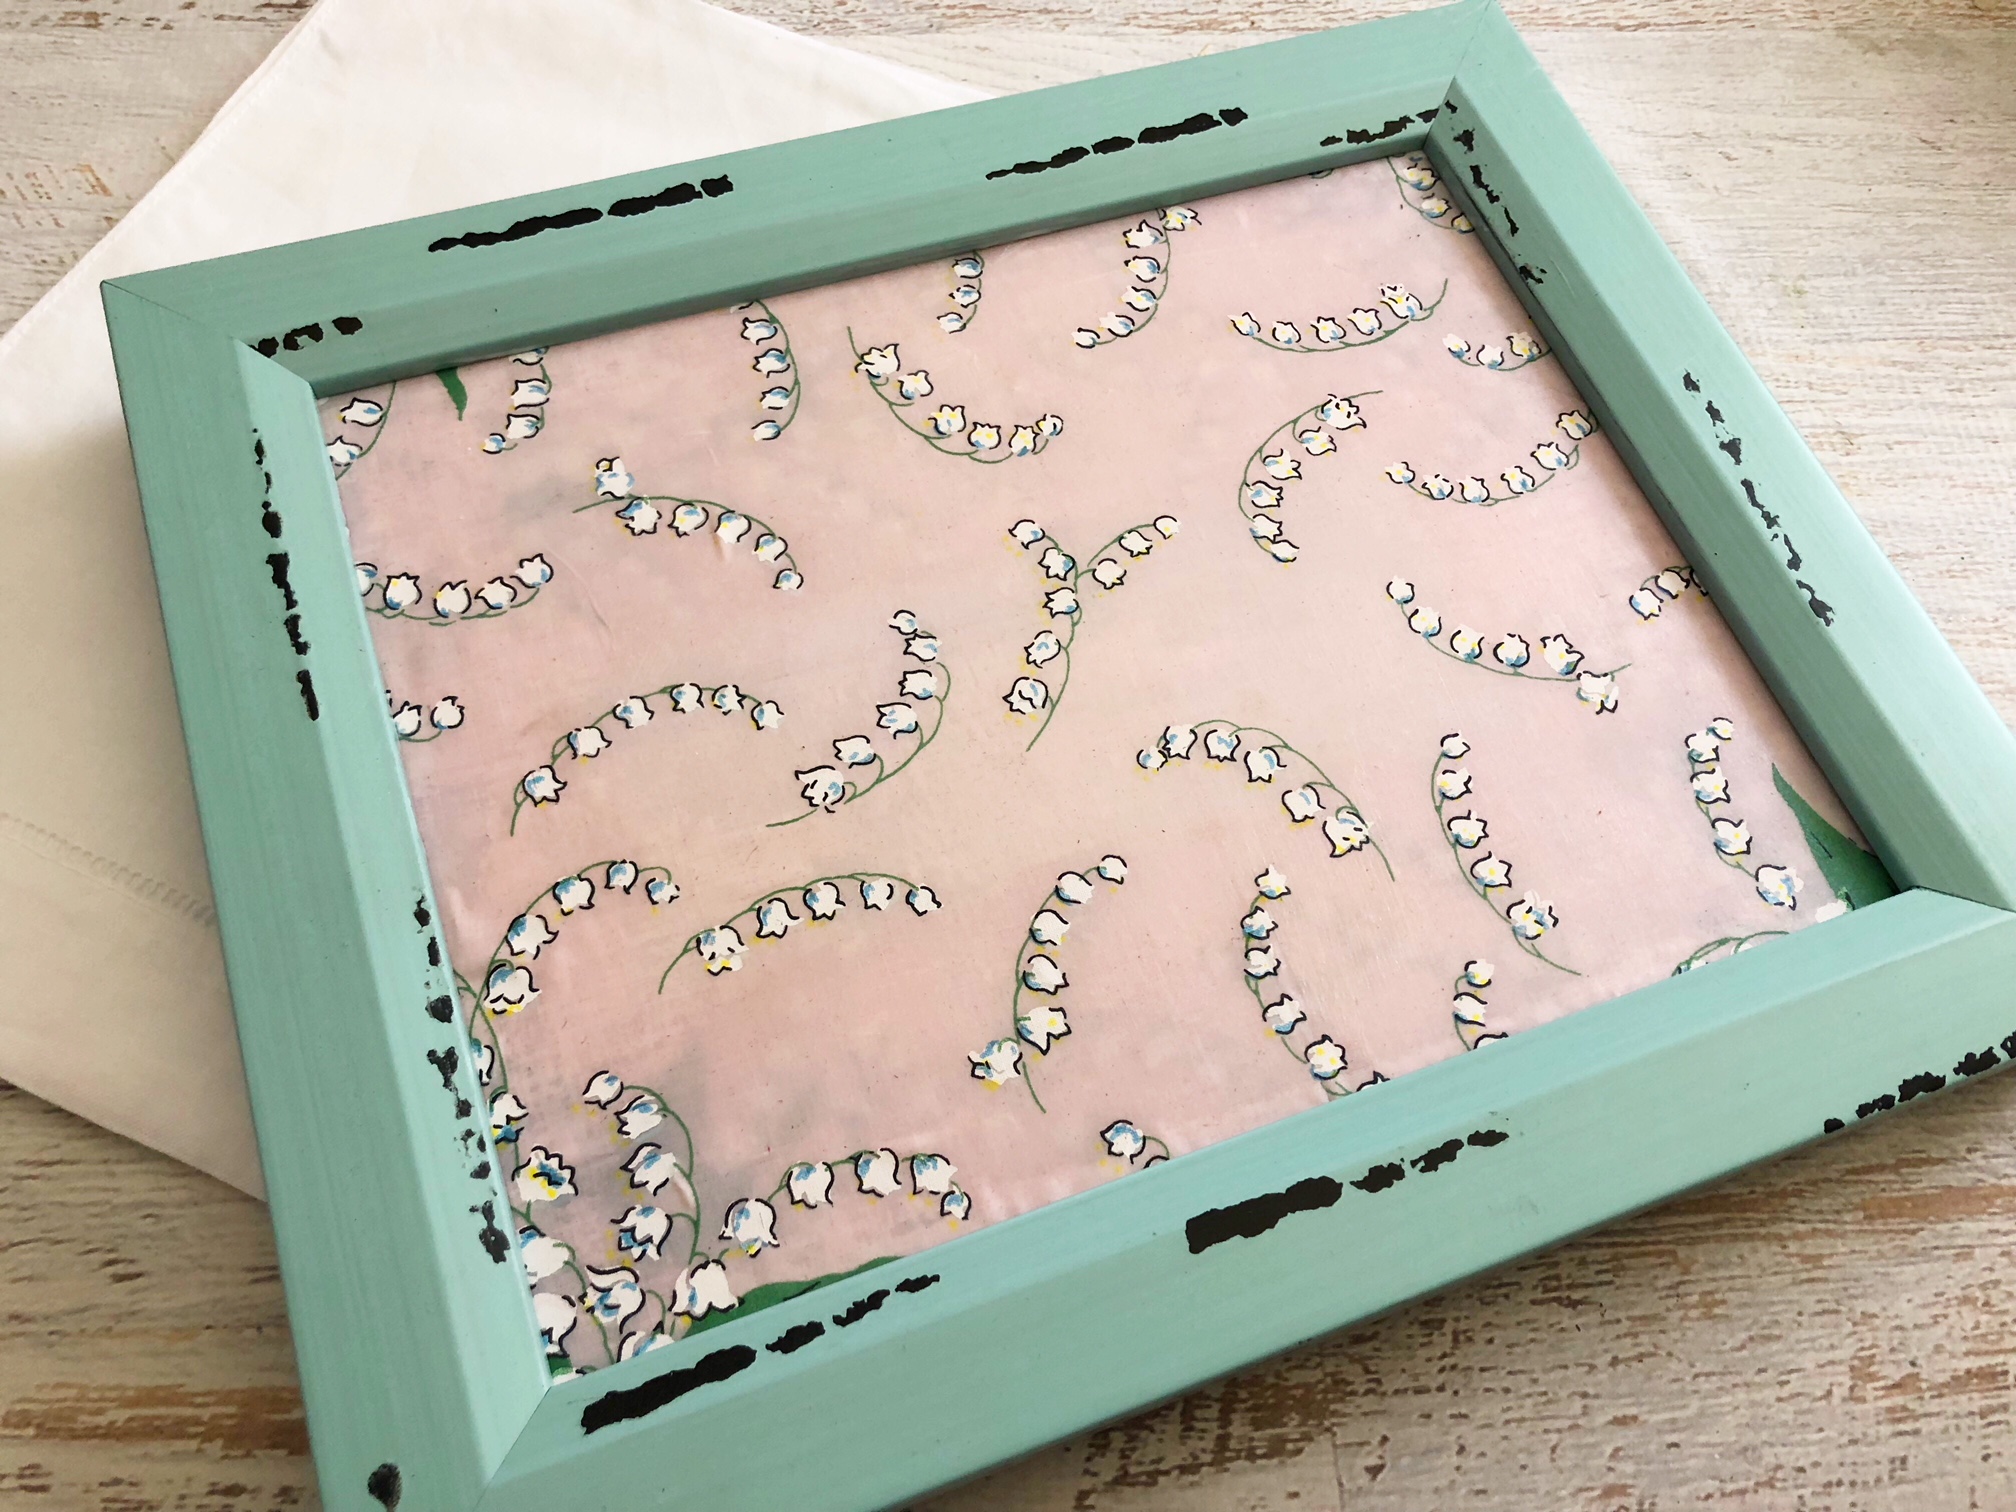
7. Let your tray dry and place on your dresser. 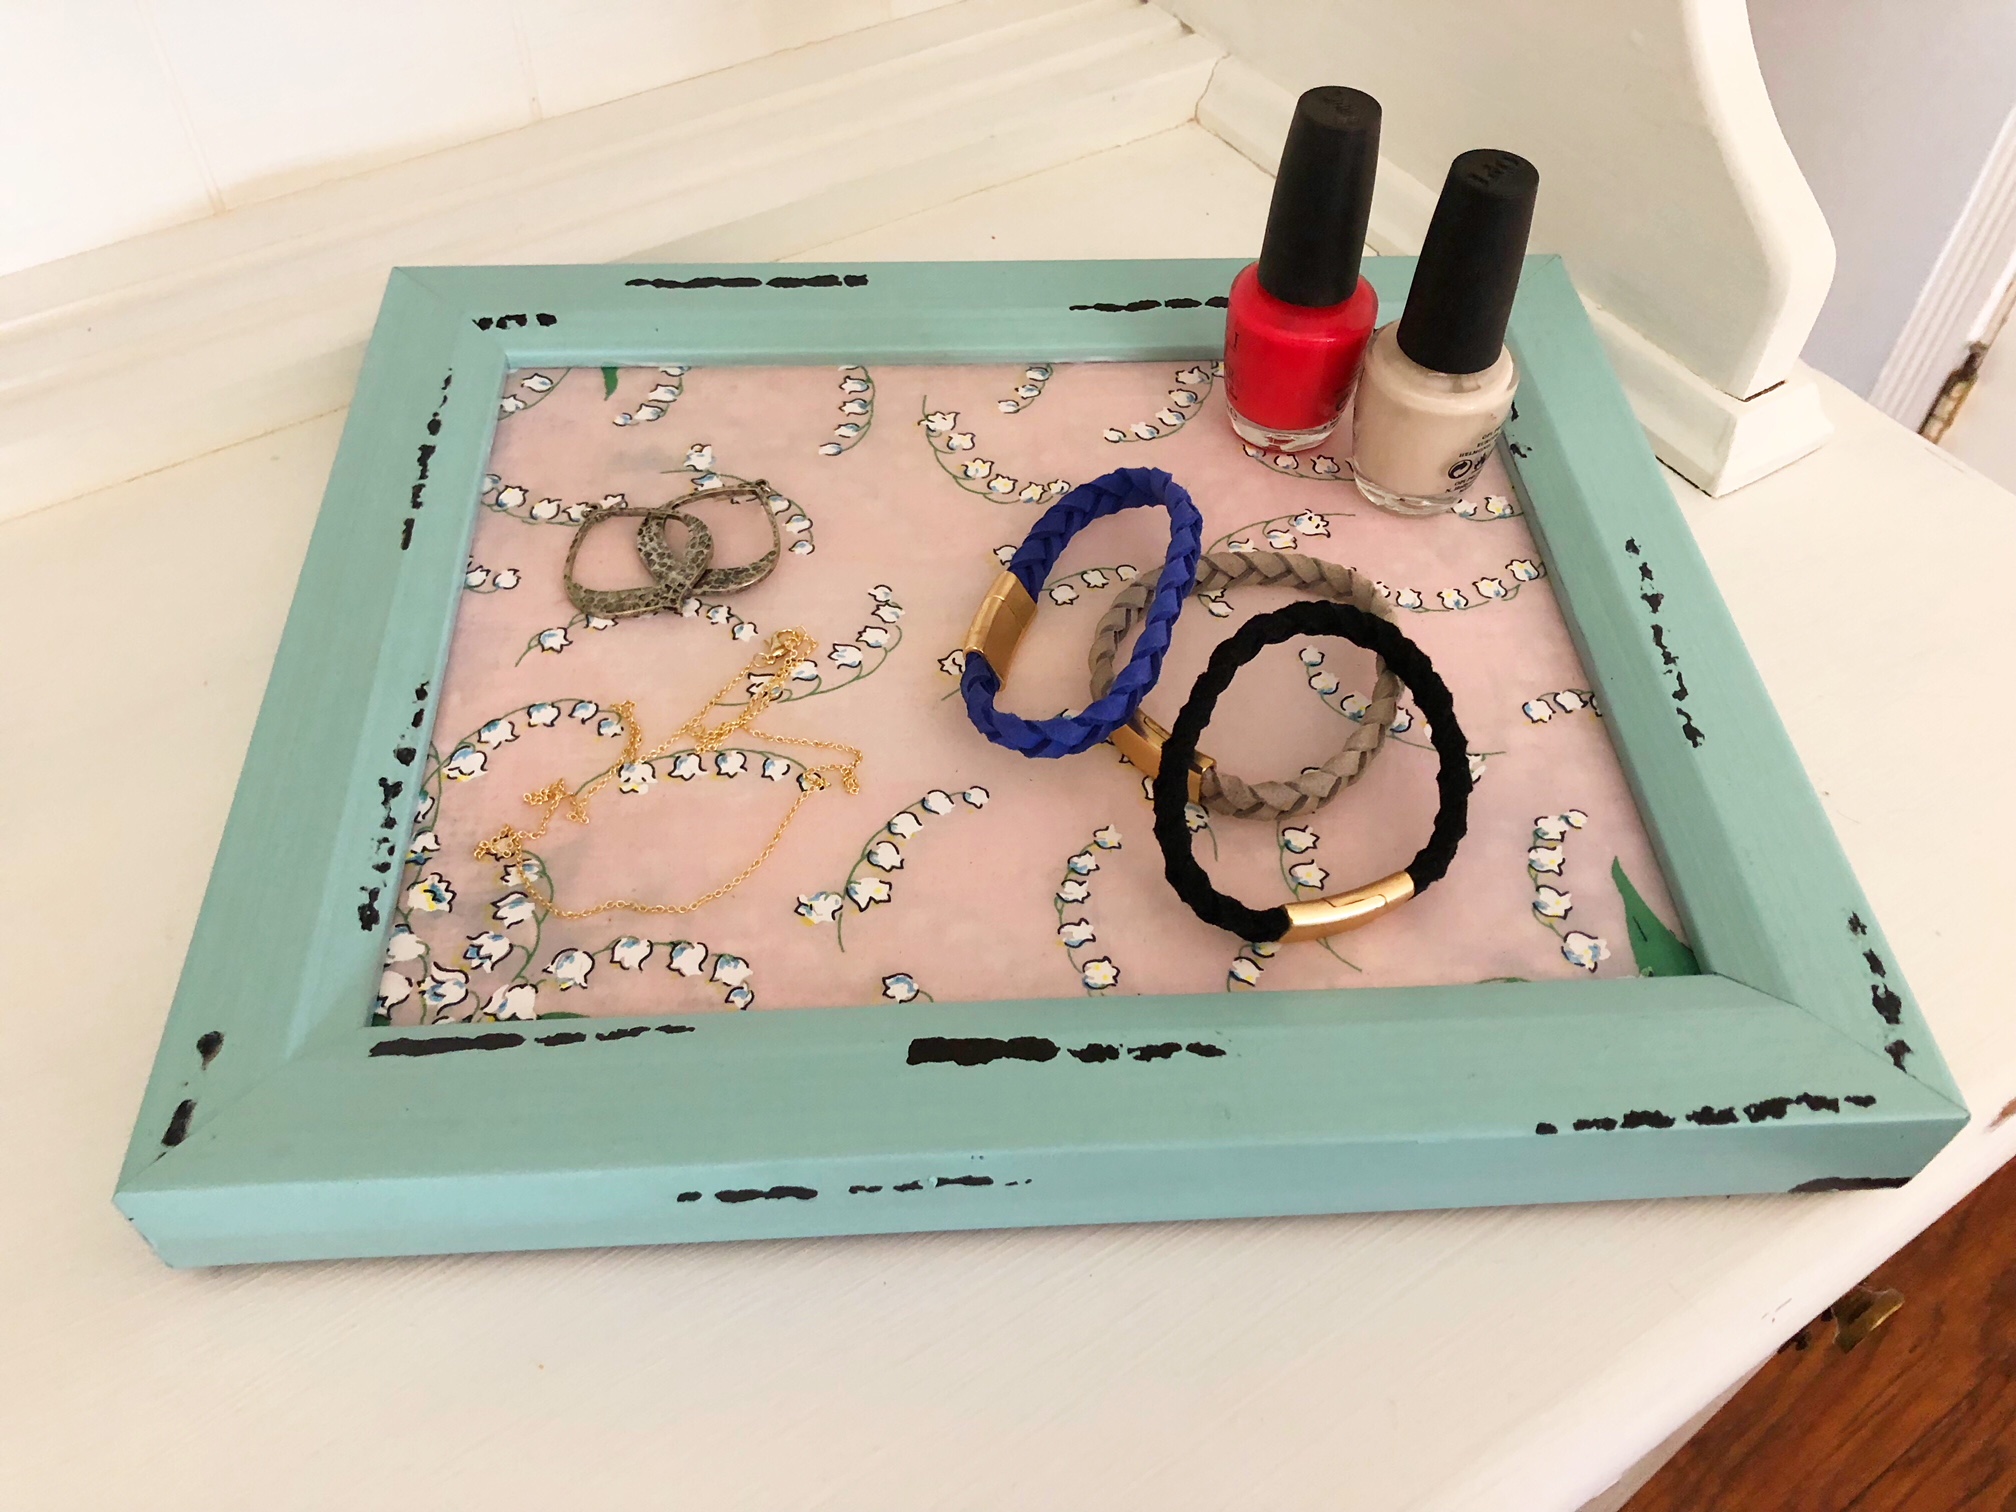
8. When you come home after a long, place your jewelry onto the tray and you’ll never lose your valuables because you’ll always know where they are.
You might also like our:


