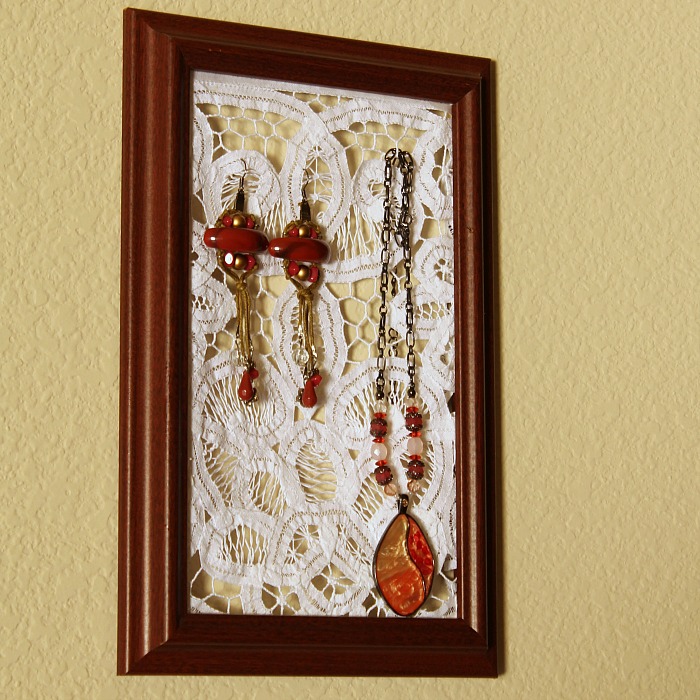
There is not a more beautiful way to arrange your necklaces and earrings than this easy Lace Jewelry Holder.
Supplies
- frame
- lace
- scissors
- Aleene’s Tacky Glue
- Fabric Stiffener
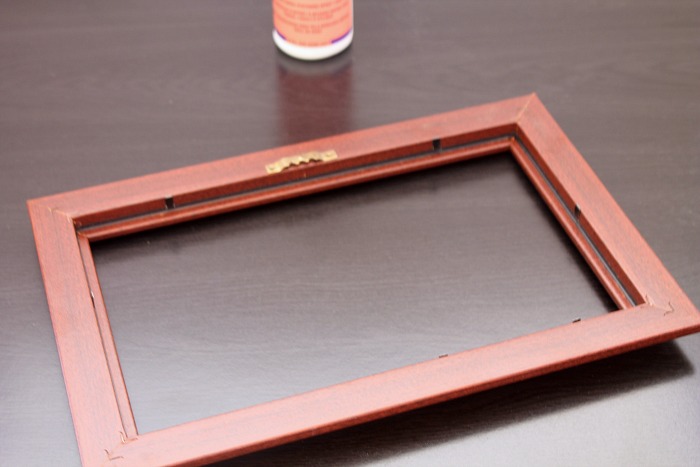
Take the glass out of the frame and also remove the back.
I also like to swipe around the inside edges of the frame with rubbing alcohol. This gets the area clean and ready for glue in a later step.
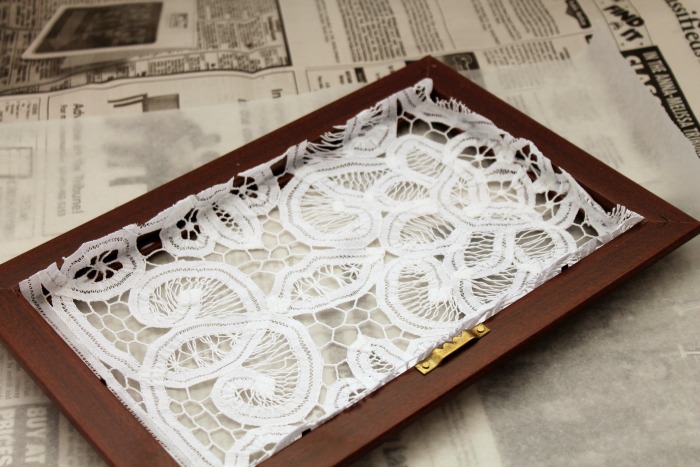
Arrange the lace on your frame to find a pleasant placement. You don’t have to have it perfectly centered. It can be quite attractive to have the lace fit in the frame in an asymmetrical arrangement. Since my frame was long and skinny, I chose to find a part of the lace that accentuated this shape. My lace is centered as though the lace itself is the artwork being featured.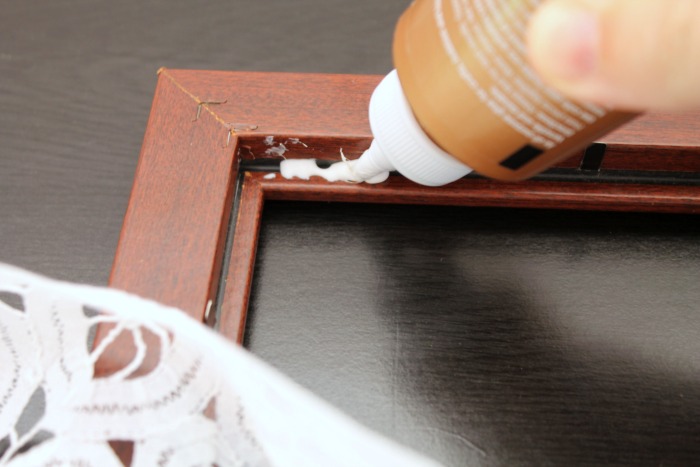
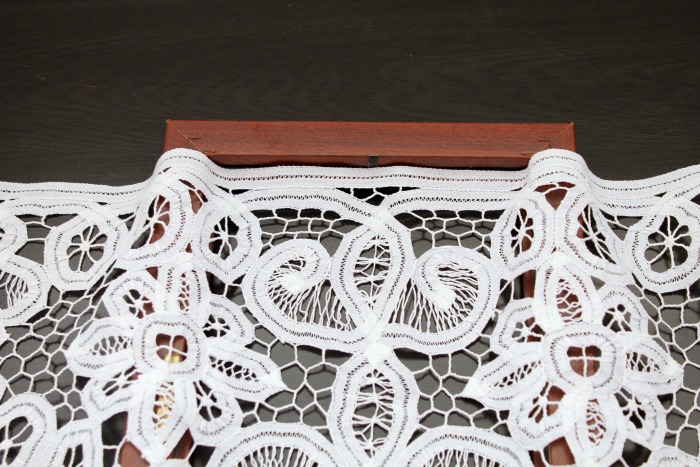
Apply a line of glue along the top of the frame where the lace will lay. Don’t apply glue all around yet. We’re going to arrange this one side at a time to try and get the lace a little more taut so the jewelry will have a good solid backing to hang on.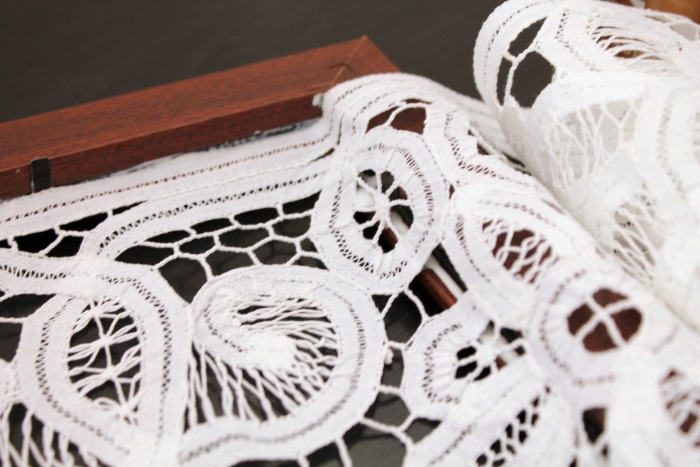
Firmly press the top edge into the glue. I like to use a glue that’s a little tacky and doesn’t dry too fast. This allows me to have a little more time to make sure the lace is arranged perfectly.
Allow this to dry for at least 5 minutes.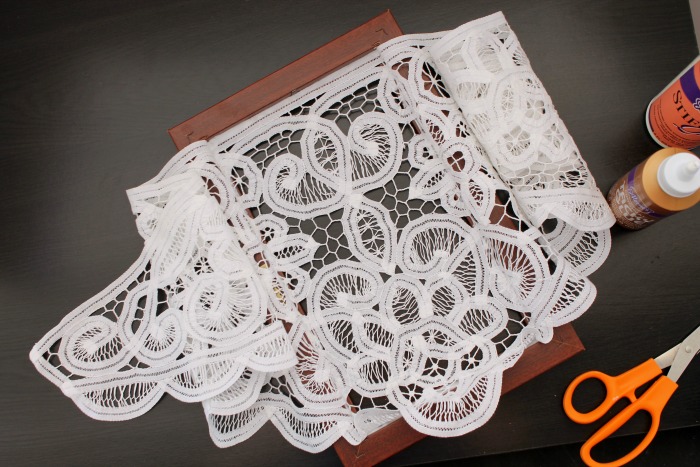
Glue down one side of the lace onto the frame in the same manner as above. I like to use a scissor edge to press the lace into the glue. Allow this to dry 5 minutes.
This next side is the key. The top and opposite side are already glued so pull the lace snug and glue the third side in place. Make sure to use scissors to press all the little lace pieces into the glue so they lay properly.
Allow the third side to dry for 5 minutes.
Pull the lace tight and glue the bottom in the same manner. Allow this to dry 5 minutes before proceeding.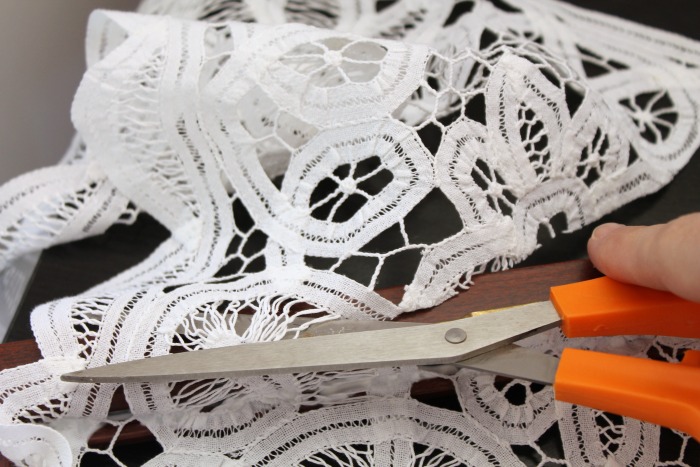
Carefully use your scissors to trim the lace all the way around.
Prepare your work space with parchment paper to keep the next step from sticking to the table.
Spray the lace lightly with fabric stiffener on the back of the project. Repeat several times allowing the stiffener to dry in between steps. I was able to clean up any overspray on the frame with a wet cloth before it dried.
When the lace is the desired stiffness you are ready to add any hanging hardware and display your hard work!