
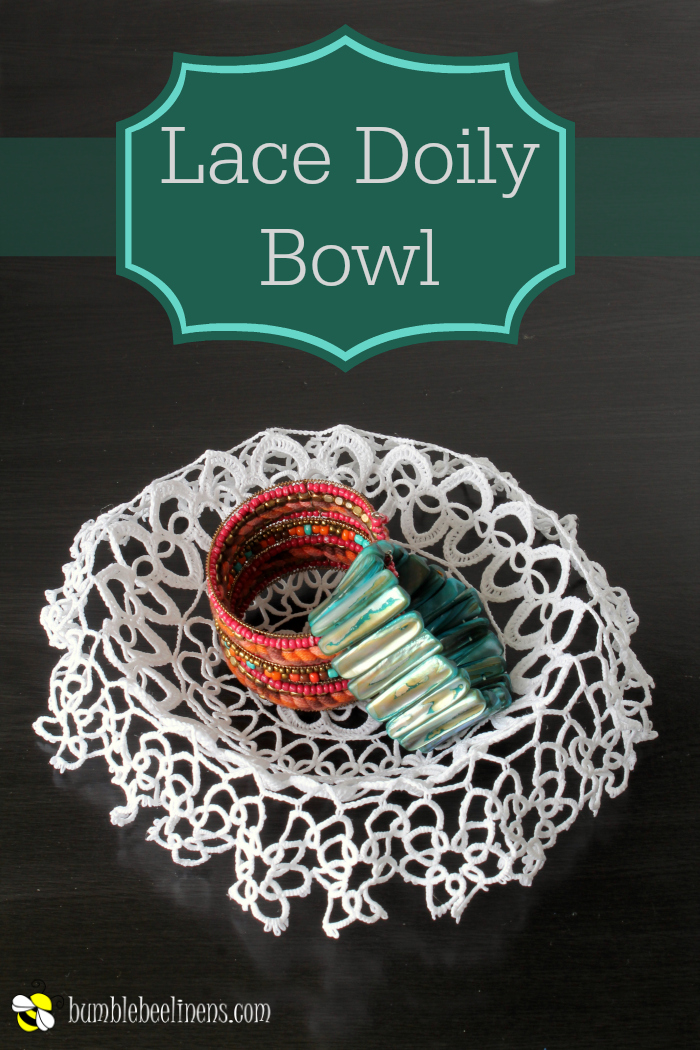
This Lace Doily Bowl tutorial is like making a work of art. Your friends will ask you where you got such a unique and beautiful conversation piece.
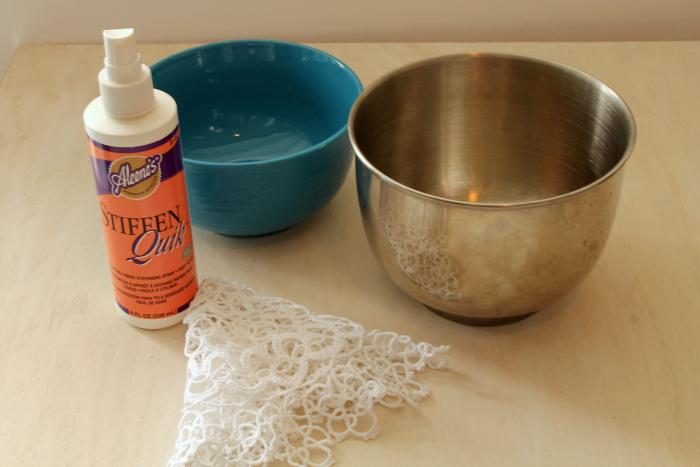
Supplies
- White Tatting Lace Round Doily
- Aleene’s Stiffen Quik Spray Liquid
- 2 small bowls
This craft doesn’t take skill but it takes a considerable amount of patience. You’ll want to set a timer to keep this craft moving along.
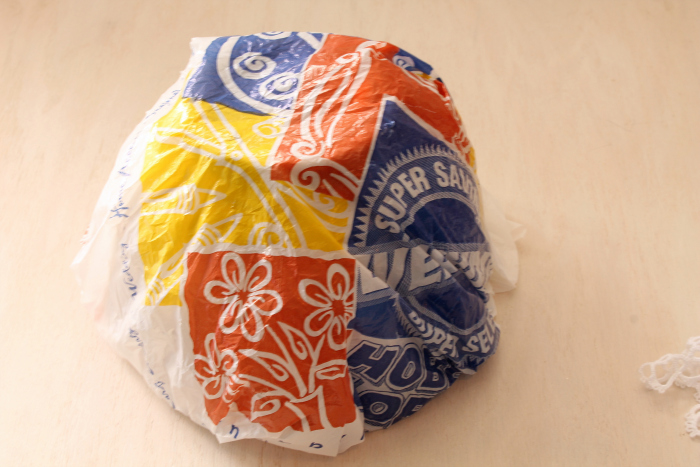
First, turn one of your bowls upside down and wrap it with plastic. We used a recycled plastic bag. This is to keep the lace from sticking to the bowl.

Pour the Aleene’s Stiffen Quik into the other small bowl.
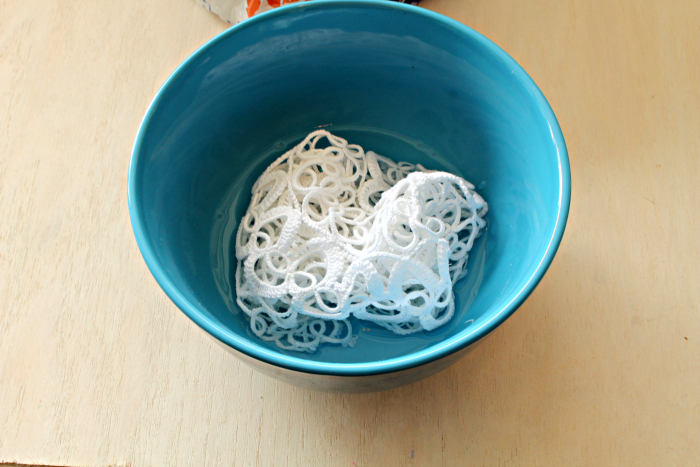
Soak the lace doily in the Stiffen Quik. Make sure to get it we through all the lace.
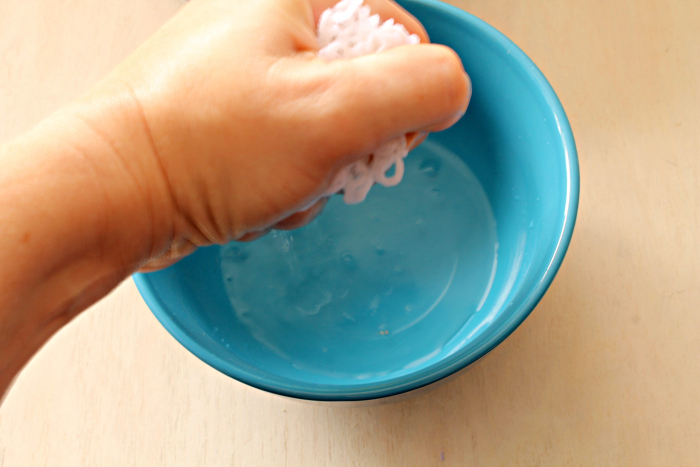
Squeeze out the excess liquid.

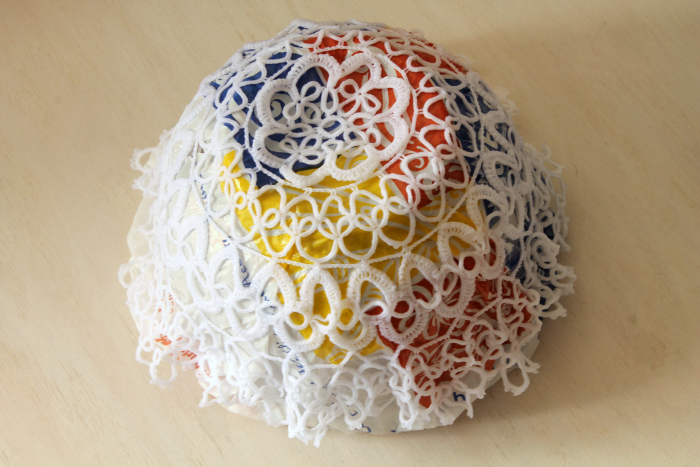
Form the lace onto the plastic covered bowl. You should try to make shape the lace so that it lays as flat as possible against the bowl. You will have to move it around a little and allow some places to gather and overlap to allow the lace to take the shape of the bowl.
Pour the remainder of the liquid back into the spray bottle.
Allow the lace to dry completely. This is very important. You will be building up the stiffness of the bowl, but it will happen slowly.
After the lace is dry, use the spray bottle to reapply another layer of Stiffen Quik. Allow this layer to dry and continue to repeat. I like to set a timer to remember to go out and add another layer.
You can speed up the drying by carefully using a hair dryer. But honestly, your arm will get pretty tired doing this. It’s just better to be patient and go work on another project while each layer dries.
We used about 12 layers of spray to reach the stiffness needed for the bowl to stand on its own.
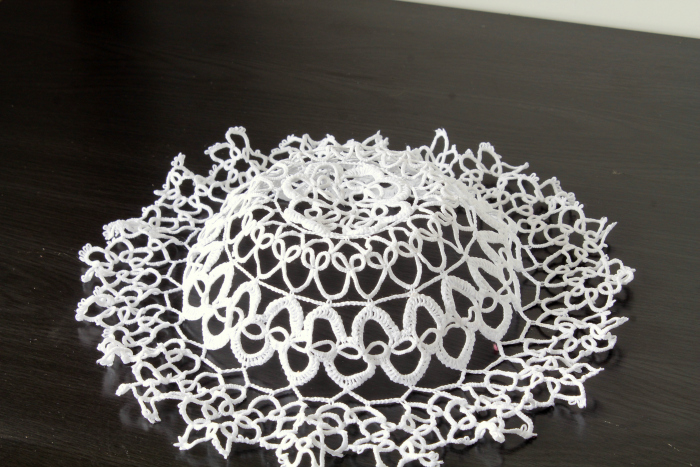
This doily had a layer of lace about 1 1/2 inches in from the edges that had very little vertical threads. So this area folded over because all the lace had a horizontal orientation I was disappointed at first, but now I think it has a nice amount of personality with this small curved edge.
 You can add school glue to the initial bowl of Stiffen Quik to supplement the solution. It gives a little more sturdiness to the bowl from the beginning. And, yes, it takes longer for that layer to dry. But I think it creates a nice foundational stiffness.
Use the bowl to hold jewelry or keys and don’t hide it! Display your creation for all your guests to enjoy!


