
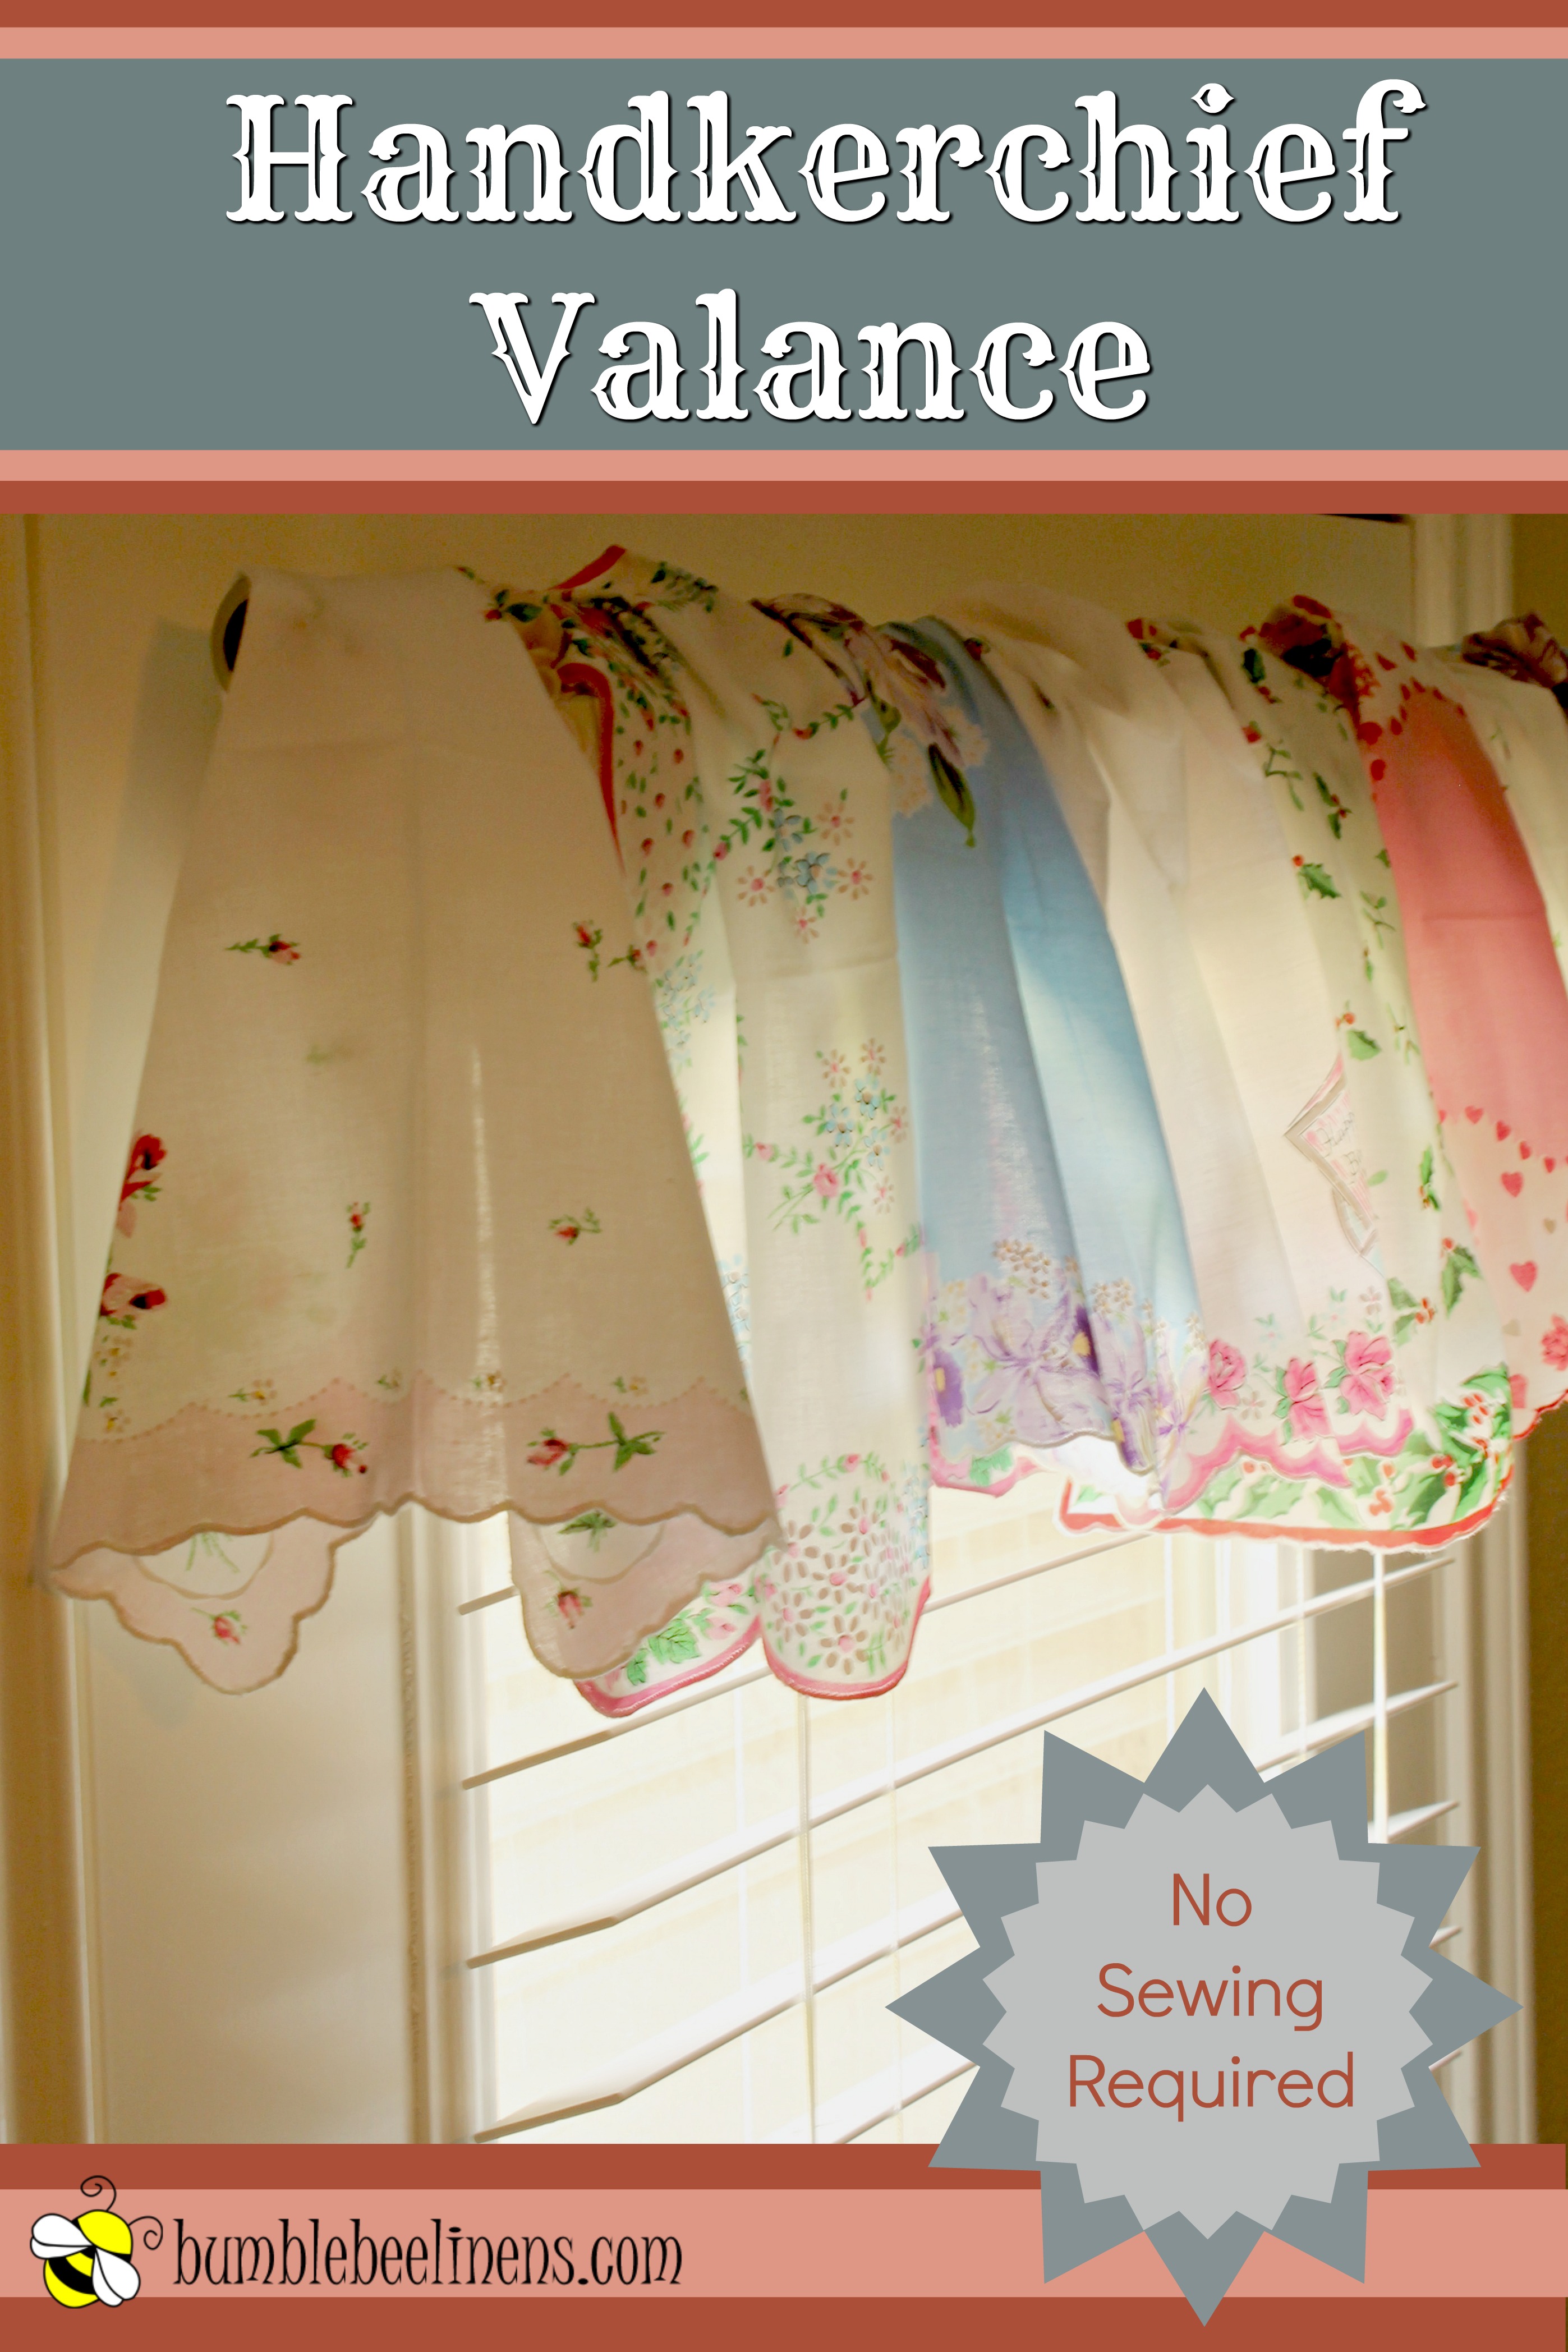
Create a sweet, shabby chic look with this simple, No-Sew Handkerchief Valance in under an hour. The best part is that you get to mix and match all your favorite colors and shapes of hankies into one adorable valance.
This valance is a perfect addition to any:
- Kitchen
- Guest Bedroom
- Guest Bath
It only takes an afternoon to make and no sewing is required. How simple is that! This would be a cute project for a rainy day or a girls’ tea party. Gather all the supplies and have fun making your own home decor from scratch.
When it’s time to clean them, just throw them in the wash like normal and dry according to glue directions.

Supplies:
- measuring tape
- straight pins
- handkerchiefs (Find a cute mixed variety here!)
- washable fabric adhesive
- curtain rod and hanging hardware
Start by measuring the window you’d like to decorate. If your window measures 20 inches wide then you’ll want to double that for the finished width of your valance. This will give a pleasant fullness to the curtain. Gather enough handkerchiefs to achieve the width you need.
After selecting your handkerchiefs, arrange them in the order they’ll be assembled. Lay them with wrong sides (back sides) facing you.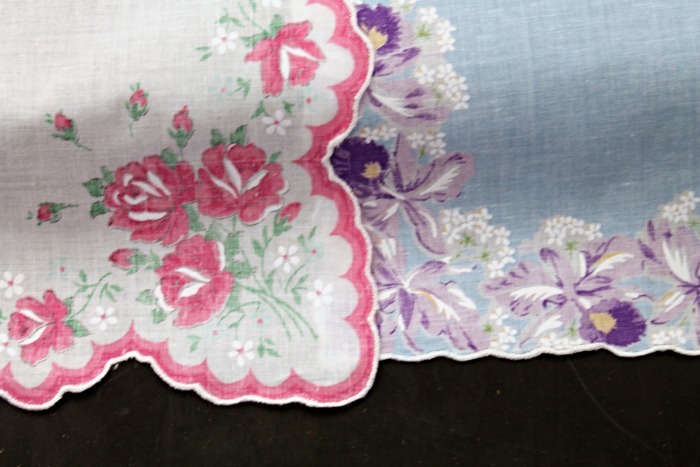
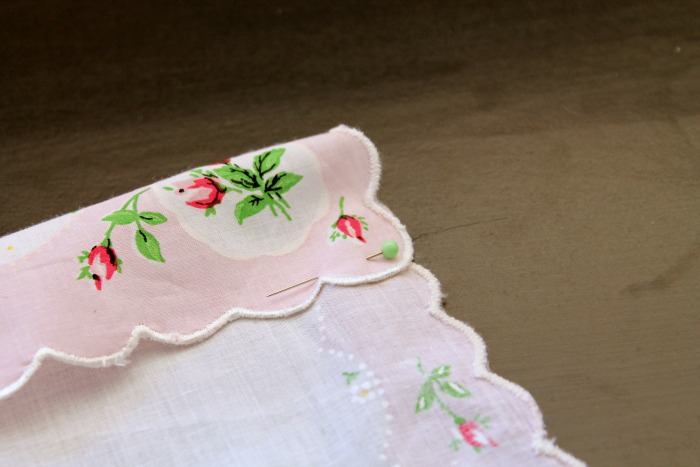
You’ll want to pay attention to the bottom hem of the napkins when lining them up. Since the dimensions of each hankie will vary, I like to make sure the that the bottom hem lines up (taking into consideration decorative hems, etc.). Sometimes that means that the top of the hankie will not a little wonky and out of line. But it’s okay as long as the bottom hem is close.
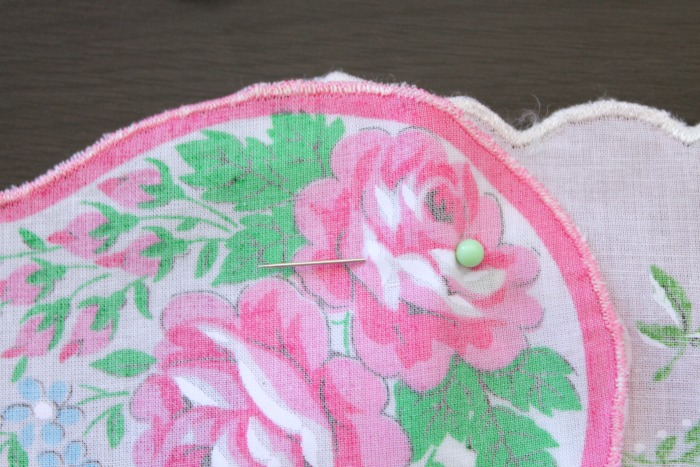
Overlap the sides by about 1/2 inch and pin them together with a straight pin about 1/2 inch from the top edge. Continue this along the entire top of the curtain until all hankies are connected.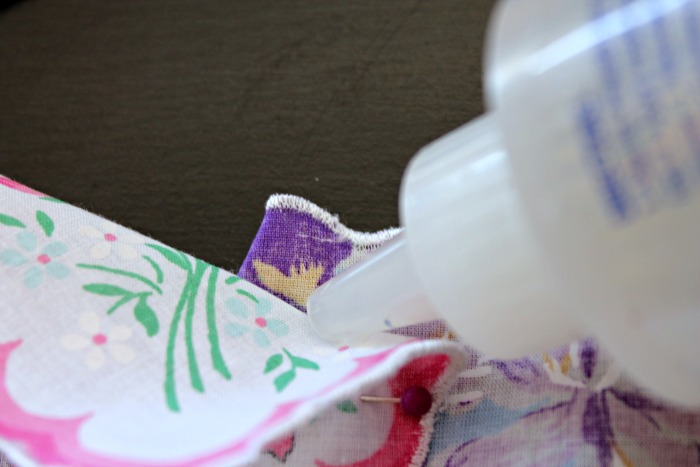
At the very top of the handkerchiefs, use a tiny dot of the fabric glue to adhere the top corners of the hankies together. Apply glue to each of the hankie overlaps across the entire top of the chain of fabric. Allow this to dry for 5 minutes. Remove the pins.
Starting at one edge of the curtain, fold down the fabric about one inch from the top. Pin the hem down with a straight pin.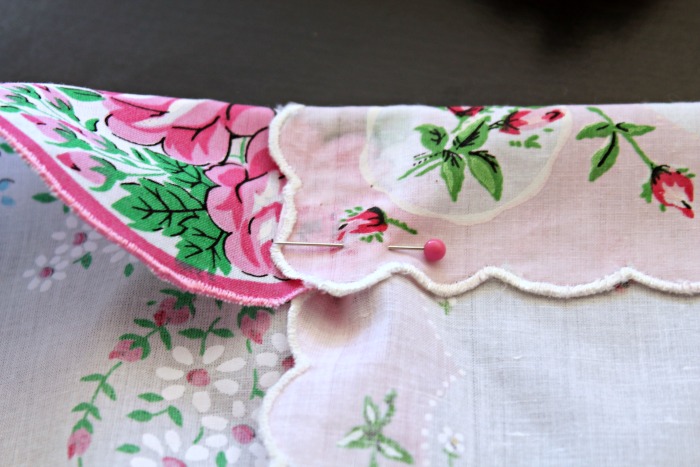
Continue to fold down about a 1 inch hem long the top of the curtain and pin along the way where the handkerchiefs join.
Apply adhesive glue to the pinned hem all long where the top of the handkerchiefs meet the backside of the fabric. Allow the glue to dry 5 minutes and remove the pins.
This will be your curtain rod pocket.
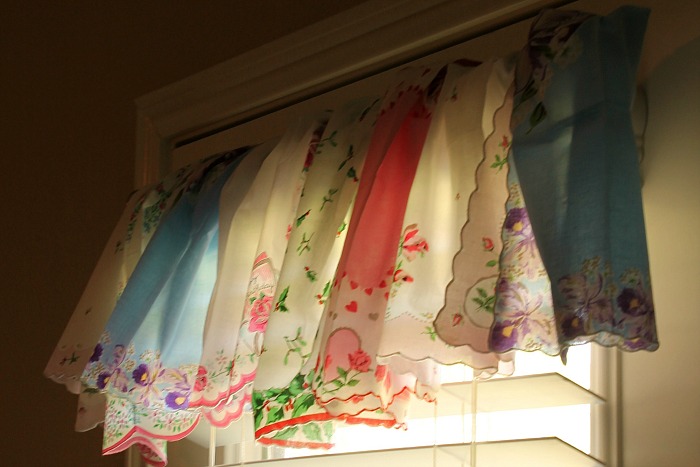
Insert the curtain rod into one end of the hemmed valance. Arrange the hankies and fluff them to make sure they’re not clumped in any area.


