
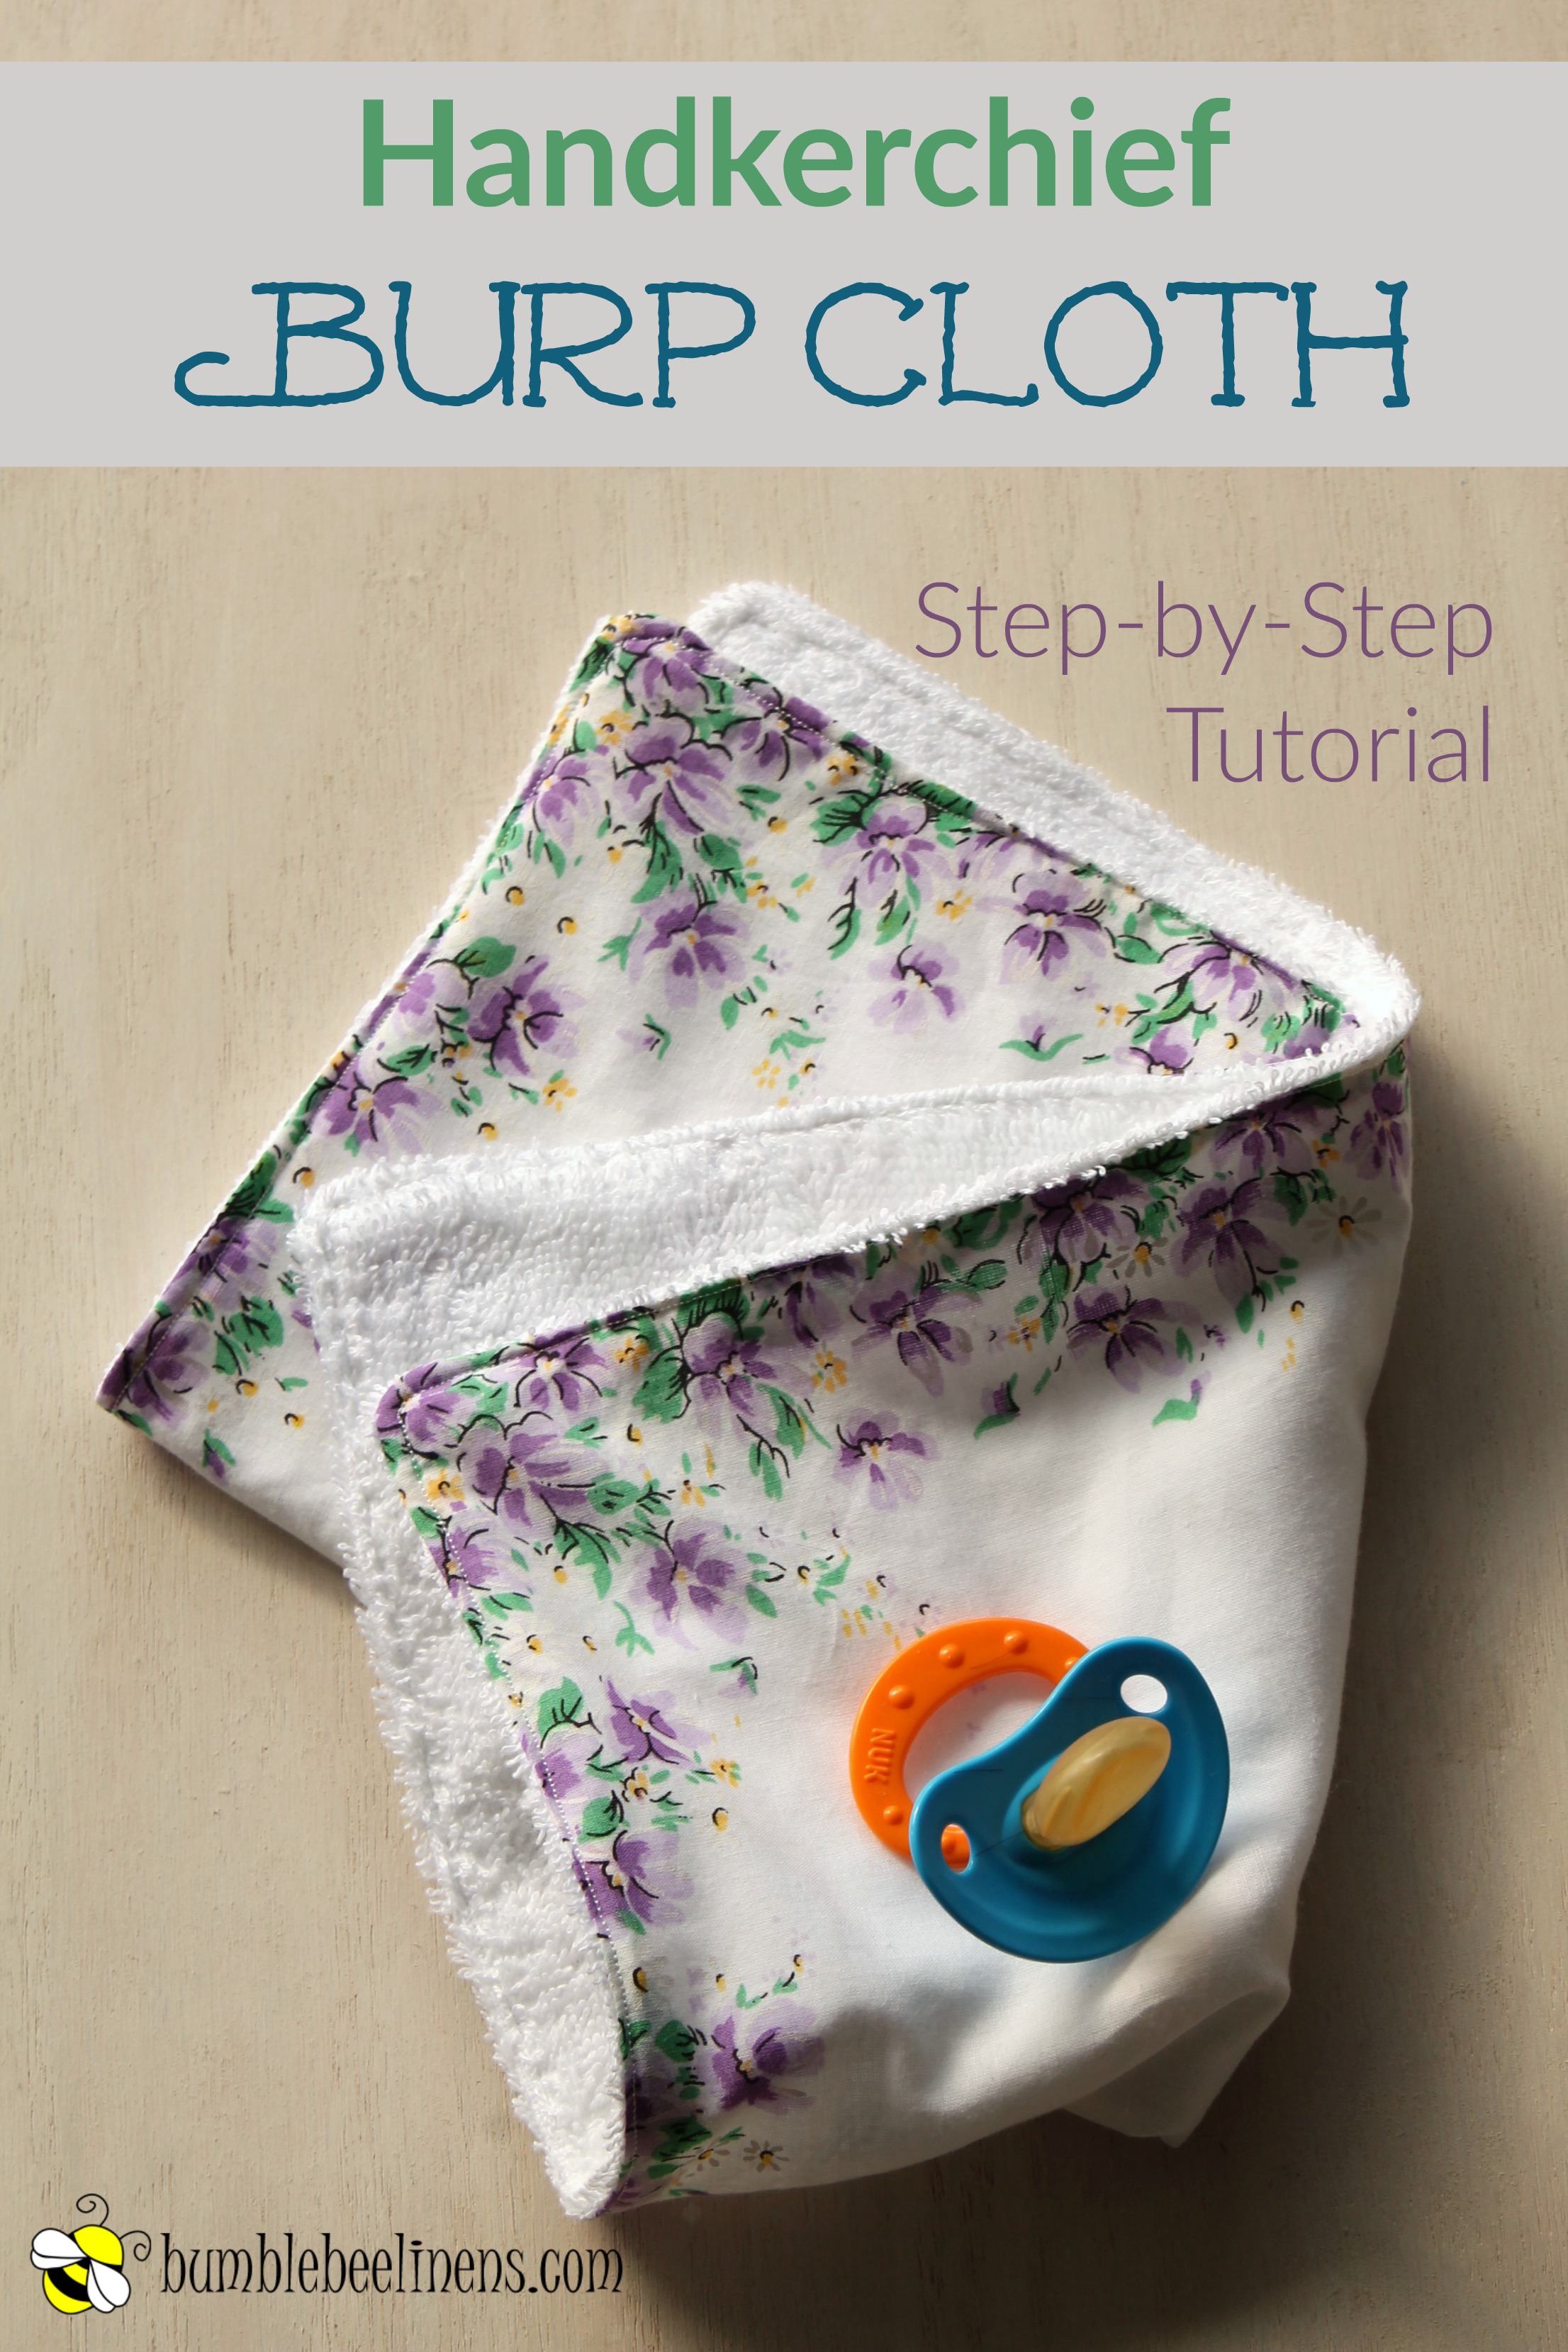
Every mom with a little one will love this adorable Hankie Burp Cloth. It’s easy to make and you can have this cute gift ready for presenting in less than 30 minutes!
If you’re really creative, you could arrange these burp cloths into a flower shape and attach them to a floral stem. Make a whole bouquet of beautiful hankie burp cloths!
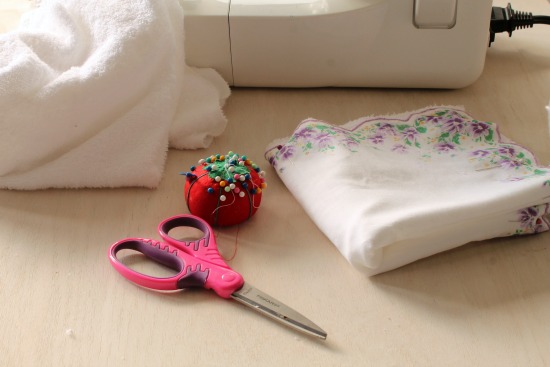
Supplies
- Handkerchief
- Cotton terry fabric
- Scissors
- Straight pins
- Sewing machine
- Thread
Wash and dry your fabrics before you begin. Cotton shrinks a little and you want to make sure that the fabric is at its final size before you cut and begin sewing. This will get rid of any sizing issues after the pieces are sewn together. A prewash will also get rid of a lot of extra fuzz from the terry.
Cut a piece of terry cloth the size of your handkerchief.
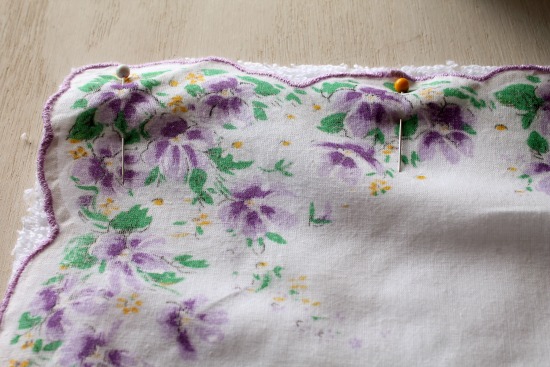
With the right side of the handkerchief facing your terry cloth, pin the two pieces together along the four sides. (The terry doesn’t have a “right” side so you can use either side you like.)
Sew a straight seam about 1/4 inch from the edge along three sides of the piece. On the fourth side, you’ll leave a 3 inch opening to turn the fabric later.
Here’s how to accomplish that – Start about 1 inch from one corner of your handkerchief. Sew a straight seam from that point to the bottom corner. Then turn and sew around the three other sides. When you reach the fourth side (where you began sewing), stop sewing about 1 inch from the top corner. This will leave an unsewn opening in the middle of that fourth side.
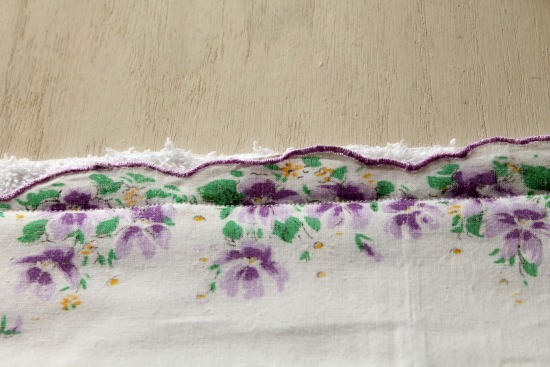
Make sure to line up your stitch taking into consideration any edge variation for the handkerchief. If the edge is scalloped so that it dips and rises then make sure to sew your seam below the dips.

At the corners, clip off the excess fabric so that the seam is about 1/4 inch from the corner edge. This will keep the corners nice and crisp and you won’t have extra fabric bulk in that area.
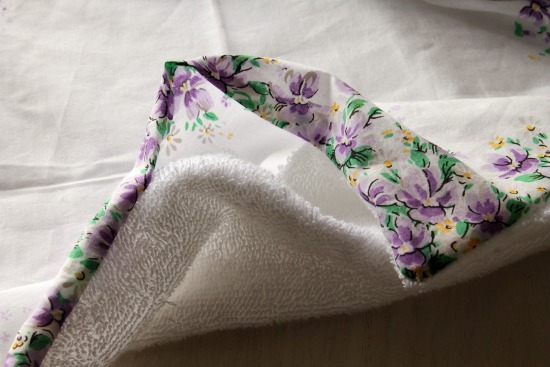
Using the opening you left on the fourth side, turn the burp cloth right side out.
Use scissors to gently push out the corners.
Iron the burp cloth making sure to pay attention that the edges lay flat. You’ll still have an opening on one side at this point.
Sew another straight seam about 1/4 inch from the edge of the fabric. This is called a top stitch and it will give a finished look to your pieces.
You’ll want to start above the opening so that that the first part of the top stitching is what closes up that opening. Go slow and use special care to make sure this area closes correctly. (The ironing step will help this tremendously.)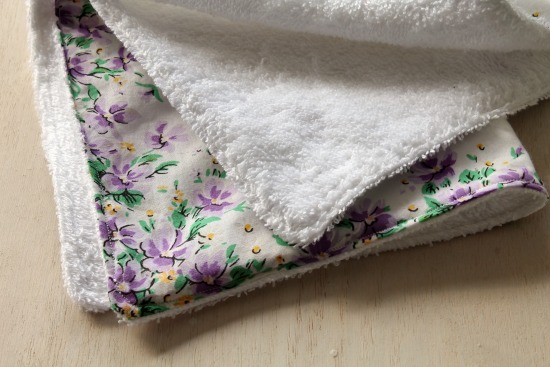
You’re now ready to trim all your loose threads and do a final warm iron over the handkerchief side of your new burp cloth.


May I have a copy of the craft tutorial book, even though I already follow your sight? I love the handkerchiefs and all of your excellent ideas to use them. We take a craft in to our nursing home for the residents to participate in each month. One of our most liked was using handkerchiefs to make “church dolls”, and “sugar babies” . Many residents had fond memories of playing with mom and dad’s hankies during church.