
As I have mentioned in previous posts, I’ve been slowly decorating my house. I have most of the major furniture pieces purchased but very little things up on the walls and displayed. Our house looks pretty bare and it’s embarrassing. In fact, I’ve had several people (Yes, several) come over and ask if we just moved in. We’ve been here for over four years! So this past weekend, I decided to make an effort to hang things up. I started with some hanky wall art.

I obviously love handkerchiefs and I often try to incorporate them into my home’s decor. I do this for several reasons. The main reason being I own a hankie business and I love them. Hankies are bright and colorful and they make me happy. Handkerchiefs are also affordable which coincidentally makes my husband happy.
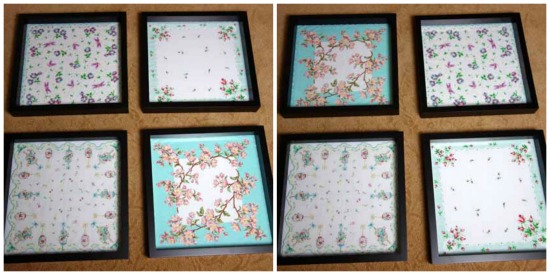
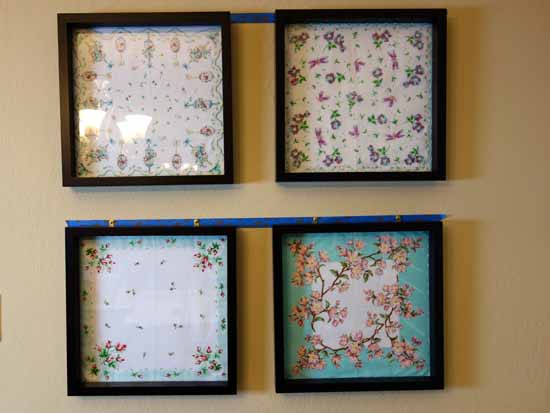
For this design idea, I used four coordinating vintage inspired handkerchiefs. Since I use a lot of light turquoise and sage accents around my house, I picked four handkerchiefs that also had these colors in the fabric.
Editors Note: If handkerchiefs are not readily available to you, you can also use any pretty fabric that you have. Or hit up some thrift shops or estate sales to find real vintage hankies to hang. Of course, you can also purchase them from our lovely shop. =)
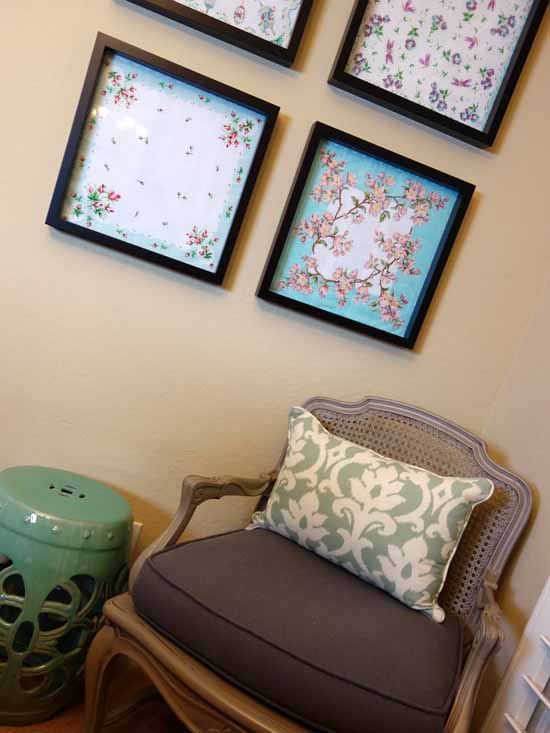
Since I decided to group the four handkerchiefs in a 4×4 grid pattern, I framed them in four identical square picture frames. I kept the frames pretty simple since the handkerchiefs had a lot of design in them. If you do a more simple hanky, however, you can pick a more decorative frame. Just be sure to pick a frame that is slightly bigger than your handkerchief.
First step is easy peasy, pick four coordinating print handkerchiefs and frame them.
After framing them, shift the hankies around until you get the desired look you are going for.
Since I’m hanging the frames in a grid pattern, it’s very important that the frames are hung completely level. You can easily do this by using painter’s tape and a level.
First lay two of your frames upside down on the floor. Be sure to lay them down the same distance apart from how you plan to hang them.
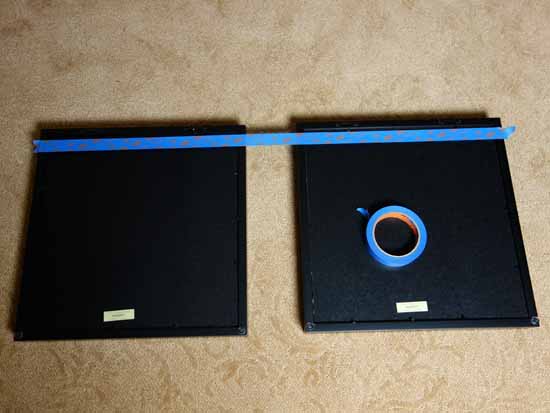
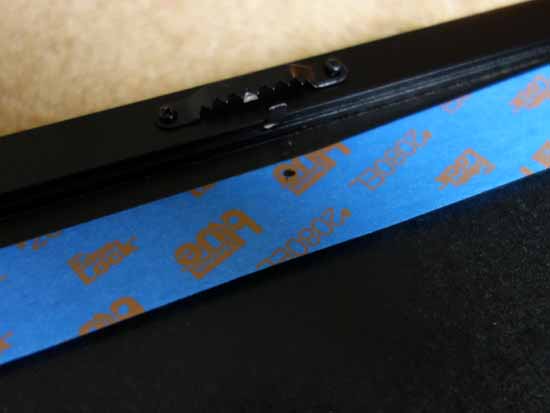
Place a strip of painter’s tape on the back of the frames and near the top. Right underneath each hanger hardware, make a small dot with a black pen. The dot is where you will be nailing into the wall.
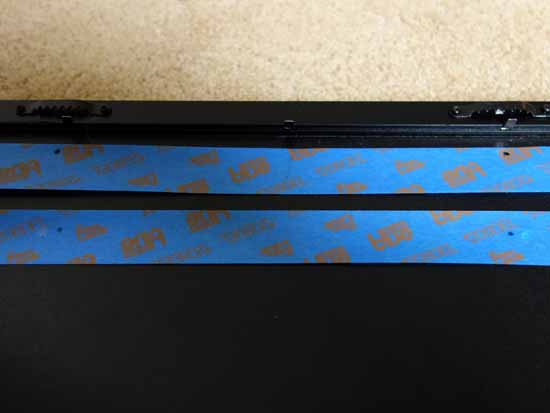
Place another strip of painter’s tape underneath the first one. This piece will be used for your second row of pictures. Once again, add a small dot underneath the picture hardware.
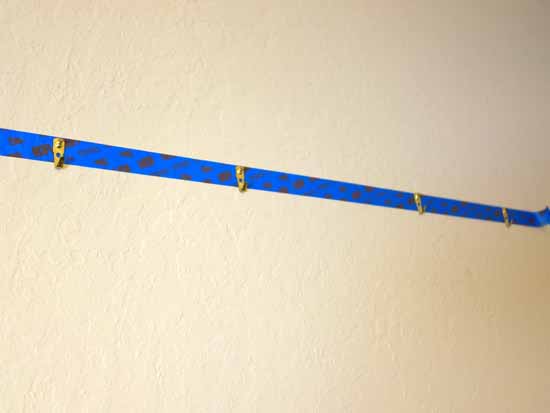
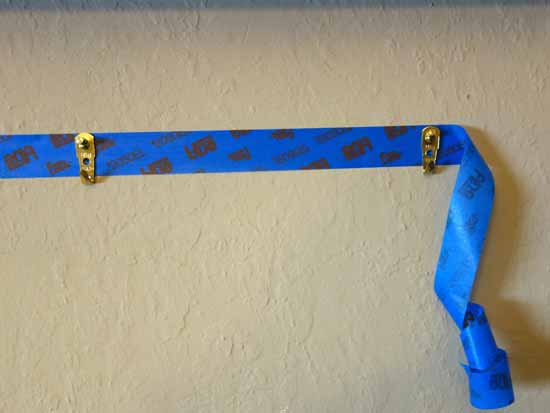
Remove the first strip of painter’s tape from your frames and place it on the wall at the same height as where you plan to hang your pictures.
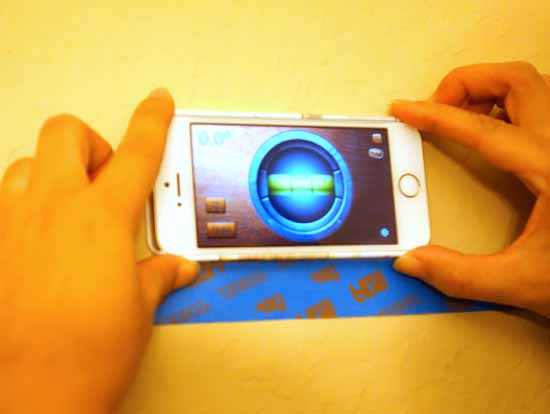
Using a level, make sure that the painter’s tape is completely straight. Adjust the tape by pealing and un-pealing the tape until the tape is level. Note: I used the level app on my iPhone.
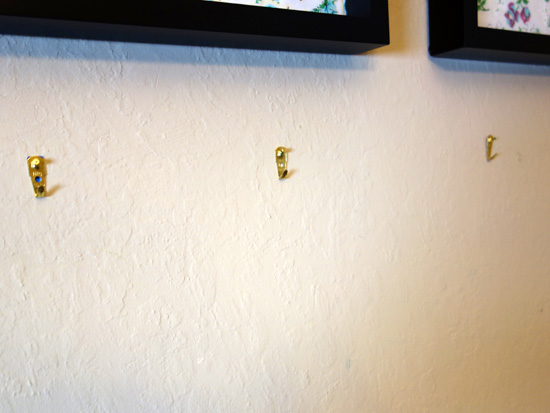
Once level, press down on the tape firmly. Next hammer in a nail and picture hanger onto each “dot” that you created.
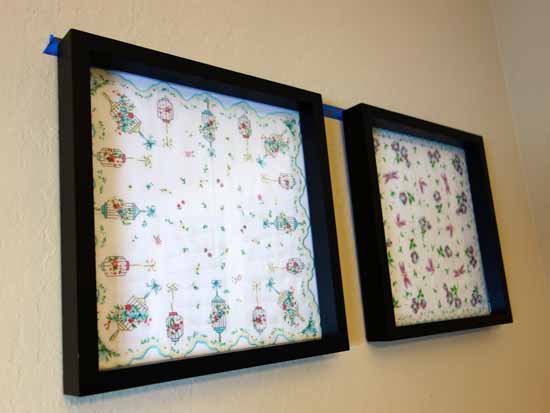
Hang the first row of pictures.
Once the first row is done, place the second strip of painter’s tape onto the wall. Using your level again, verify that the tape is also placed straight.
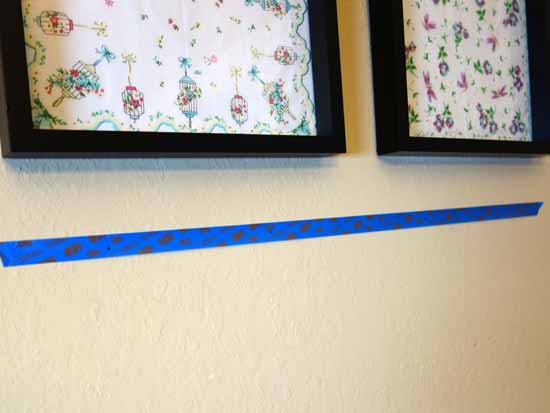
Hammer in the next four nails into the dots that you created.
Hang the second row of pictures.
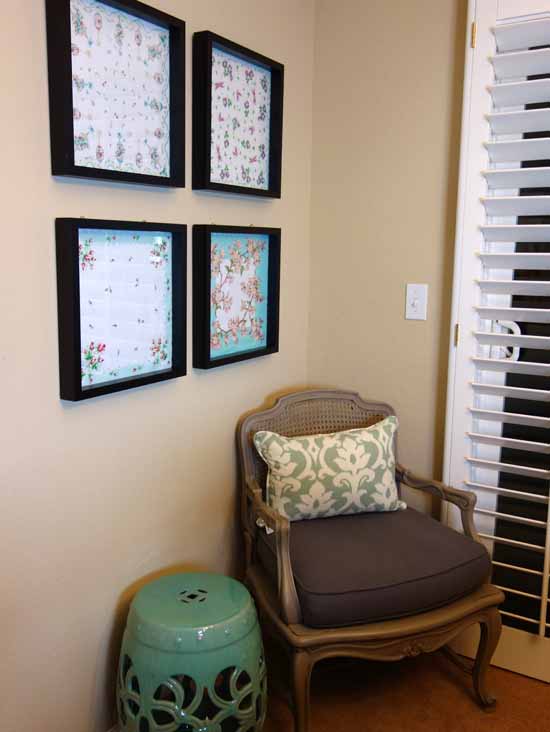
Verify that each row of pictures is completely level. Booyah, yes, they are. Didn’t know it was that easy to hang straight pictures, right?

Remove the frames and then the painter’s tape.
Rehang the gallery wall.
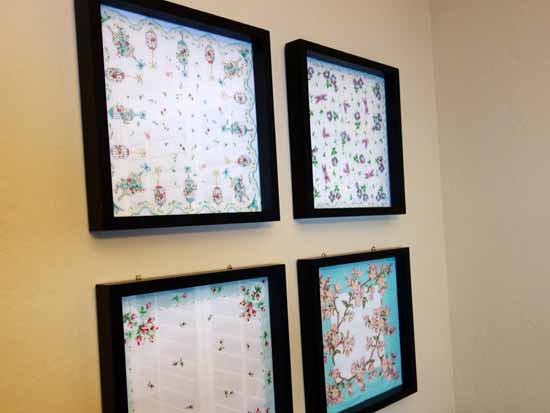
I love how this gallery wall of hankies came out. I think it fits perfectly in this reading corner, don’t you? Now on to the rest of my house. Ugh.


That is the neatest trick since sliced bread ! I am so tired of leveling and releveling and measuring the spaces between. Thank you so much.
I never in a million years would’ve thought of that! You just saved me ages of time hanging pictures together! Thank you!!! By the way, my inlaws love their linen monogrammed hand towels. Love your store, and awesome customer service.
This is awesome! I am currently decorating my apartment with similar decor. What size picture frames did you use for the handkerchiefs?