
This apron is already so beautiful without any additions or alterations. It’s feminine and well-designed to fit many body types and look beautiful right out of the box.
I wanted to add another dimension to the apron by accentuating the lace accents and giving it a bright, sunshiney color. This is how I designed the Dyed Apron tutorial below.
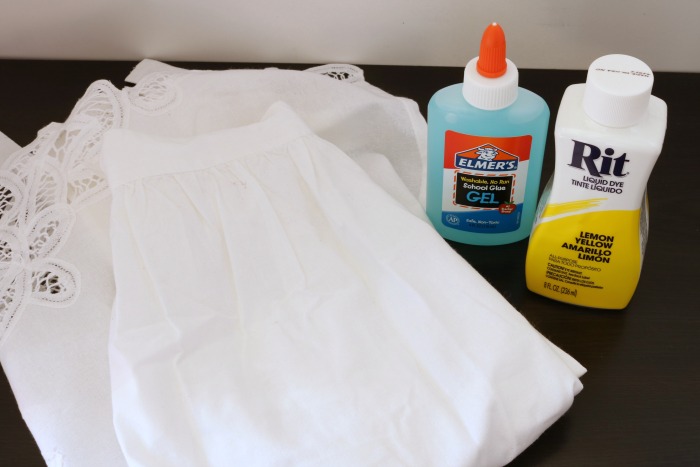
Supplies:
- Apron
- Rit Liquid Dye in Lemon Yellow
- Elmer’s School Glue Gel (or the relief of your choice)
- Parchment Paper
- Bowl
- Salt
- Gloves
Wash and dry the apron to remove any sizing and prepare the fabric to be dyed.
Most fabric that hasn’t been washed has a little residue from manufacturing. It’s mostly just leftover from pressing it flat. In any case, you’ll want to wash this fabric in warm water on a normal cycle.
Cover your work surface with parchment paper or plastic bags. This is crucial to protecting your work surface and keeping your glue from sticking to everything!
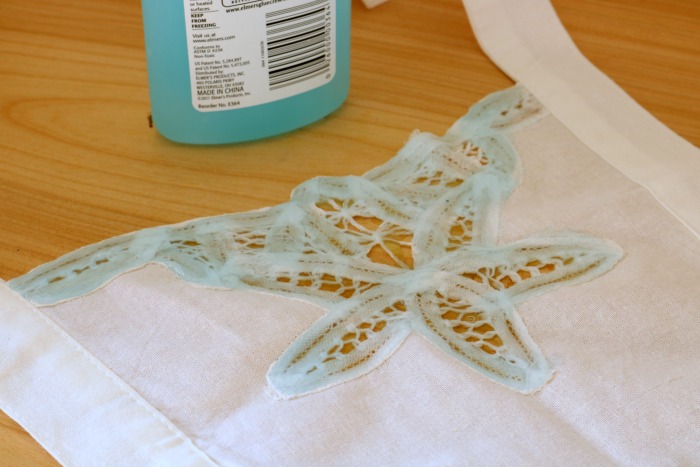
Apply the gel glue to the elements of the lace that you’d like to be accented. The glue will create a relief on the fabric so that the dye will not affect that area. You can also use relief wax if you have some on hand.
I chose to highlight the top center and bottom center of the lace design. Apply the glue in a very thick layer to coat the threads completely through.
Allow the glue to dry overnight. This will ensure that your design will not be washed away.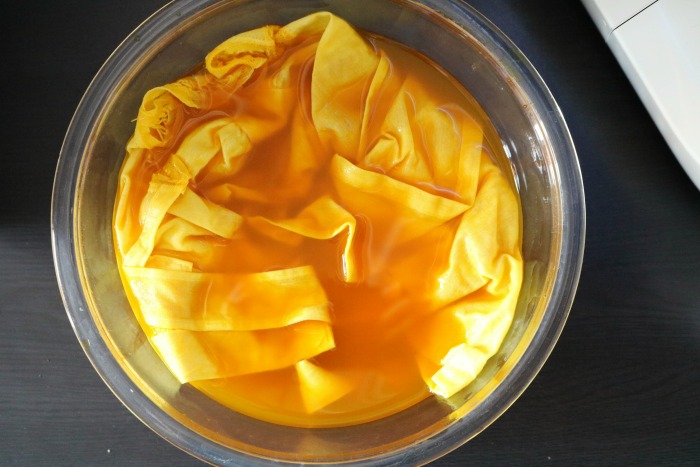
In a large glass bowl, combine 1 cup of salt with 4 cups of very hot water. Stir to dissolve the salt completely.
Put your gloves on. Do not think that you will be safe and keep your hands clean. This dye is extremely concentrated and will NOT wash out of your skin. Use gloves.
Carefully stir in the entire bottle of the Rit Liquid Dye. This is a much higher concentration of dye than is listed on the bottle. It will create a more vibrant color and a greater contrast to the highlighted lace accents that you glued in the earlier step.
Stir the dye gently.
Add the apron into the dye and stir gently for 30 minutes.
Stirring is crucial because it keeps the dye from settling on any one part of the apron and causing dye spots.
After 30 minutes, rinse the apron with cold running water until the dye is all rinsed out. You’ll know that it’s completely rinsed out when the water runs clear.
Wash the apron in your washing machine on a regular cycle with soap. This will wash away the glue and any remaining dye. Line dry or machine dry.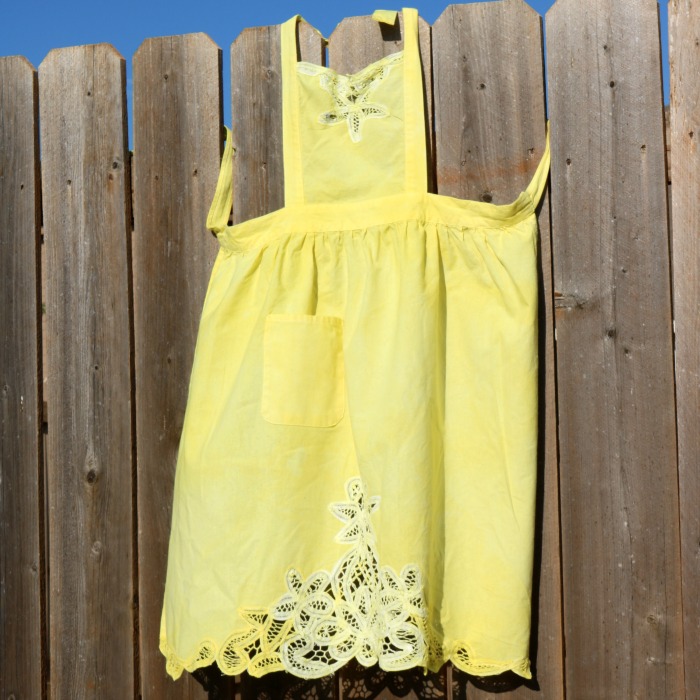 You can see in the image that the apron has lighter accented lace pieces where the glue had been applied.
Congratulations on finishing your Hand-Dyed Apron!


