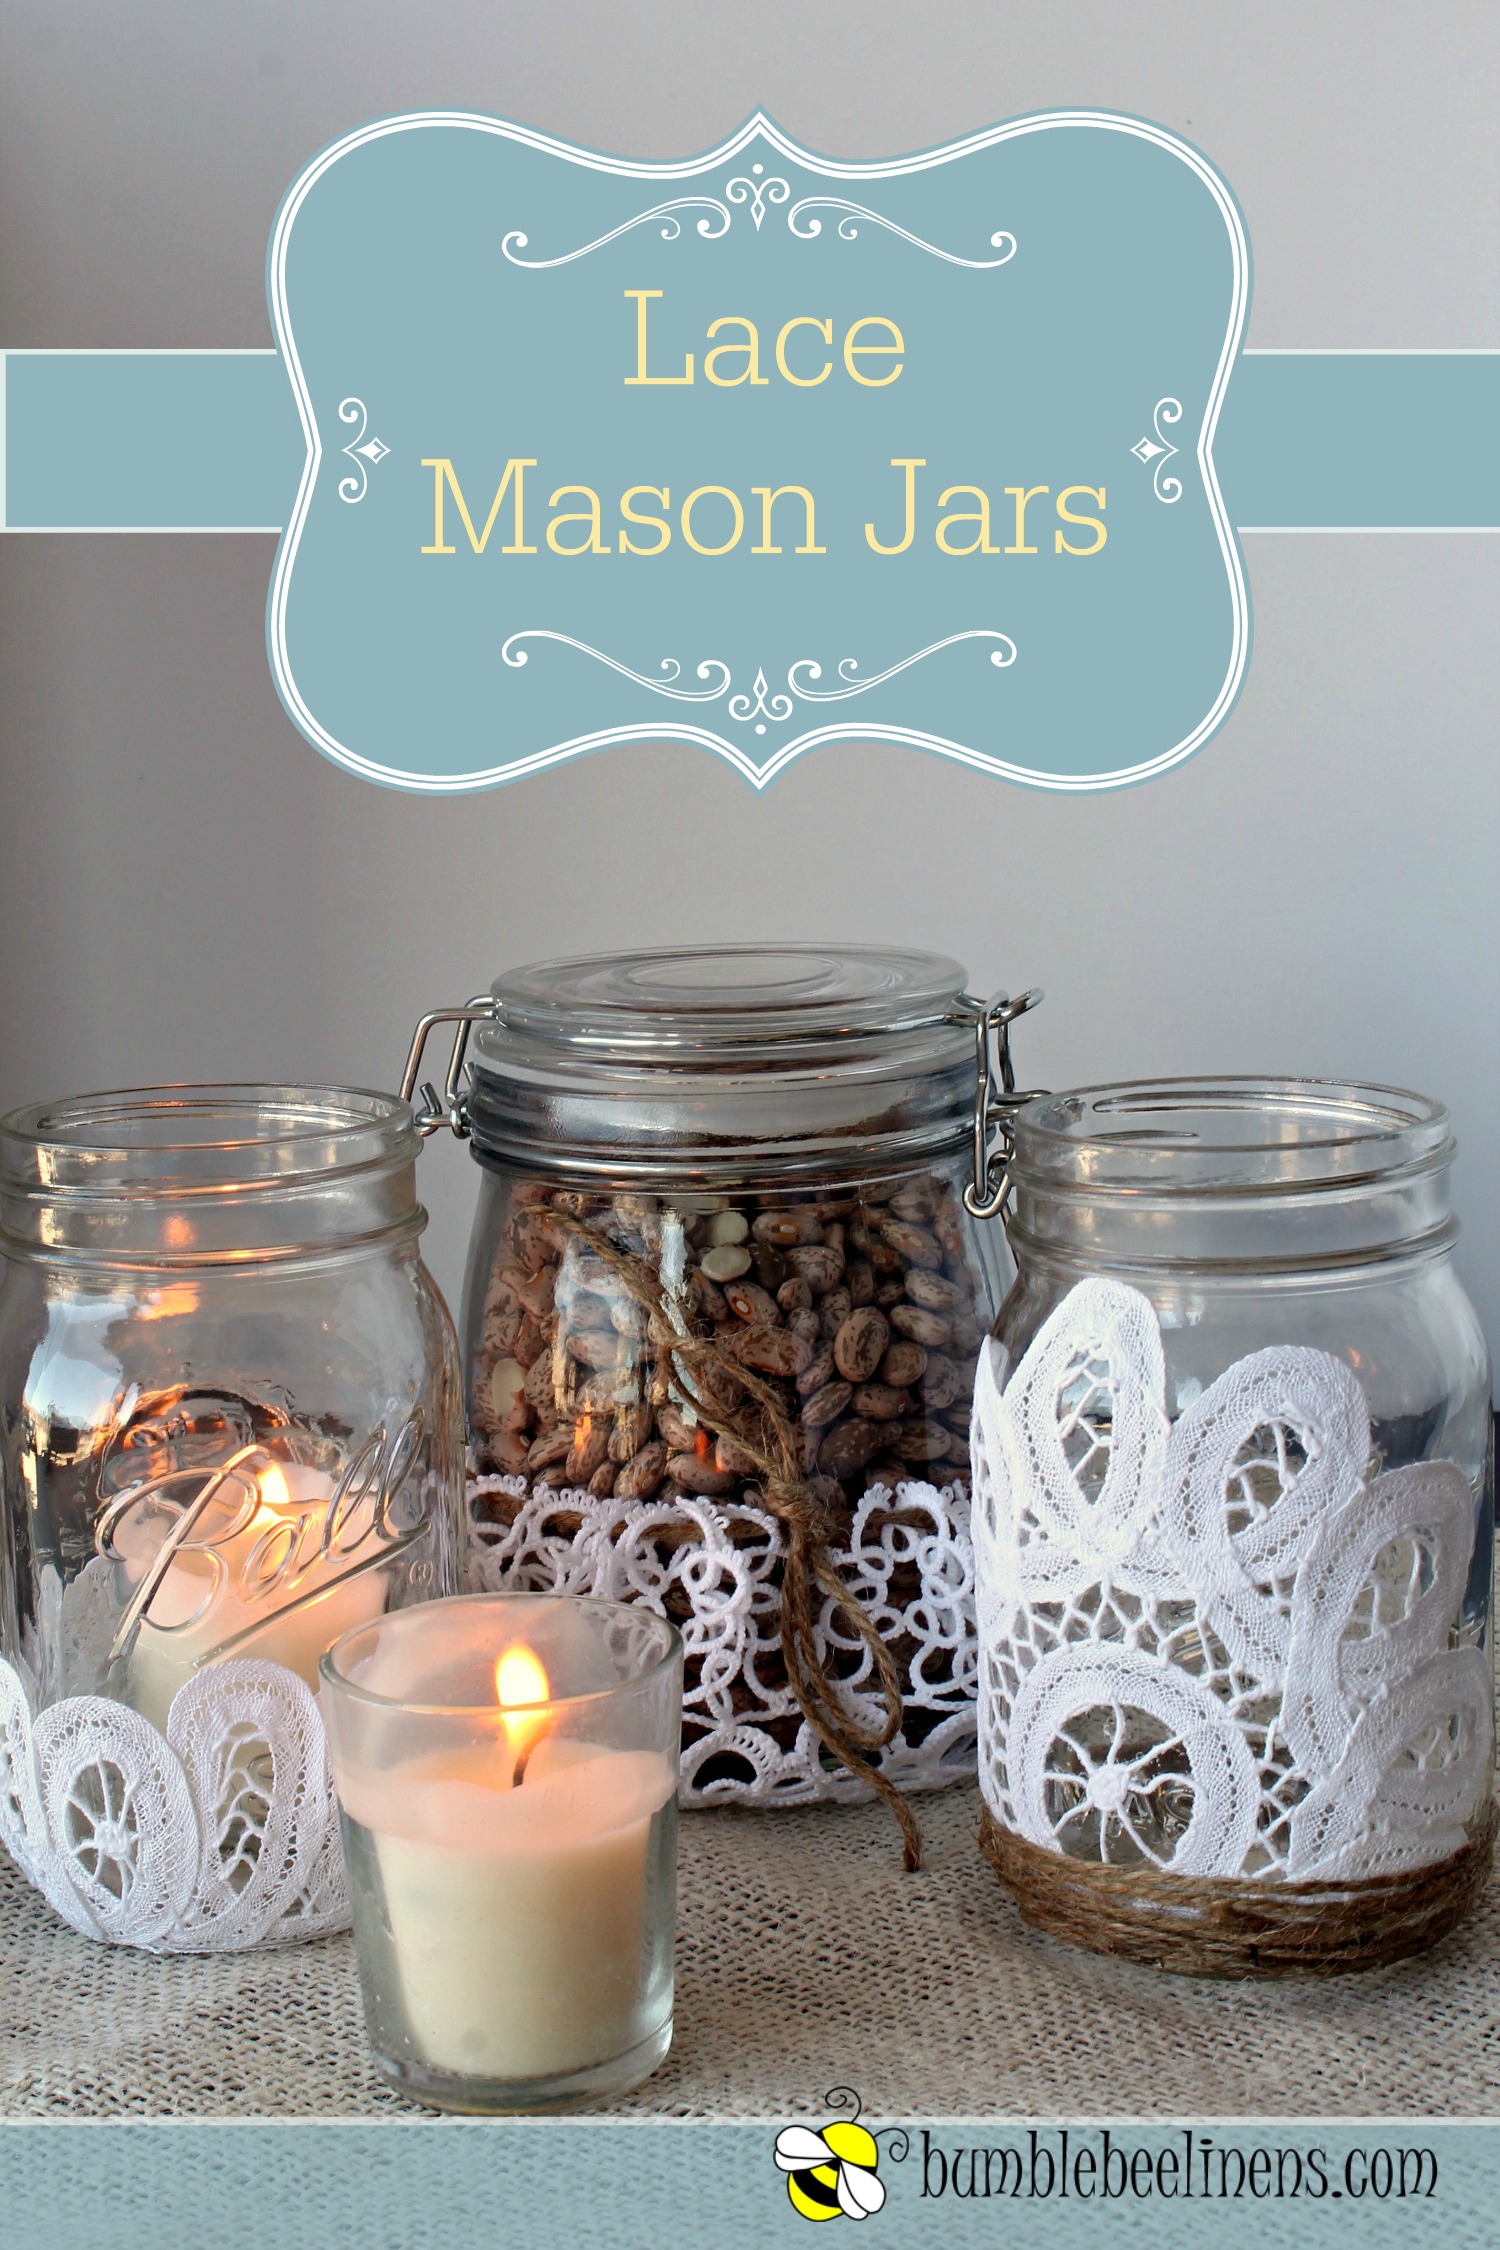
 If you’re looking for a simple project to add a touch of lace to your decor, try these Lace Mason Jars with Doilies.
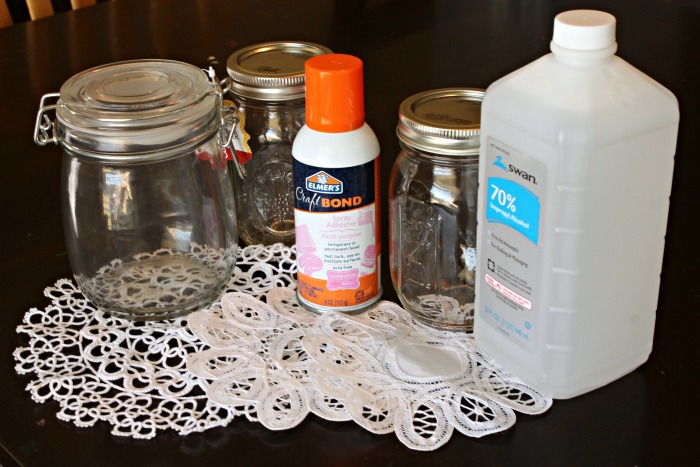
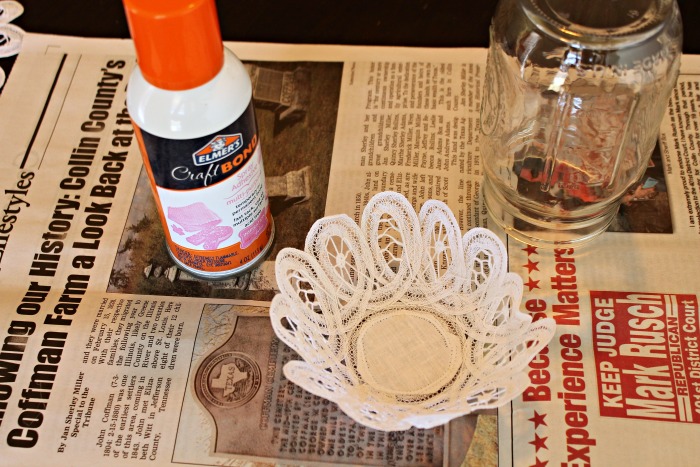
The supplies are simple. Make sure to gather your jars first so that you select the right pattern of lace to fit your containers.
Supplies
- jars
- rubbing alchohol
- doilies (these are the ones we used: Battenburg Lace Cocktail Napkin and Tatting Lace Round Doily)
- spray adhesive
- twine
- tealight candles
- scissors
Directions
 The first thing you’ll want to do is clean all of the glass with rubbing alcohol. This remove any dirt and residue and prepare the containers for glue. If you skip this step, you’ll run the risk of the glue not adhering properly.
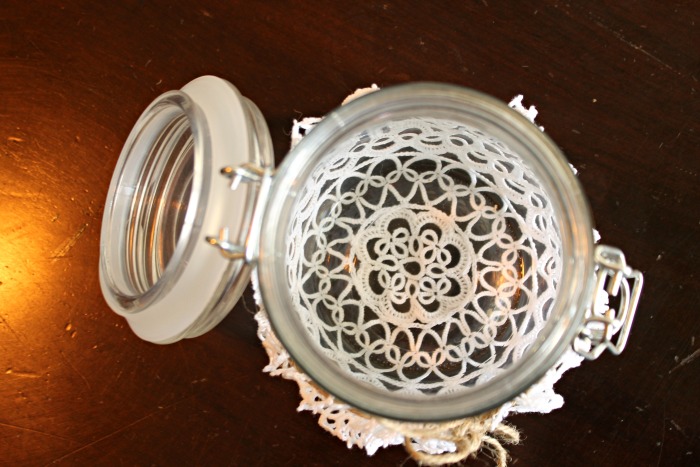
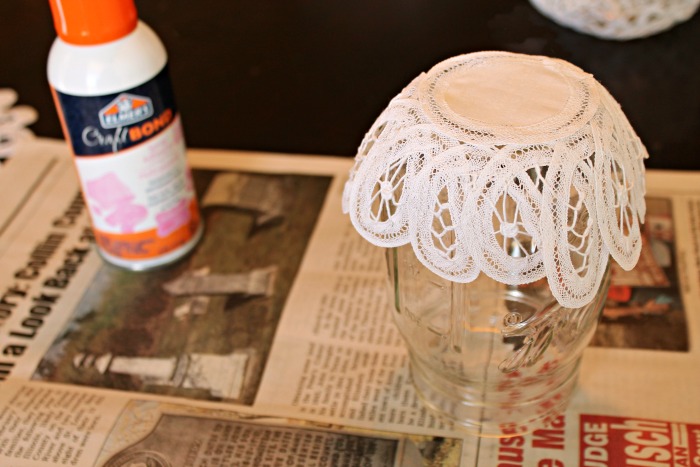 Place the doily on the bottom of the jar (turned upside down) to center the pattern. Apply firm pressure to shape the doily to the curvature of the container. This will make it easier to see if the lace will overlap and pucker at any trouble spots. This step will make it a smoother process before you have to work with the sticky lace.
 Remove the lace and place it wrong side up on a protected surface. Spray with adhesive evenly according to package directions.
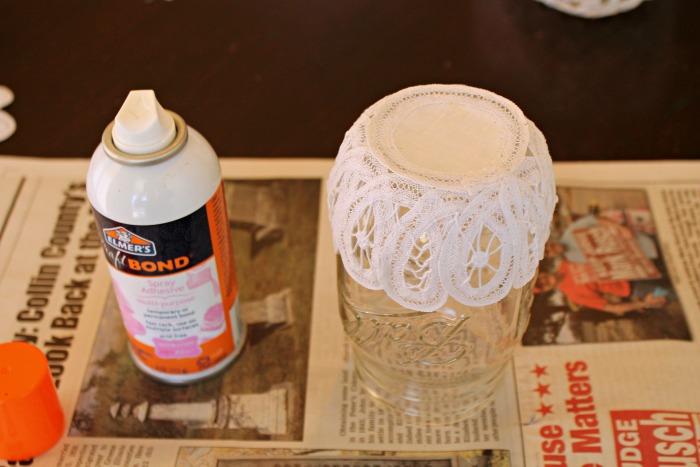 Gently apply the glued doily to the jar bottom (turned up) while it’s still wet and sticky. Gently arrange the edges to smooth any lumps or folds before the glue dries. Allow this to dry upside down until it’s not sticky at all.
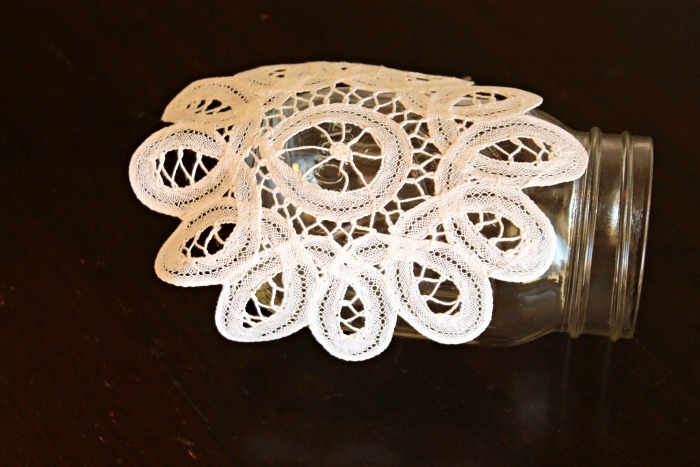 For the next design, you’ll want to select a doily that is slightly larger in diameter than the height of the jar. Arrange the doily so that the top of the lace ends just under the top of the rim. Spray with the adhesive and arrange the doily back in the predetermined location.
 There will be lace hanging over the bottom.
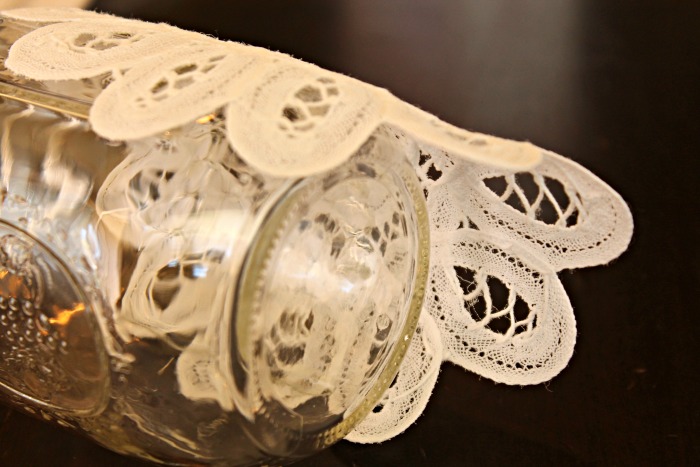
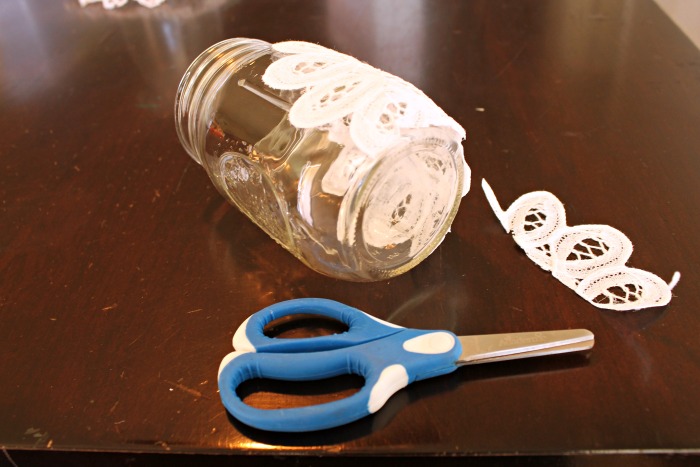 Trim the excess lace in a line with the bottom of the jar. Don’t worry about this being perfect because the edge is going to be covered.
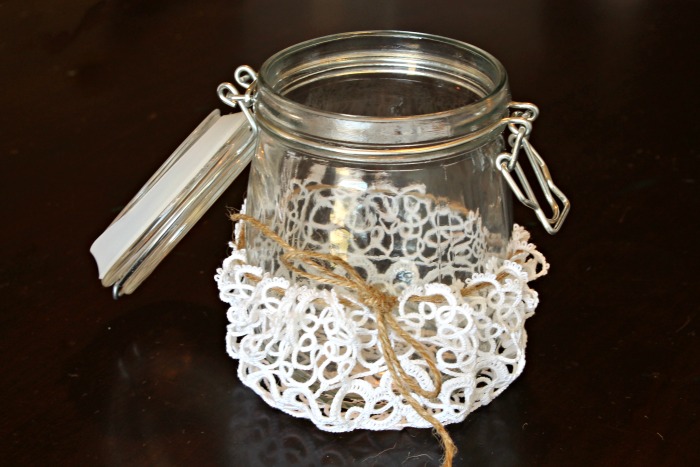
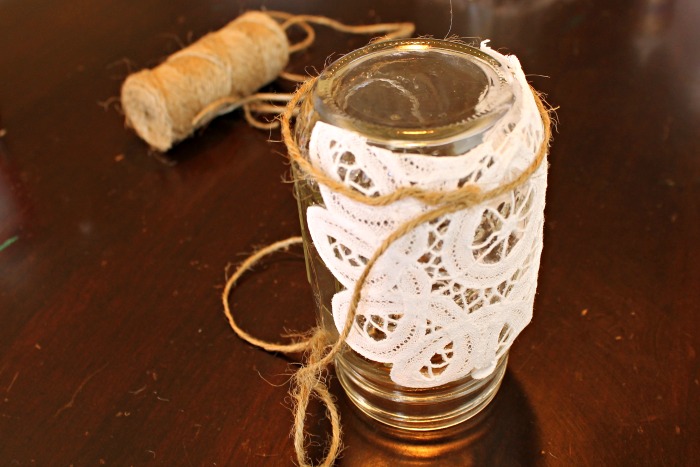 Gather a few feet of twine. Spray about a 6 inch section of the twine with adhesive and encircle the jar with the twine. Spray another 6 inches and repeat until there is about an inch of twine (thickness) around the base of the jar. Finish with by trimming any excess twine and gluing down the end to the jar.
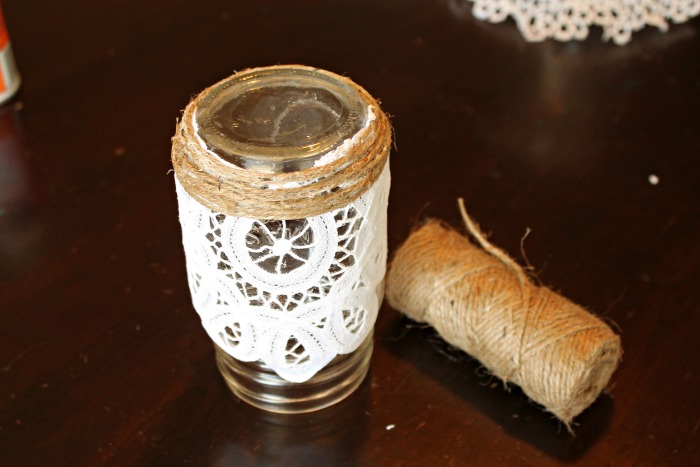 Allow the doily and twine to dry thoroughly.
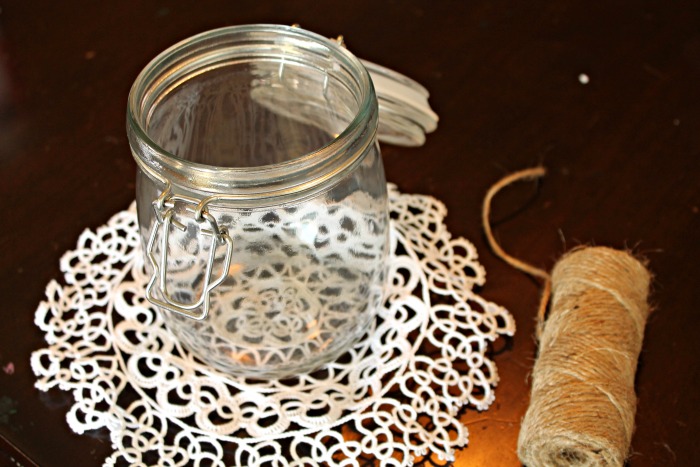 Our final jar is a simple way to add a doily to a jar with no glue at all.
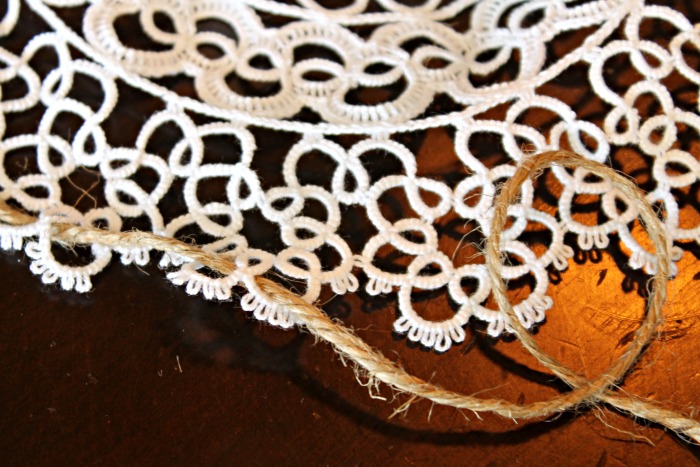 Thread the twine through the doily edge by moving the thread in and out of the openings.
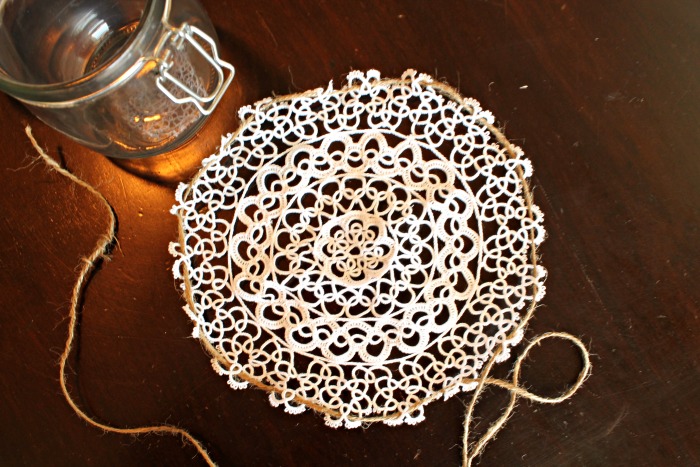 Lace the twine all the way around the perimeter of the doily.
 Center the jar onto the doily and tie the twine into a bow to secure the doily.
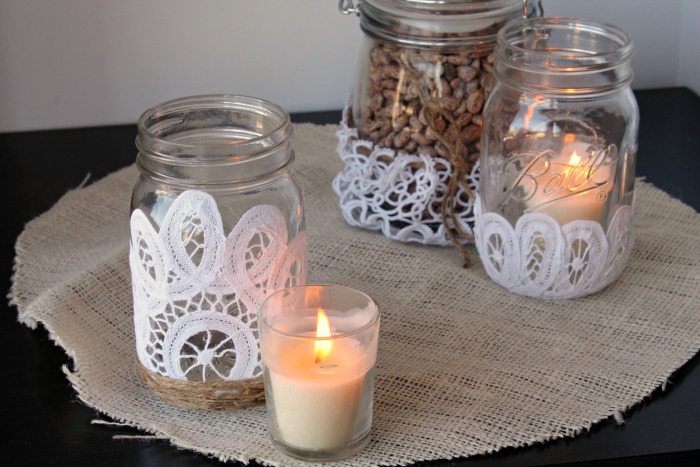
 What a pretty pattern!
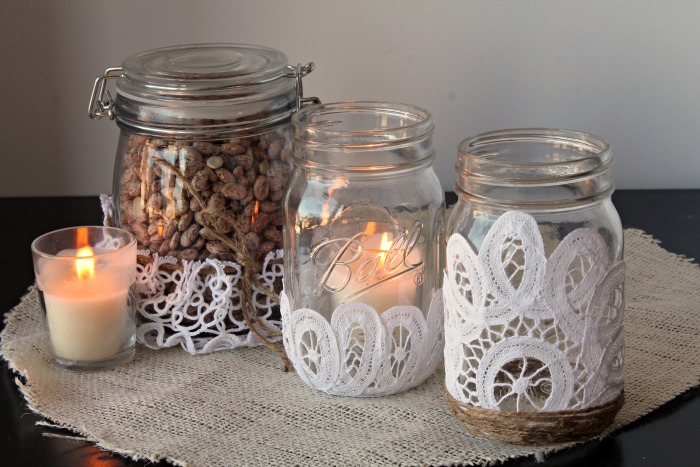 Use beans, tealight candles, or your choice of shabby chic decor to finish the look.