
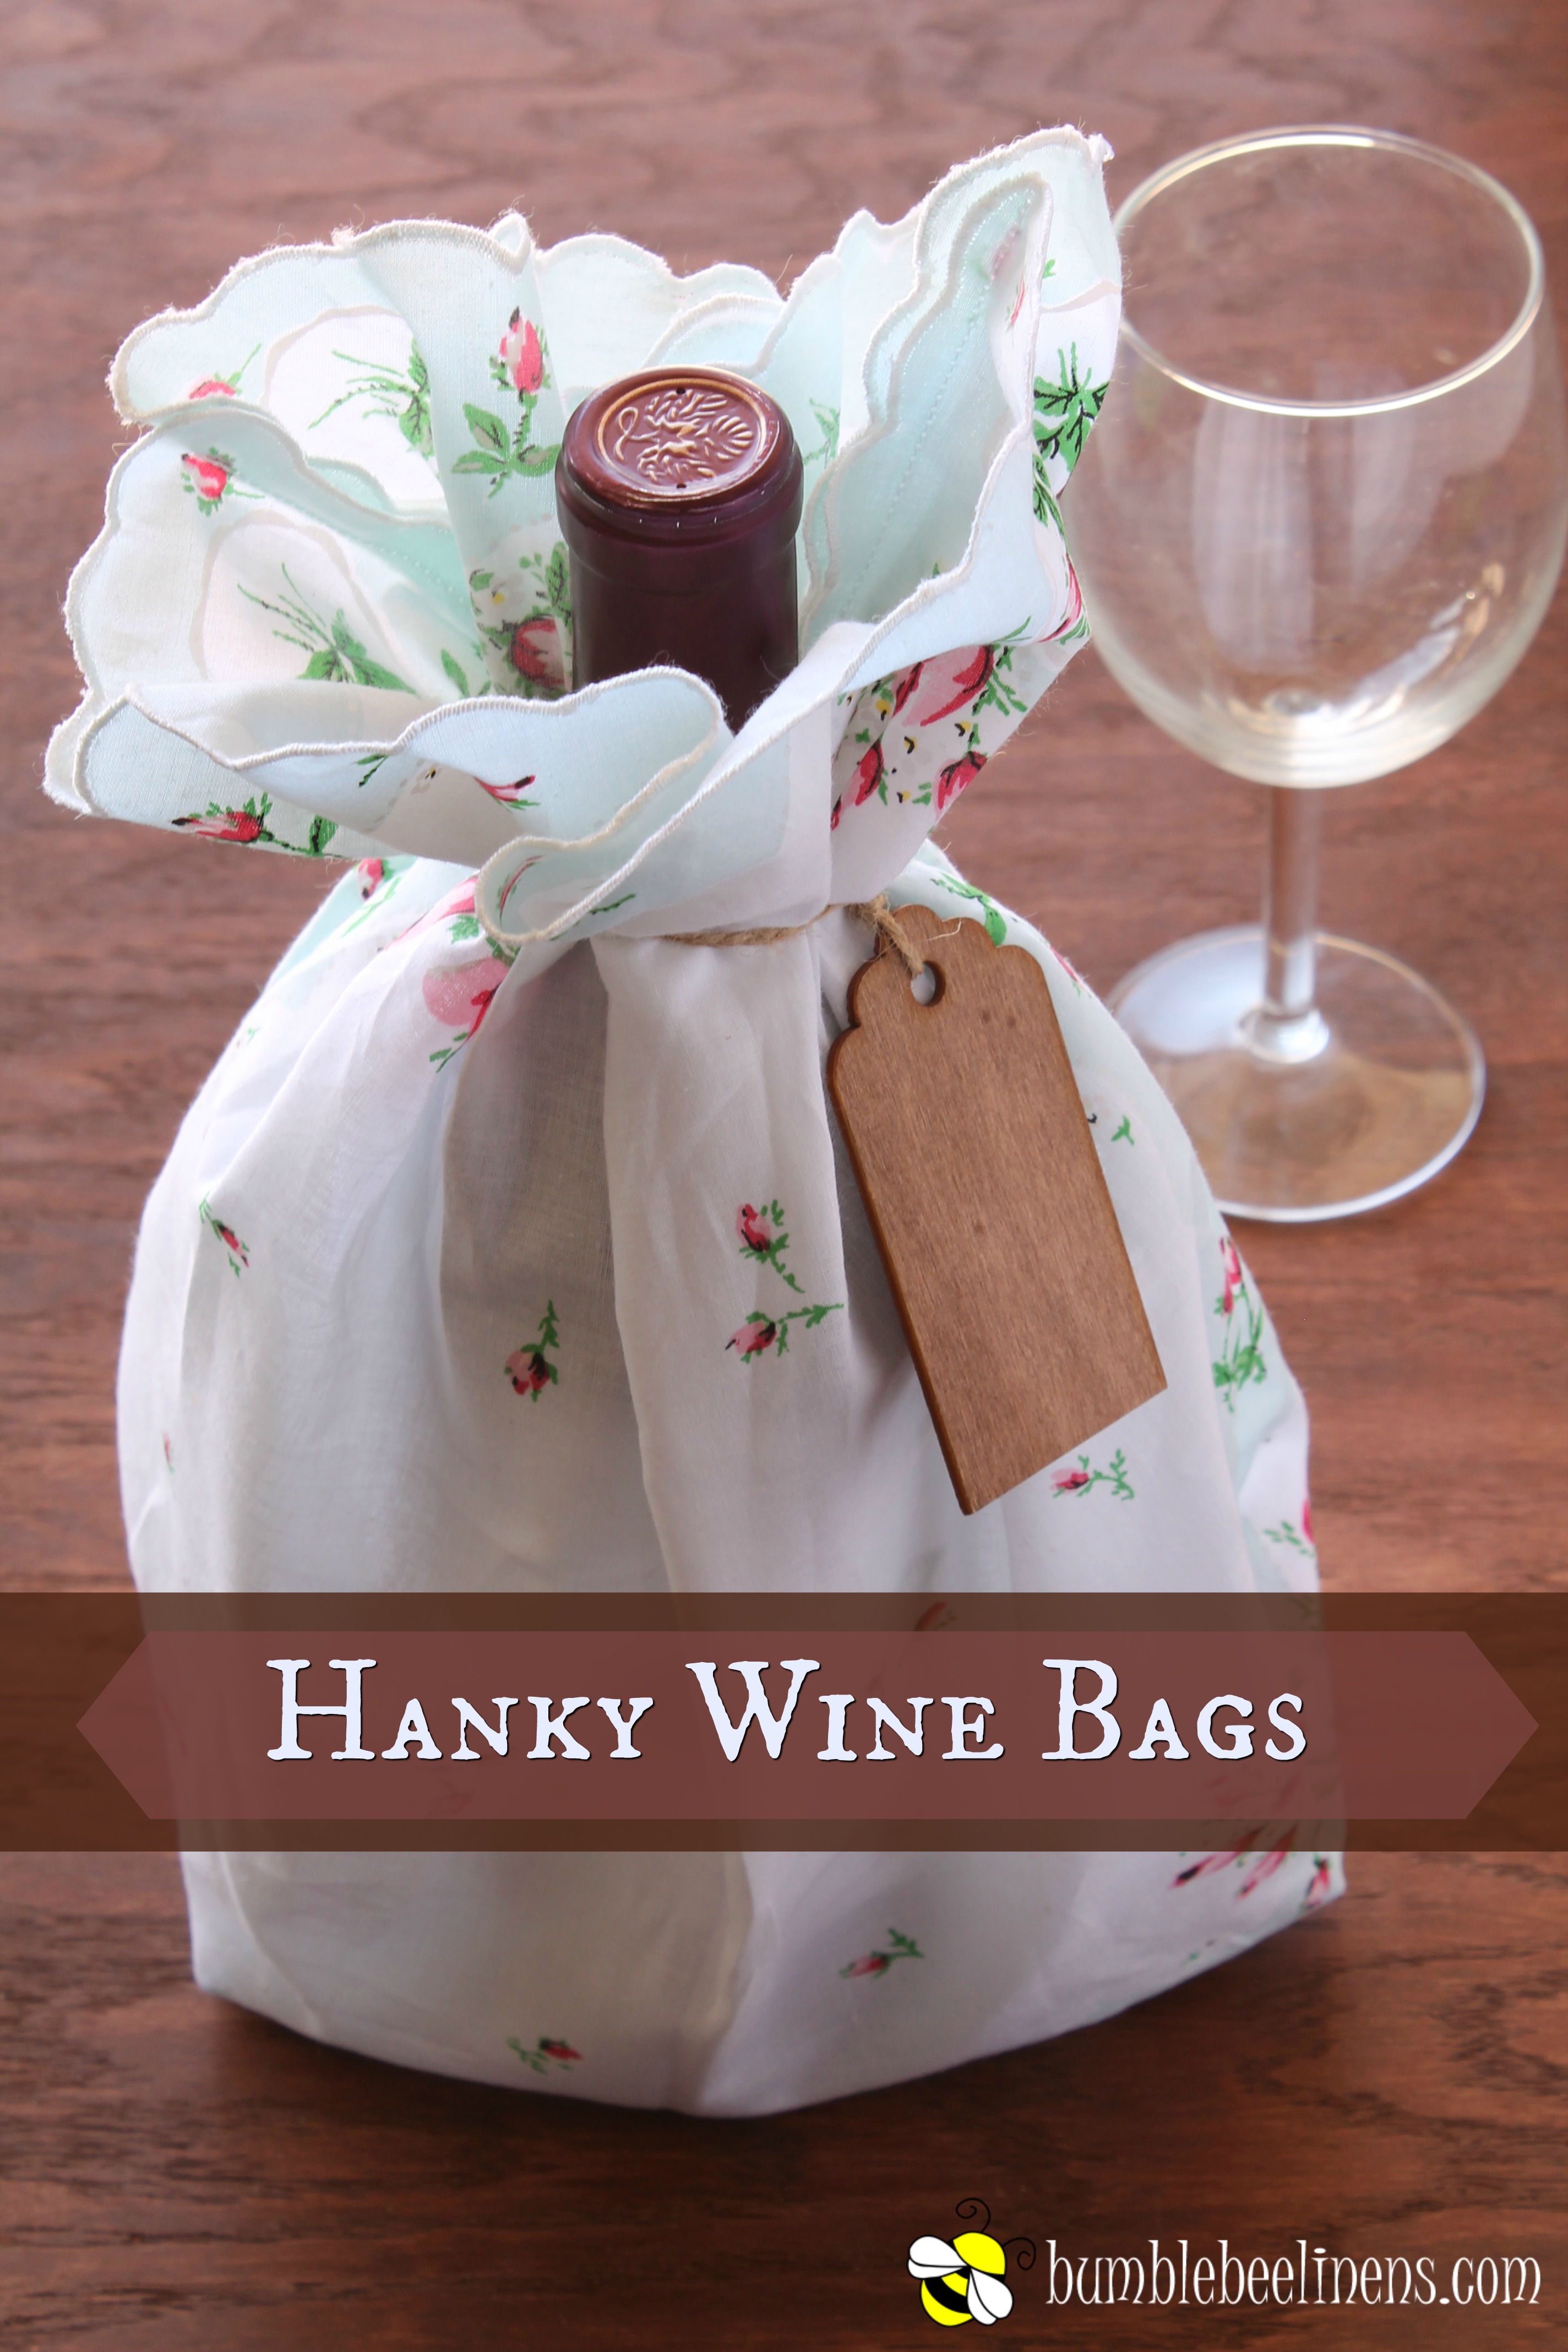
Try these super easy Hanky Wine Bags when you’re looking for the perfect DIY hostess gift. Even a beginning seamstress can put this project together in less than 15 minutes. Yes, it’s that easy!
This wine bag puts a perfect finishing touch on the always welcome gift of wine. The bags are washable and reusable. Give the gift of wine with an extra special heartfelt touch!
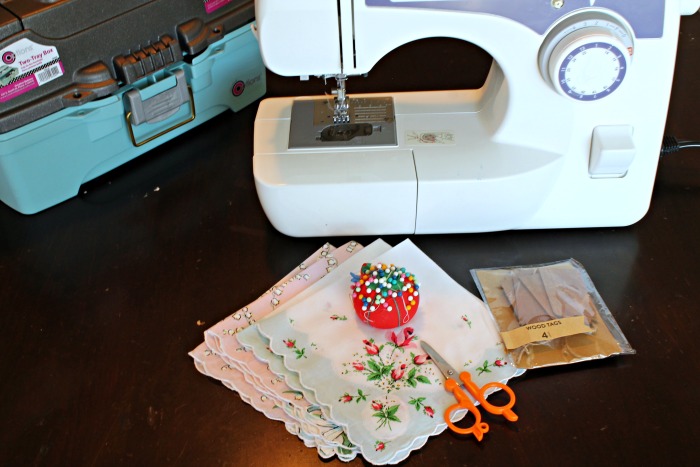
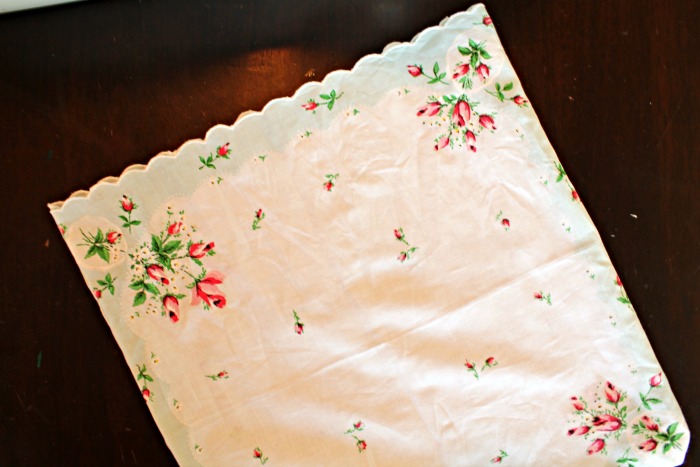
Gather the supplies you’ll need.
Supplies:
- 2 matching handkerchiefs
- pins
- sewing machine
- thread
- scissors for snipping the extra thread
- tag with twine
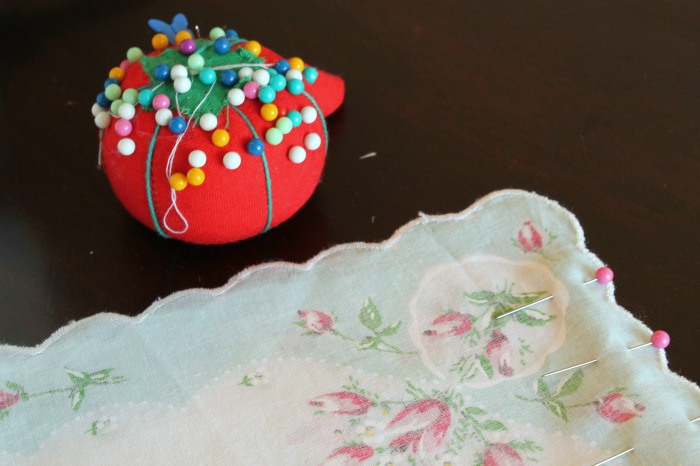
Lay the handkerchiefs on top of each other with the correct sides facing together. This means that the pretty sides are on the inside of the two layers.
Pin three sides of the handkerchiefs to hold them in place. You’ll be leaving open one side for the opening of the bag. Make sure to place the pins facing in so that they’re easy to remove as you sew.
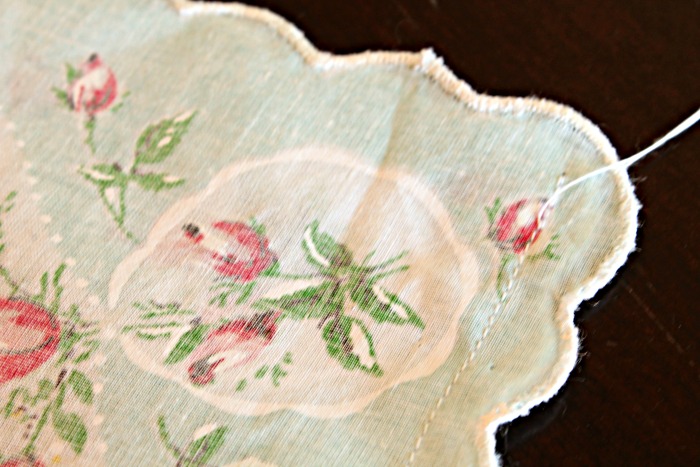
Begin at the top right corner of the handkerchiefs and stitch a backstitch to lock the thread in place.
Sew a straight stitch around the three pinned sides and finish with a backstitch to lock the thread in place.
Trim the extra thread at the beginning and end of the stitches.
Turn the bag right sides out. It will look like a pillow case with one open side.
Push out the two corner or leave them rounded, if you prefer.
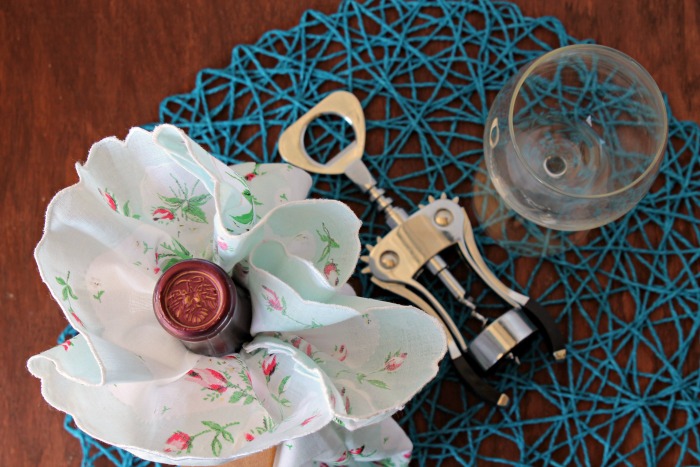 Enclose the wine inside the bag and finish with a gift tag at the top. I used a 4 inch piece of twine, tied it in a circles through the tag, and then placed that around the napkin. Make sure to fluff out the top of the scalloped edge for an extra pretty effect.
Alternative directions for slimmer bag
This bag is big enough for even a large 1500ml bottle of wine. However, if you’d prefer a smaller bag for a slimmer look on a 750ml bottle you can simply use one handkerchief.
- Fold the single handkerchief in half with the right sides facing each other.
- Pin the bottom and open long side of the handkerchief.
- Stitch around the two pinned sides with a straight stitch making sure to start and finish with a backstitch to lock the thread in place.
- Trim the excess thread.
- Turn the rectangular bag right sides out.
- Insert the bottle and finish with a tag.


Love, love,love your site.
What a neat idea!! I have some dates coming that require a nice token gift. Will certainly keep this in mind. Thank you for the neat ideas.
You inspire me
Great idea! Thanks for sharing!!