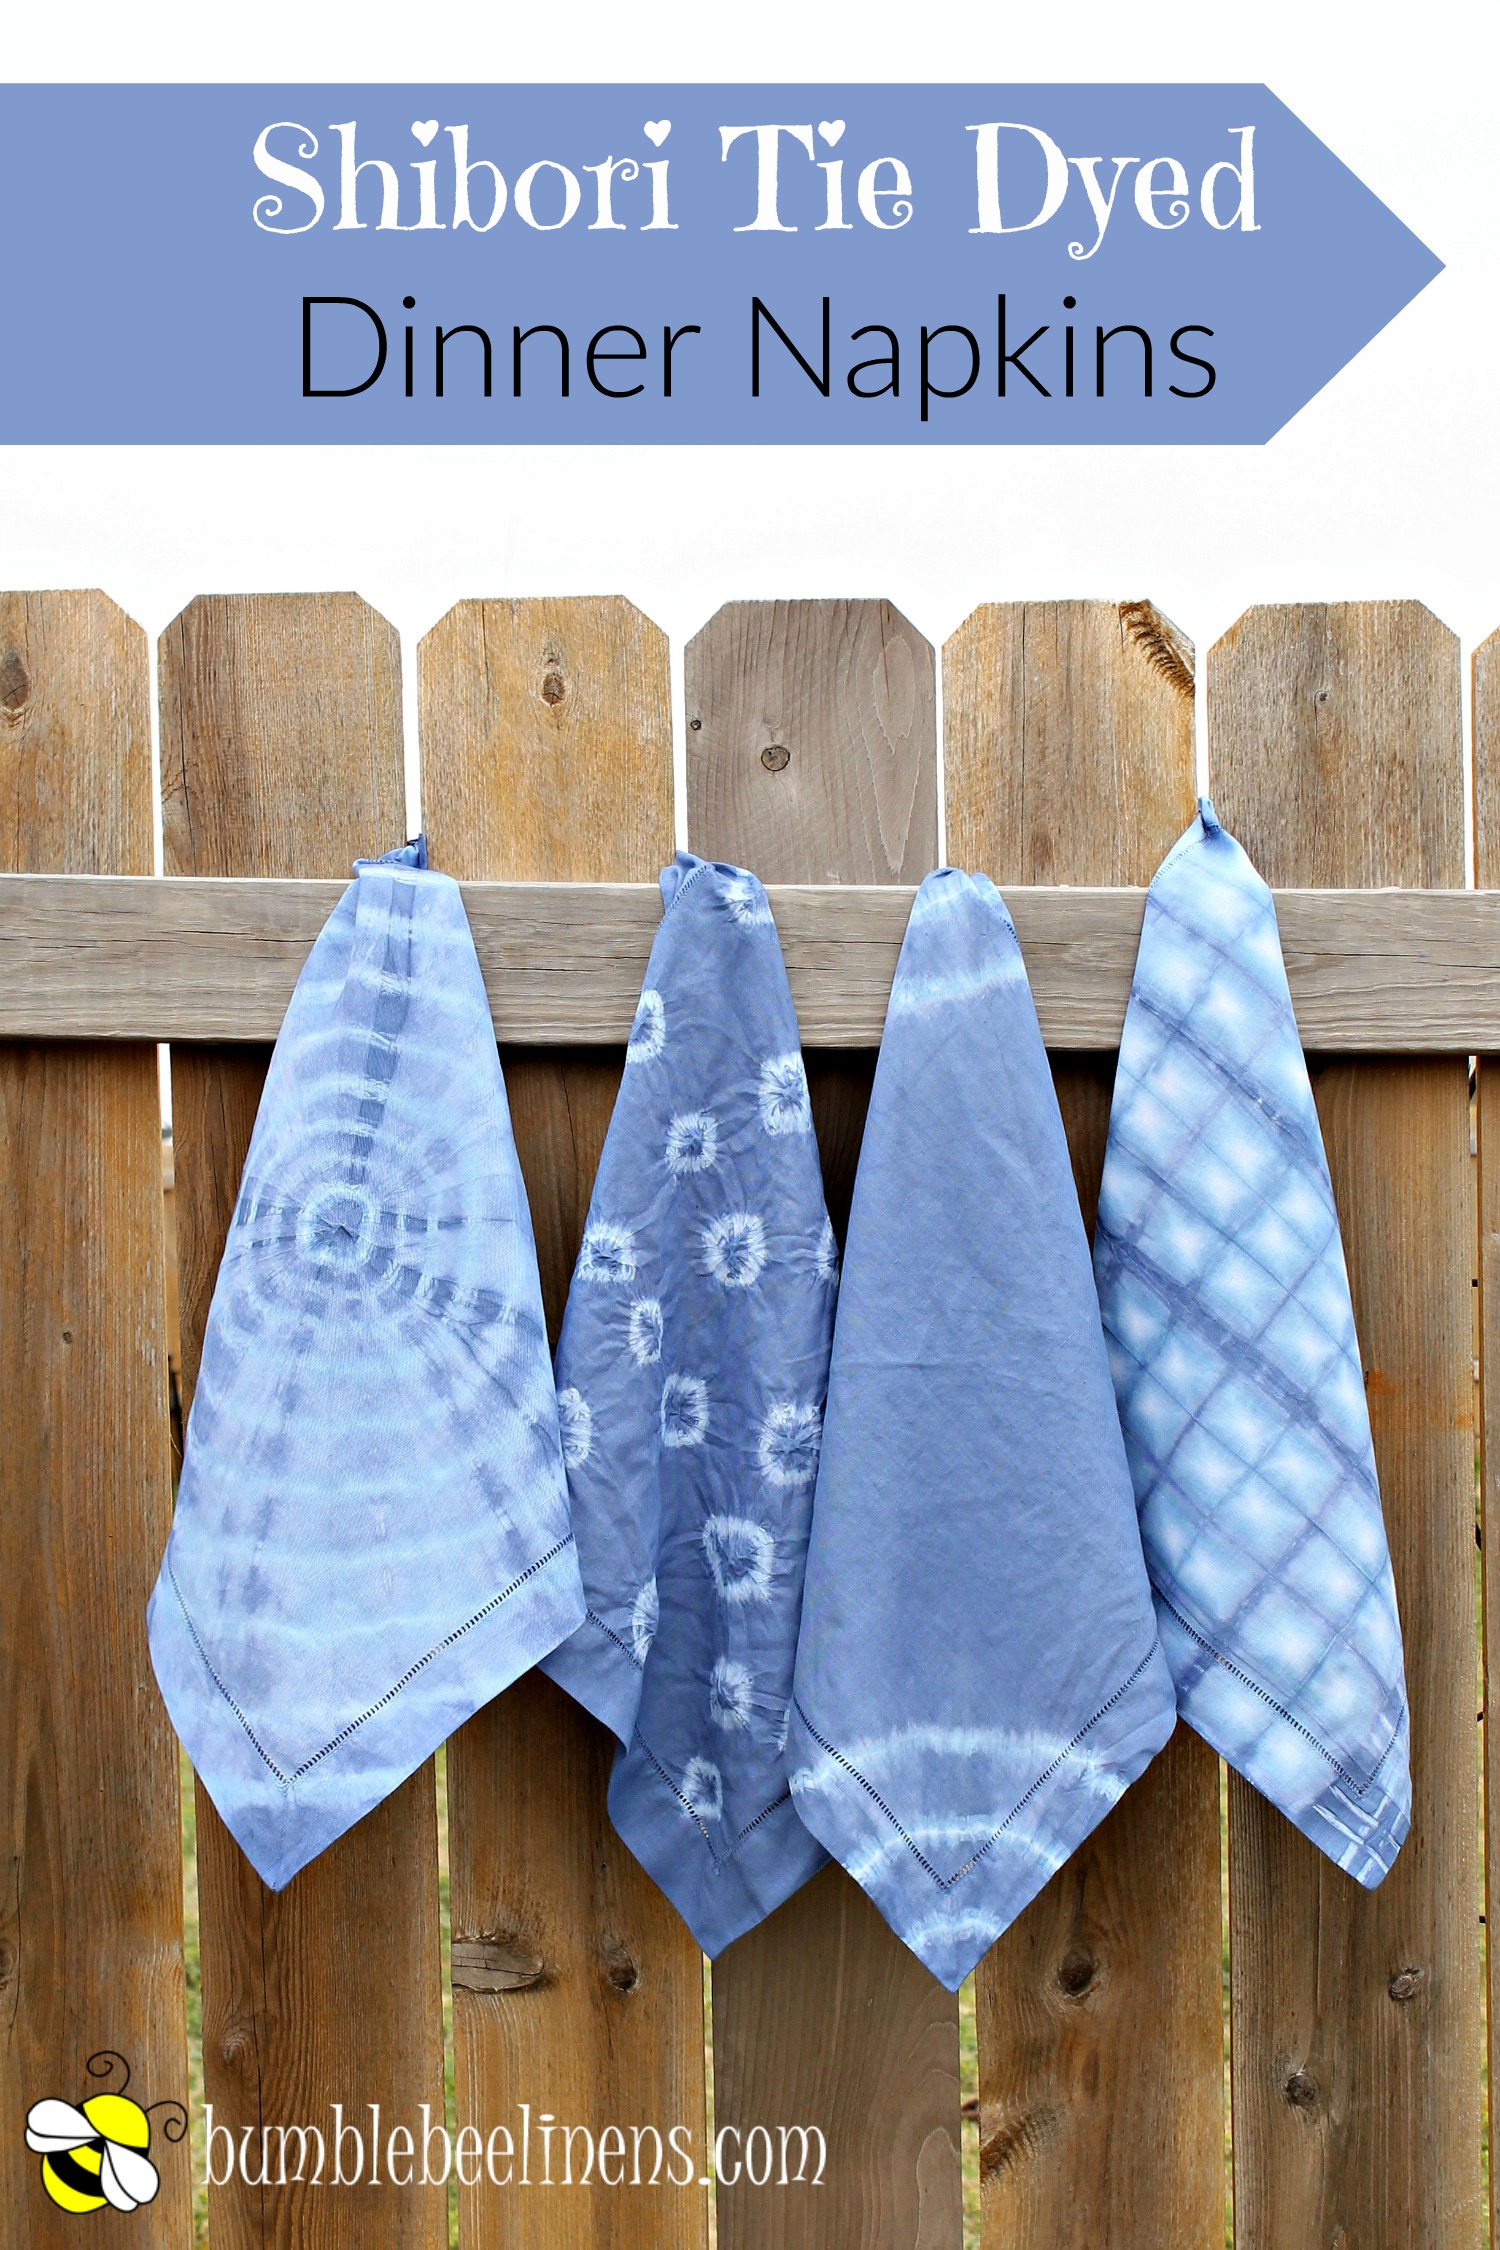
Shibori dying techniques date back to ancient Japan and they are still loved today for their varied and sophisticated patterns and styles. Put a modern twist on this beloved decorative method with these Shibori Tie Dyed Dinner Napkins.
You can make these as a gift or add color and style to your own kitchen.
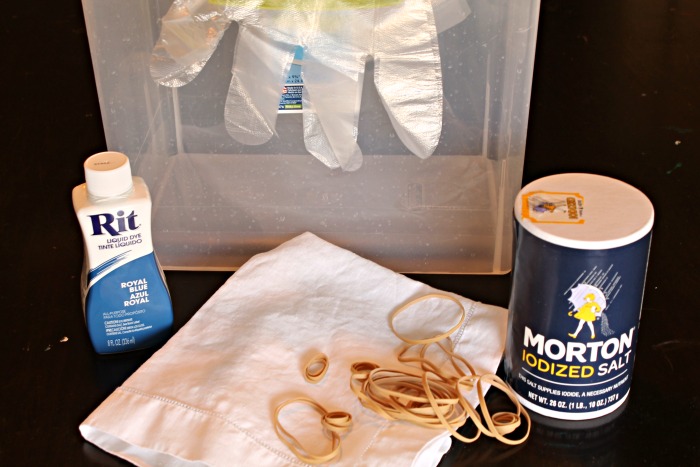
Supplies
- tub
- 1 cup salt
- Rit liquid dye in Royal Blue
- gloves
- rubber bands
NOTE: The contrasting colors in this design depend on deep dye color and dry fabric. We’ve chosen royal blue dye to imitate the indigo color of traditional Shibori designs. You can use whatever color you like, but make sure you choose a deep and rich tone. Begin this project with dry napkins so that the dye will penetrate with more dramatic effect.
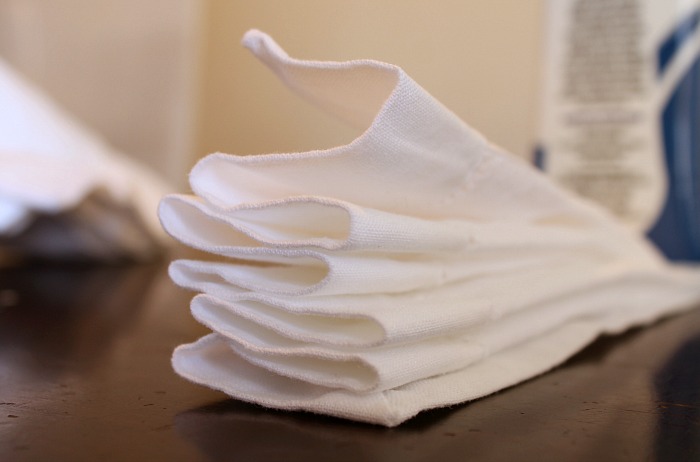
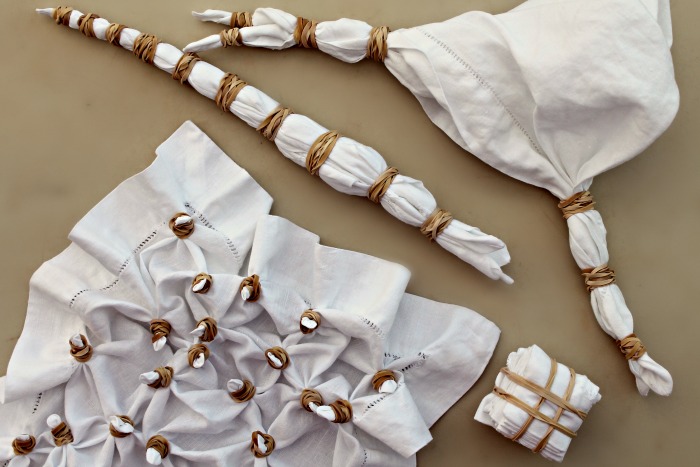
The first napkin we’ll design into a geometric pattern. Fold the first napkin into an accordion fold.
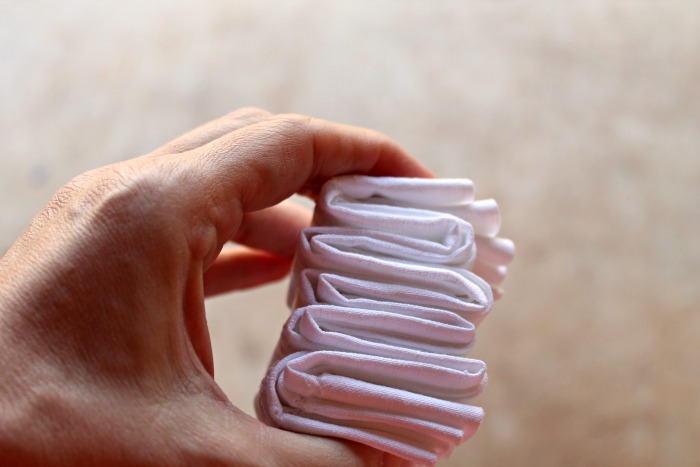
Fold the rectangle into another accordion fold in the other direction.
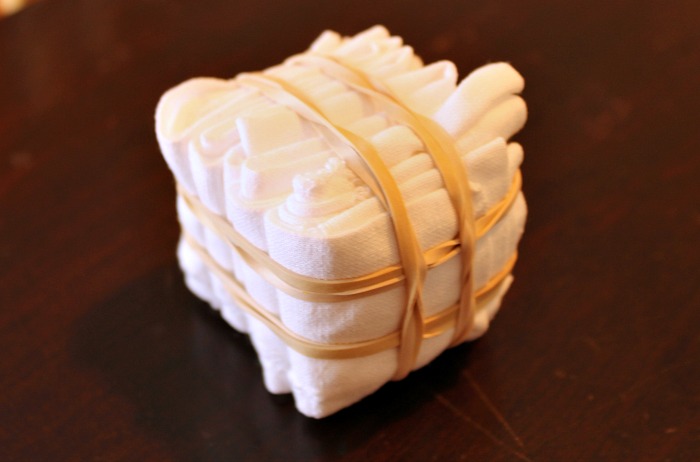
Carefully bind the block of fabric tightly with rubber bands. Make sure to straighten them the best you can so that the pattern will be uniform and symmetrical.
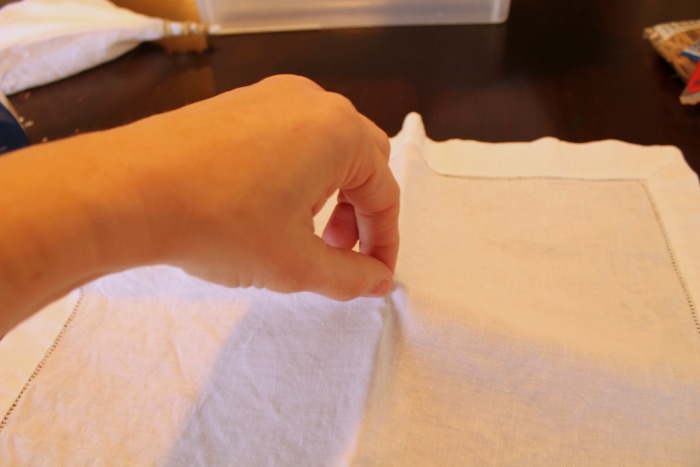
The next pattern will be random circles. Start by pinching about a half inch of fabric between your fingers.
Bind that fabric tightly with a rubber band so that this small portion stands straight up.
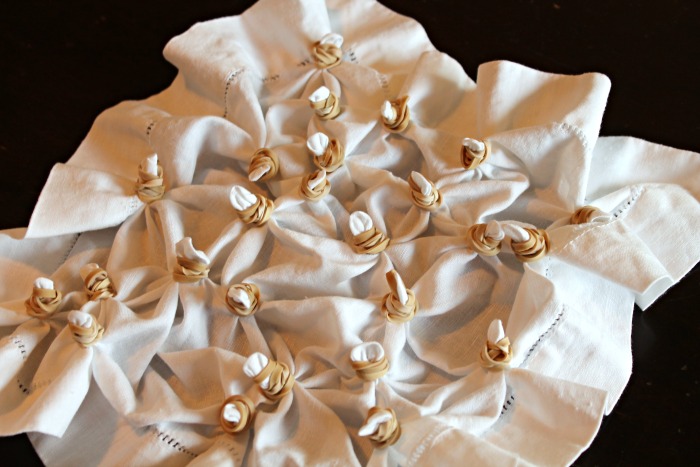
Pinch other areas of fabric randomly and bind in the same manner. Take care to make the pinch and the rubber band bind approximately the same size fabric every time.
Even though the pattern of circles is random, you want the circles to be about the same size and more circular than not.
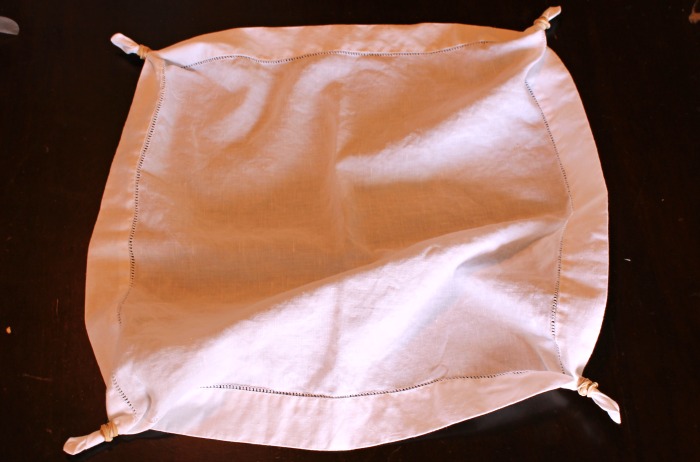
The next pattern will make rings in the corners only. Bind each of the corners with a rubber band about 1 1/2 inches from the corner.
Take opposite corners diagonally and bind those together with another rubber band about 2 inches away. Add another binding for those two corners about 2 inches from the other.
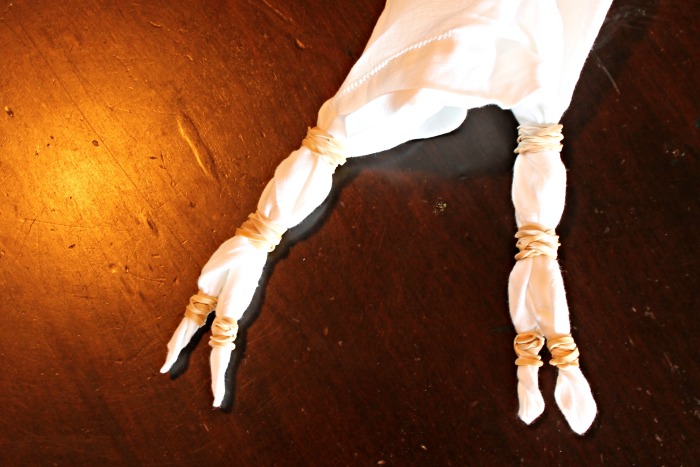
Repeat with the other two corners. So you’ll end up with each corner being bound individually and then bound twice more with the opposite corner about 2 inches apart.
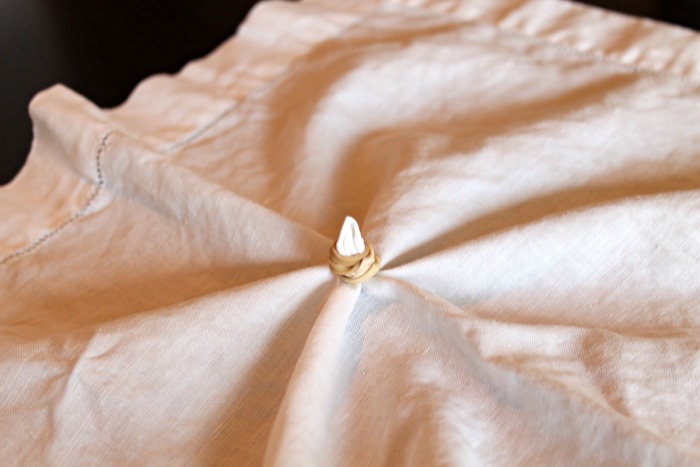
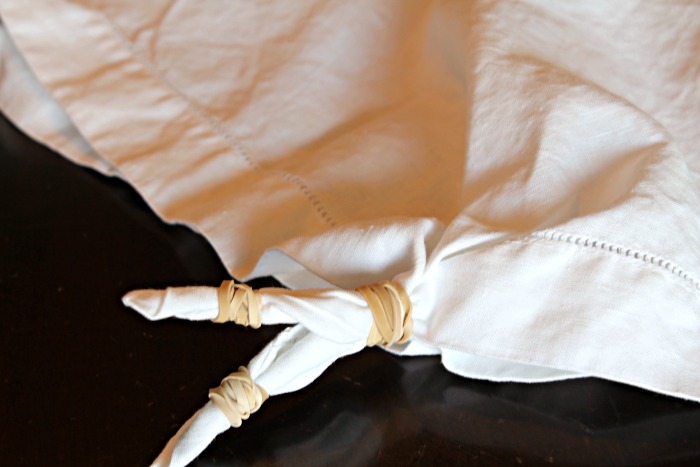
The final pattern we’ll make will be what you generally think of as tie dye. You’ll find the center of the napkin and pinch that into a bound portion with a rubber band.
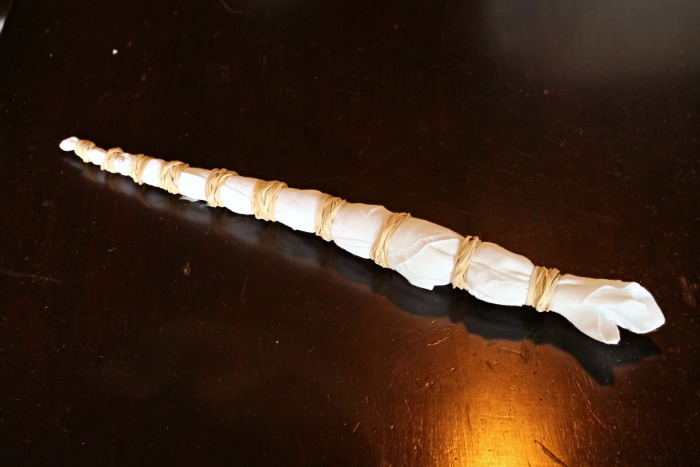
Pick up the cloth and twist the fabric tightly. Bind the fabric again in slightly larger increments so that the rubber bands are increasingly farther apart from one another. For example, if the second rubber band is 1/2 inch from the first then the third rubber band needs to be 3/4 inches from the second.
 Your napkins are ready for the dye bath.

Put on your gloves for the entire dye bath portion to protect your skin from possible irritation and staining.
Prepare the very hot water according to the bottle directions. Add 1 cup of salt and stir to dissolve. I used 1 1/2 gallons of water so that the dye was more concentrated than usual.
Add the fabric to the dye bath and stir for 30 minutes.
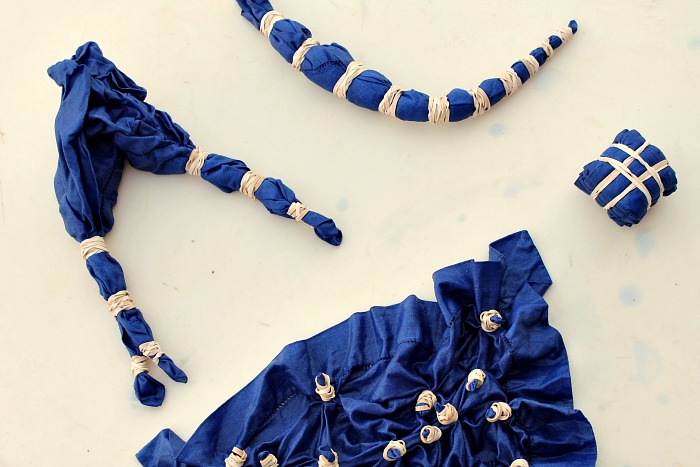
Remove the fabric from the dye bath and rinse with cold water until the water runs clear. There is a lot of dye to rinse out so be patient and don’t rush this step.
Allow the bound and dyed fabric to dry overnight. I feel like this helps the dye last longer.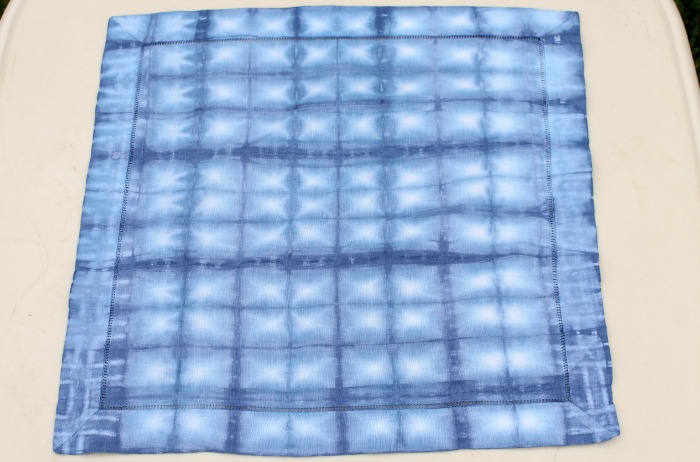
Unbind the napkins and enjoy.
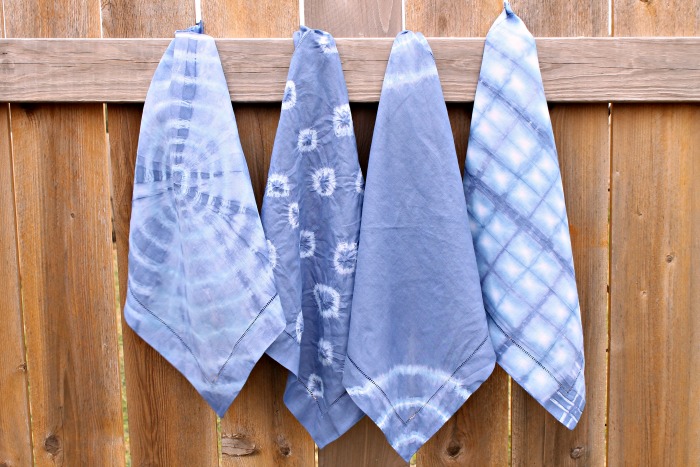
Here is the geometric pattern we did with the accordion fold.
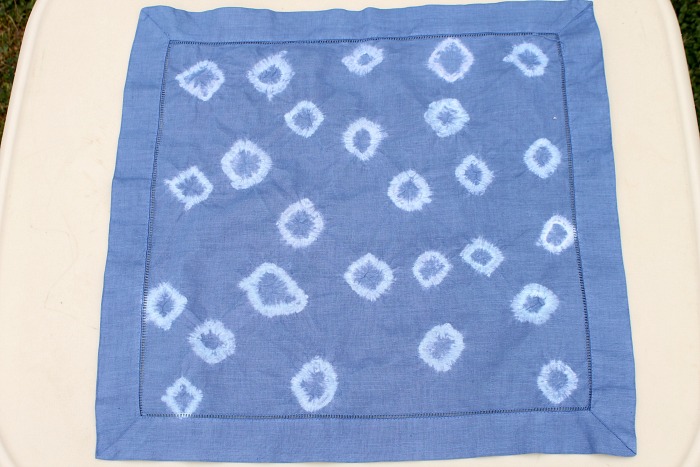
The random circles turned out more or less round.
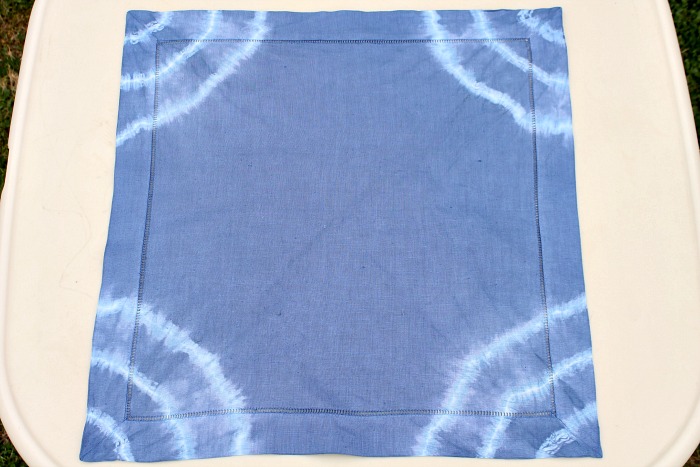
The corners only napkin came out nice and symmetrical.
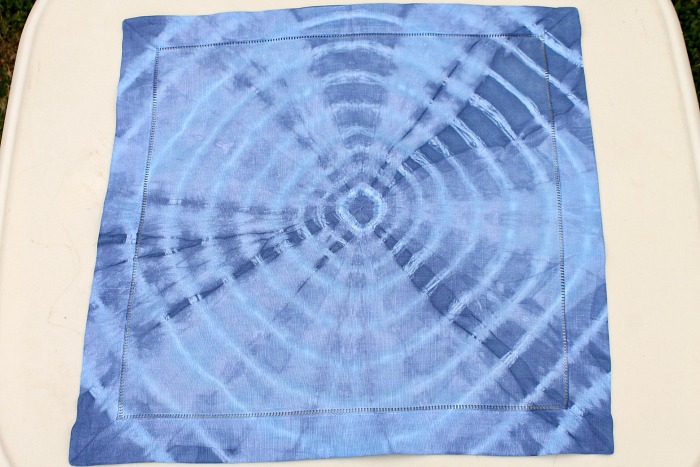
Here is our traditional pattern flowing out from the center. Have fun and explore your own shapes and designs.
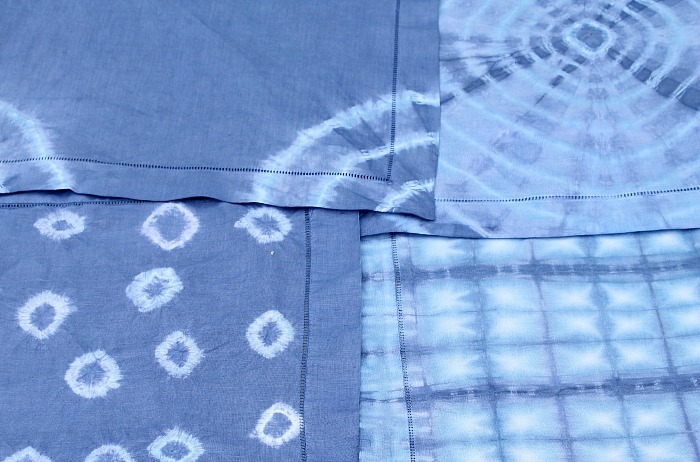
I think these patterns look nice together since they are all unique and carry with them their own beauty.