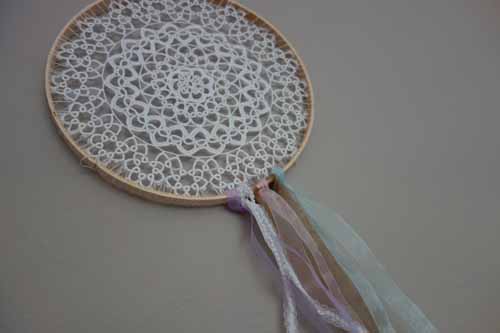
When I was in college, my college roommate had a dream catcher by the head of her bed. Since I’ve never seen one before, I asked her what is was. She explained to me that dream catchers were originally created by Native Americans to catch bad dreams.
The thought behind them is that all dreams occur at night. Good dreams are clear and will always find the way to the dreamer, however bad dreams will get confused and get caught in the web of the catcher. So by hanging the dream catcher above your bed, only good dreams will come to it’s owner and bad dreams will disappear. Since then, I’ve always been intrigued by them.
Fast forward many, many years…now that I have kids, I thought it would be a great idea to create a dream catcher for each of my kids. Now when I say good night, I can point to the dream catcher by their bed and say sweet dreams. And if they wake up at night with a bad dream, I can point to the catcher and say everything will be okay, that the dreamcatcher will catch their bad dreams and that the bad dream will go away by morning.
I thought you might enjoy learning how I made my daughter’s dream catcher.
For this craft, you will need a doily, an embroidery hoop, white embroidery floss and several lengths of coordinating ribbon. You can also add other items like feathers and beads to dress up the dreamcatcher if you’d like! Even twine, burlap, yarn, or extra ribbons can act as extra vintage embellishments.
In my instance, I used a 8″ doily and an 8″ wood embroidery hoop for my daughter’s dream catcher. Dreamcatchers make lovely decorative items for kids or adults with boho style, and you can re-use lace doilies and embroidery hoops from other crafts for a simple, fun doily dreamcatcher. You don’t even need a DIY doily pattern, though you’re certainly welcome to craft your own.
First you will need to “break” apart the embroidery hoop. Use the hoop that does not have the clamp on it. Lay this on a flat surface. Place your doily inside.
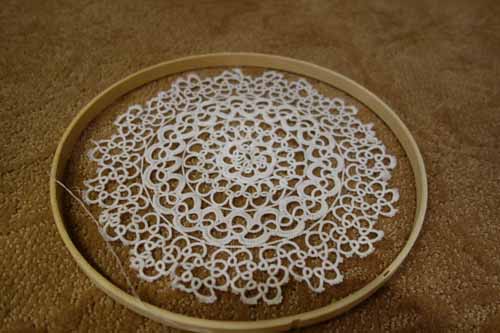
Using 3 threads of embroidery floss together, tie the doily to the hoop in four different places, one at the top, one at the bottom and on each side. The goal of this is to make the doily stay in place.
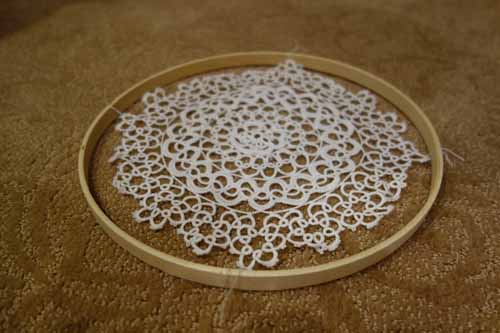
Now thread a needle with 3 threads of embroidery floss. Using the threaded needle, pull the thread to wind around the loop of the doily and then around the hoop. Continue to do this until the entire hoop is done. Please note: You are not sewing onto the doily, but through the loops. You are essentially wrapping the doily to the hoop with the embroidery thread. It just looks as though the doily and hoop are stitched together.
If you’d like, you can break out your crochet tools and some yarn, but this simple technique will get the job done nicely.
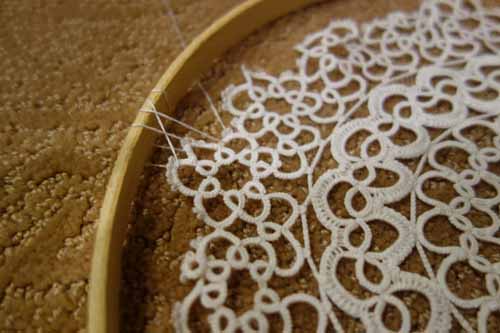
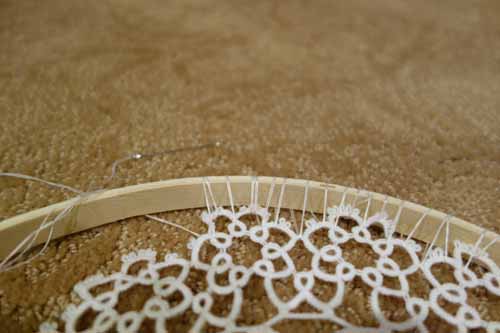
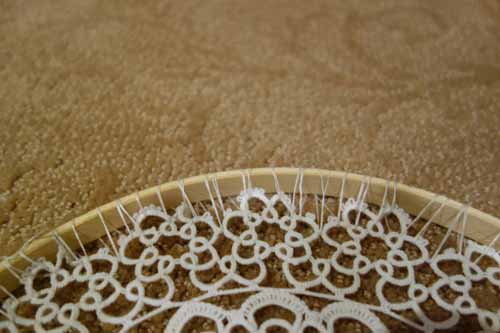
Once complete, tie off the thread so that it doesn’t unravel.
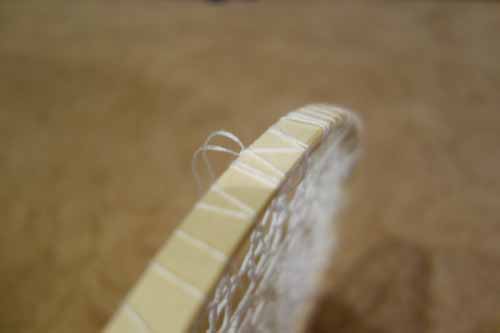
Now for the decorative element, take a bit of ribbon and fold it in half. In my case, I cut the lengths of ribbon into 20″ pieces.
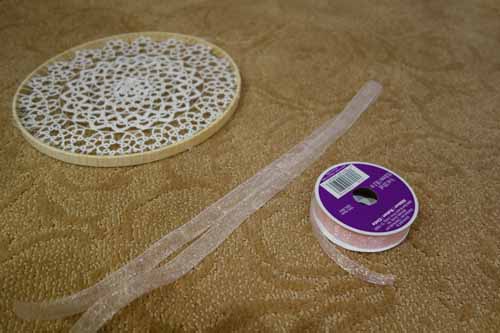
Take the loop portion of the ribbon and pull it through the dream catcher’s bottom.
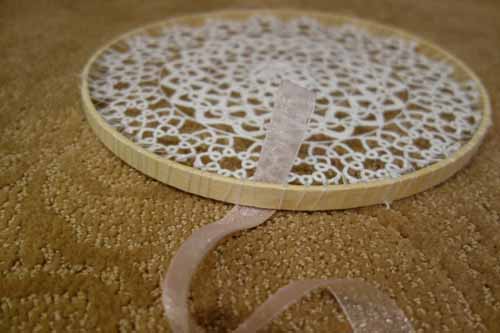
Now pull the loose ends of the ribbon through the ribbon loop. You are basically creating a noose knot.
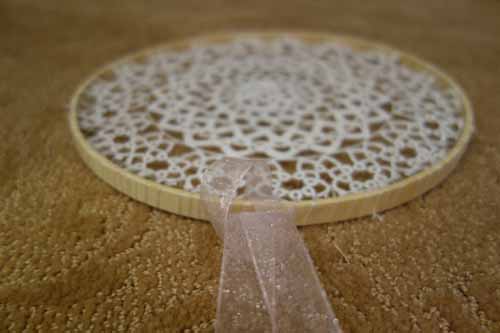
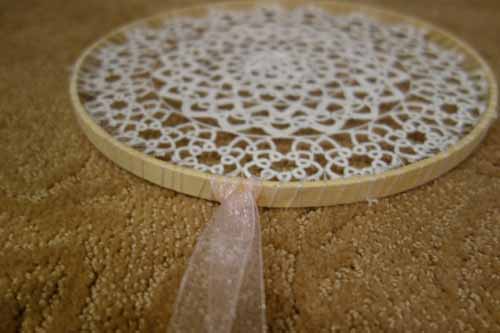
Repeat with the other pieces of ribbon.
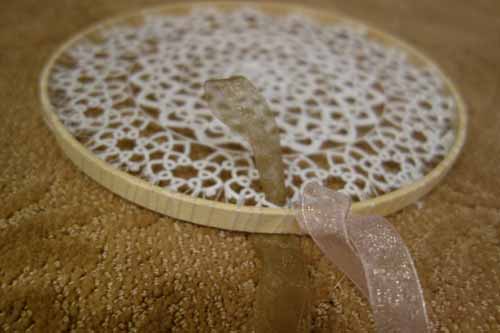
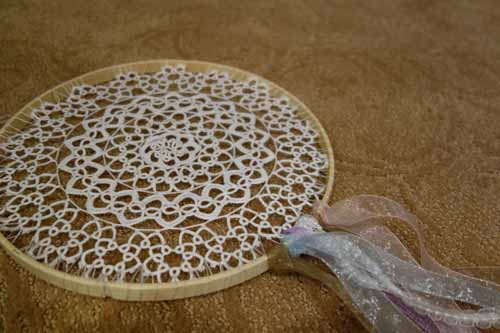
Didn’t the dream catcher turn out lovely? You have sweet dreams, you hear?
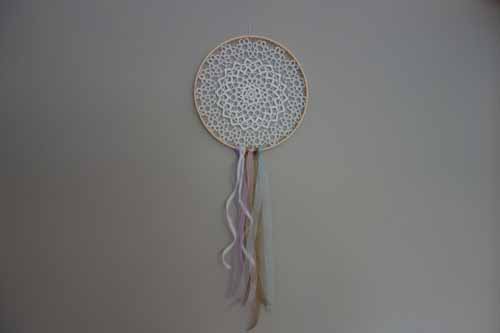
Craft Material List
1 x Doily {Bumblebee Linens}
1 x Embroidery Hoop (same size or bigger than your doily) {Michaels}
White Embroidery Thread {Michaels}
Coordinating Ribbon Cut in 20″ pieces {Michaels}


Thank you for this!!