
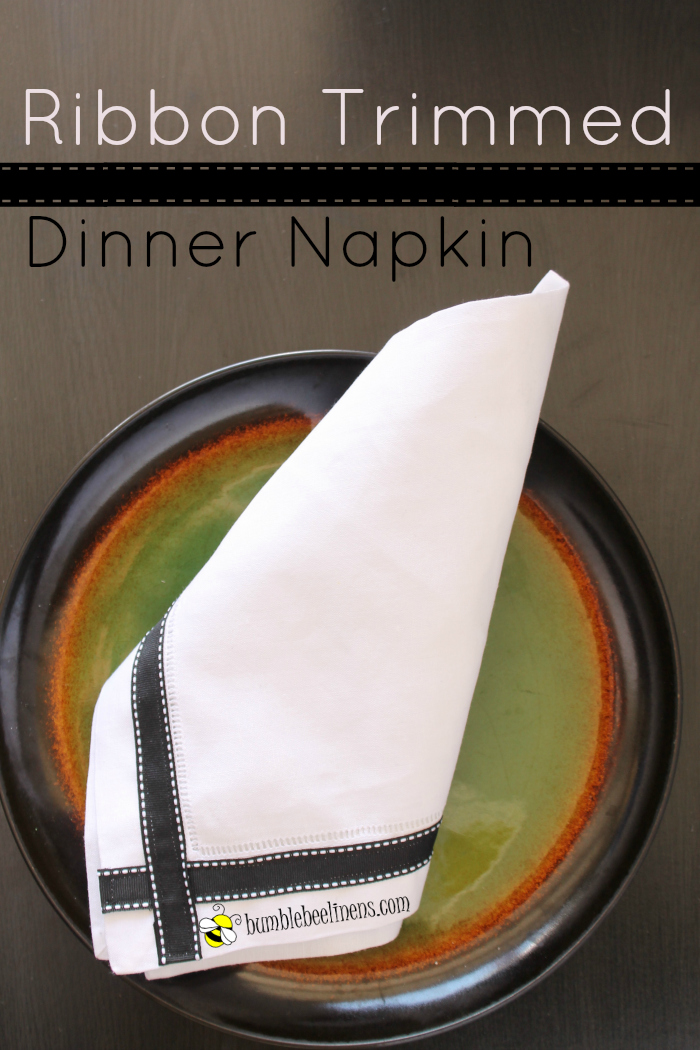
These Ribbon Trimmed Dinner Napkins add a sophisticated touch to any event. They’re a perfect project for beginners seamstresses and take less than 30 minutes to complete. How easy is that!
With adult supervision, a young seamstress could use this as a giftable project at Christmas. It’s a series of straight stitches that can be accomplished on the most basic machine.
Make sure that you use a new needle on your machine and the lightest weight needle so that the stitches in the linen are less noticeable.
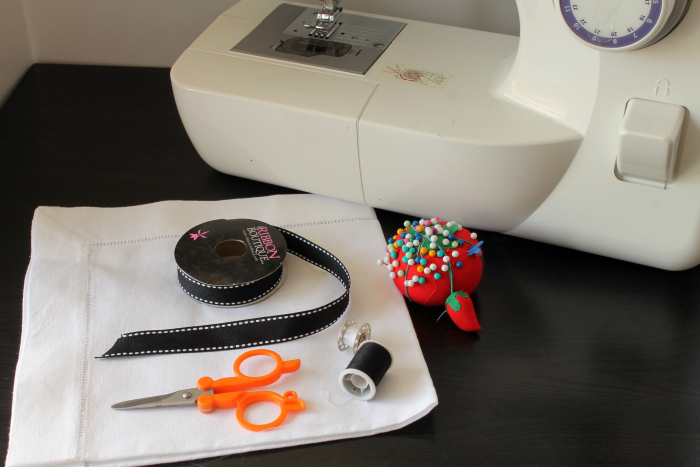
Supplies
- Dinner Napkin
- Scissors
- Ribbon
- Pins
- Colored Top Thread
- White Bobbin Thread
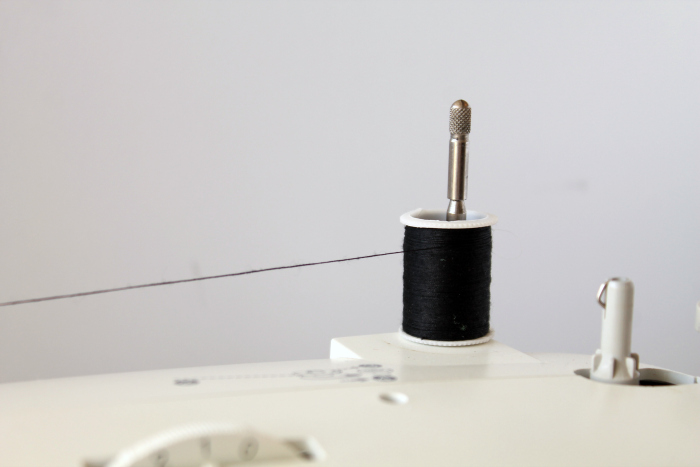
Thread your top thread on your sewing machine to match the ribbon color. In this case, we used black ribbon. Since this ribbon will show on the top of your finished product, you want to make sure it matches the ribbon as close as possible.
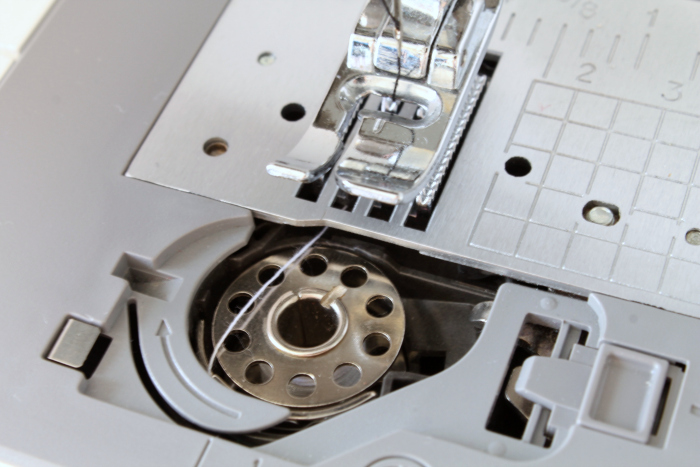
Set up your machine so that the bobbin thread is white. This thread will show on the bottom side of the napkin and you want it to blend in and not be noticed.
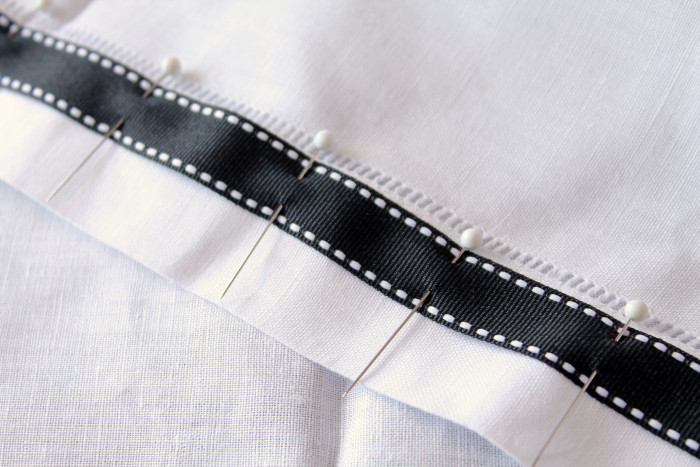
Cut 4 lengths of 1 inch longer than the length of each side of the napkin. For example, if your napkin is 12 inches square then cut each piece of ribbon to 13 inches. Cut the end on an angle. Pin the ribbon just under the hemstitched side.
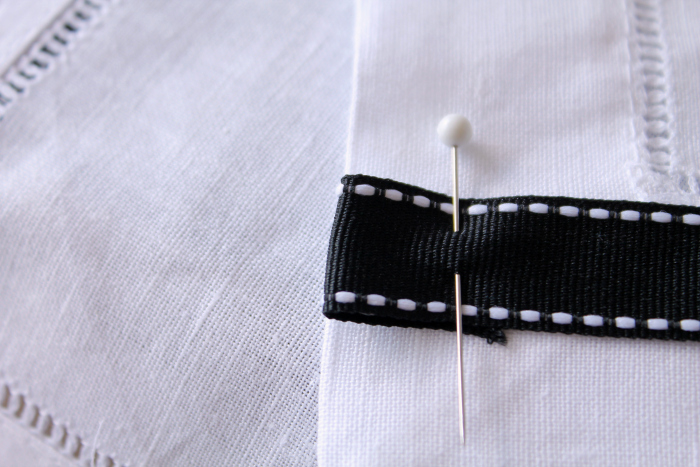
Turn under the end and pin in place.
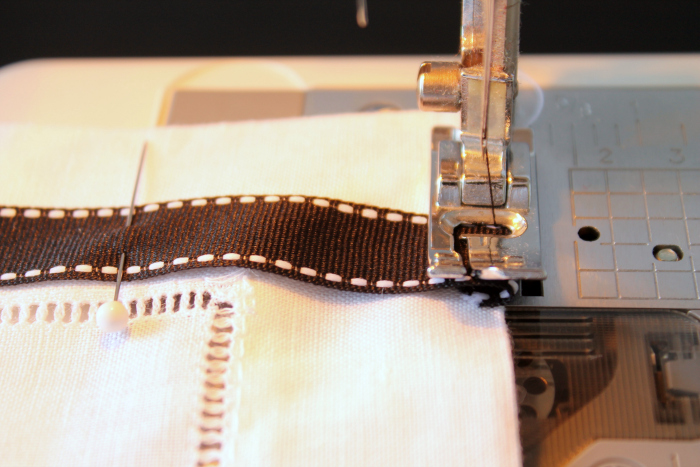
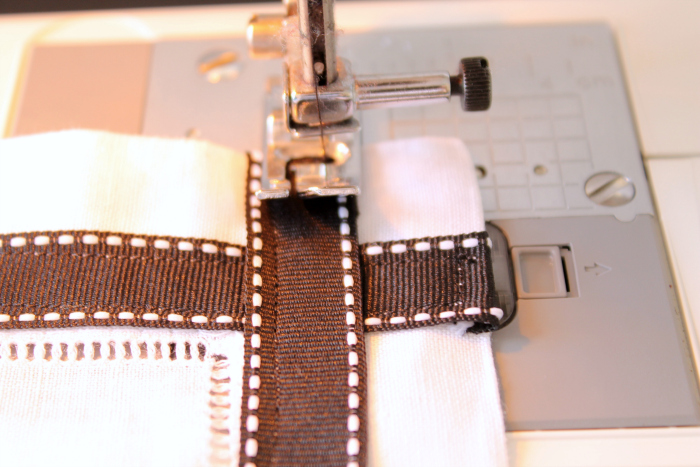
Start on the short end of the ribbon where it’s pinned under. You’ll stitch this with a straight stitch on the edge.
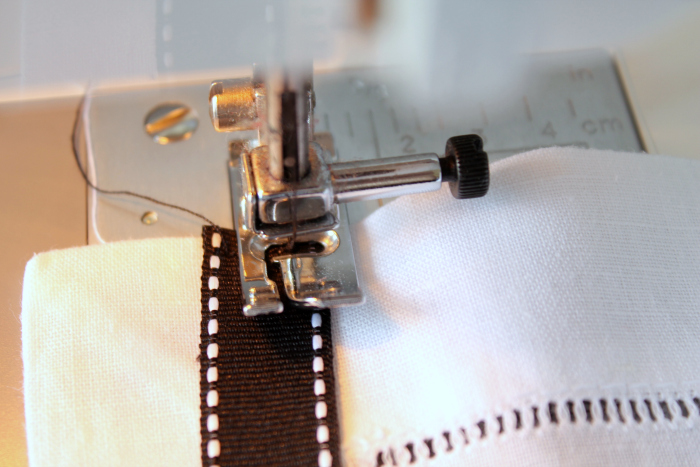
Turn the napkin and continue to stitch along the long part of the ribbon. Continue to stitch around the other sides of the ribbon until you’ve sewn a rectangle along all four sides. Finish with a back stitch.
Continue to pin and sew a ribbon on each of the four sides in the same manner. You’ll overlap the ribbons at the corners.

This is a closeup to show that you can barely see the white bobbin thread in the topstitching on the ribbon.
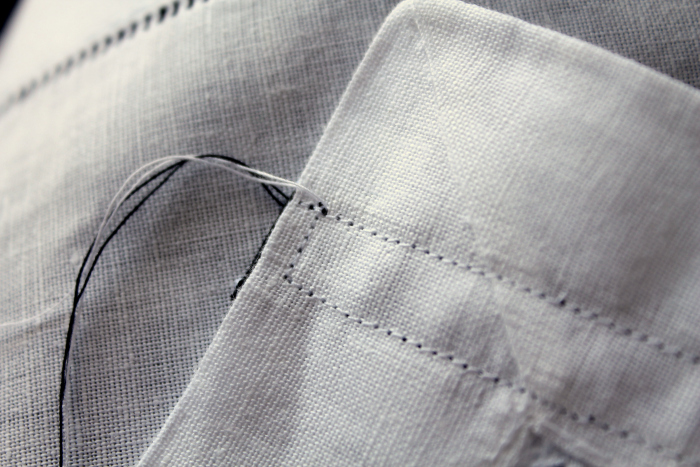
This is a closeup of the backstitch. The white blends in well and the black top thread is barely visible.
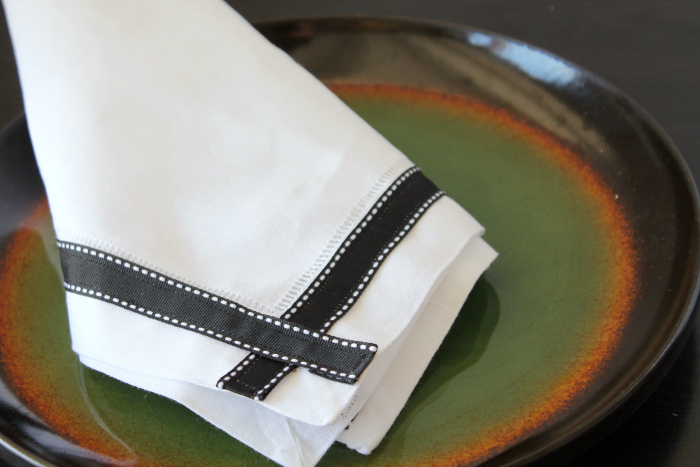 Make a whole set of these ribbon trimmed dinner napkins for your next party. They make great gifts. You could even make them for a bridal shower and match the wedding colors. Or make them for an alumni gathering and use the school colors. The possibilities are endless and your guests will be impressed with this beautiful touch of style.


