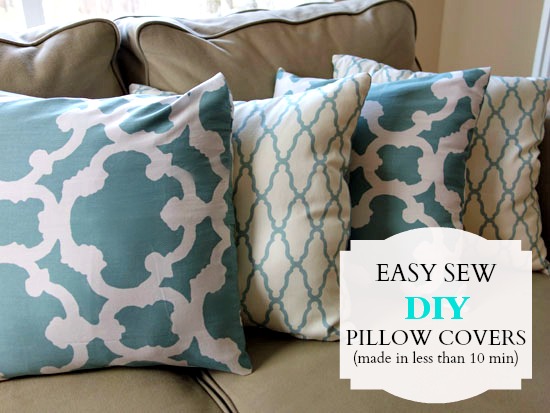
Today is all about making some easy pillow covers. Trust me it’s super simple and requires very little sewing. And from someone that can barely sew a straight line, that’s saying something.
These pillow covers can be made in less than 10 minutes. You basically just need to be able to measure a pillow, pick and cut fabric and machine sew in a straight line (or at least attempt too).
So I decided to finally revamp the throw pillows in my family room. This project is long over do since the pillows in this room don’t match anything in my house and it’s been like that for at least a year. I don’t hate the pattern on the pillow, it’s just that the colors don’t work for me.
Even though I bought these pillows myself, it just wasn’t what I was expecting when I received them. The thing is, I purchased them online for a killer price and once they arrived I had to do a double take. I don’t know if it’s my computer screen setting or the website’s fault but the pillows are clearly not khaki, dark teal, and light teal. But instead of returning them I decided to keep them. What can I say, the price was right and I was too lazy to mail them back.
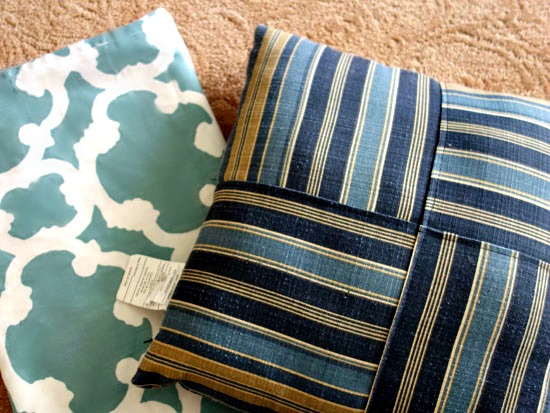
Measure Your Pillow
Measure your existing throw pillow or pillow form with a measuring tape. Take the horizontal measurement and add 1 inch (for 1/2 inch hem). Take the vertical measurement and double it and then add 9 inches.
Since my throw pillow measures 18″x18″. My fabric measurements will be 19 inches by 45 inches (18″ + 18″ + 9″ =45″).
Pick The Fabric
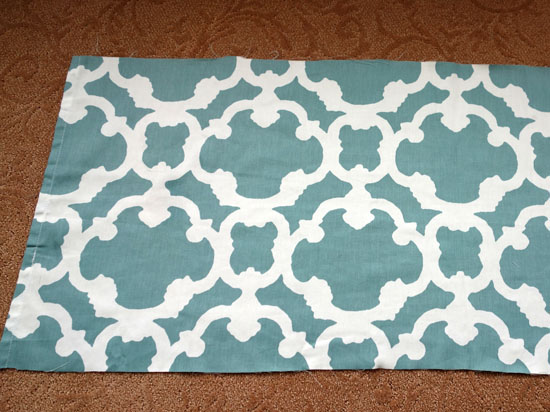
There’s so many wonderful fabrics out there to choose from. Pick something that speaks to you. In my case, I had some left over fabric from my sink skirt tutorial that I wanted to use.
In that craft, I used fabric from a shower curtain that I purchased from a big box store. As mentioned with that craft, I love using shower curtains for fabric because it’s often cheaper than purchasing designer fabric, especially if you need a large amount of it. Plus shower curtains nowadays come in lovely colors and patterns. It’s no longer the plastic ones you grew up with.
Measure your fabric (or in my case a shower curtain) and cut the fabric to the measurements listed above.
Stitch It
First you are going to hem one of the short edges (the horizontal measurement 19″ ). Since I’m reusing the left over fabric, I was able to skip this step since I still had a nice hemmed edge left over from the shower curtain I used. What’s nice is that this edge is what will be seen by others. My “wavey” sewn side will be inside the pillow cover. Win, win plus… I love short cuts don’t you?
Lay your newly hemmed fabric onto the floor right side up (top of fabric face up), with the hemmed side on the left.
Place your throw pillow on top of the fabric approximately 9″ from the left edge of the fabric.
Fold over the left side of the fabric’s edge over the pillow.
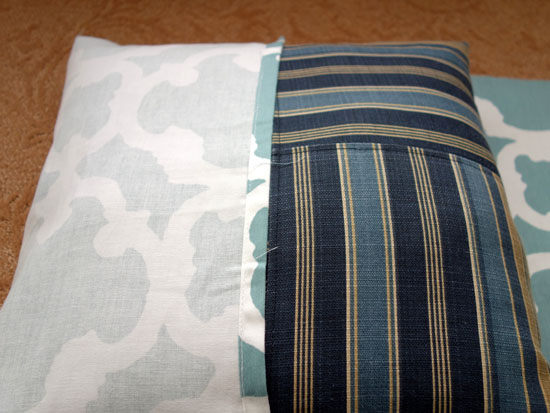
Then fold over the right side of the fabric over the pillow.
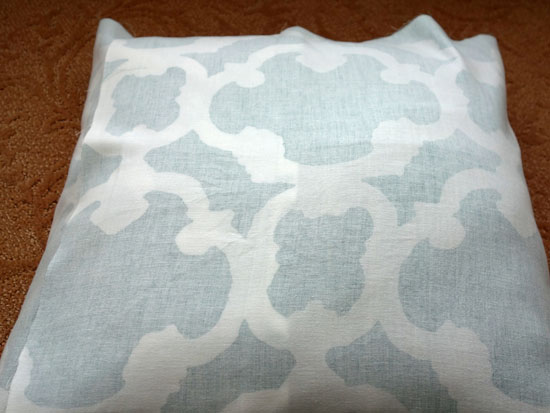
Pin one of the sides down to hold it together. I pin around the pillow versus using the exact measurements because I want a super tight fit. I like a tight fit pillow cover because loose and sloppy covers are not cute. You can use the measurements, however.
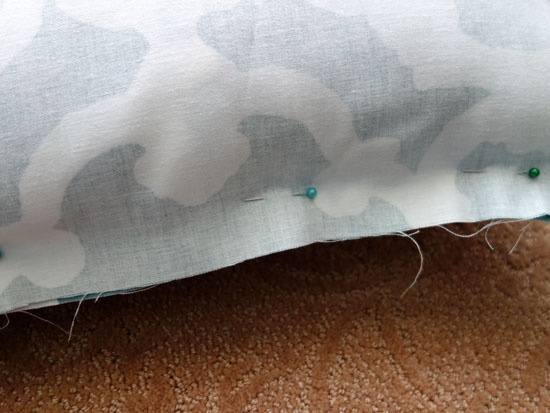
Remove the pillow form from the fabric and pin the other side down.
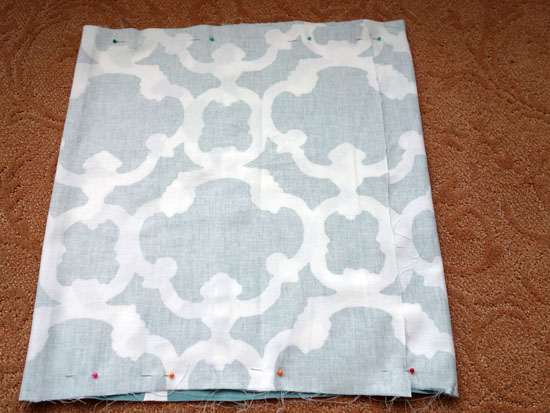
Now machine sew both sides of the pillow covers closed. Shouldn’t take long since you are only sewing two sides.
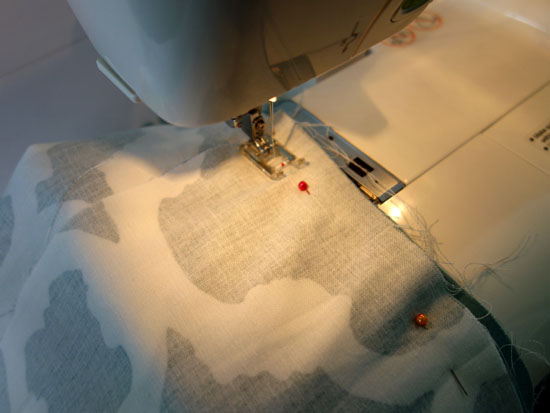
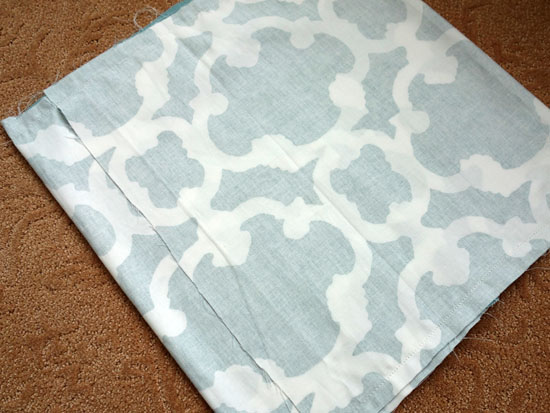
Turn the pillow cover inside out and stuff with your pillow form.
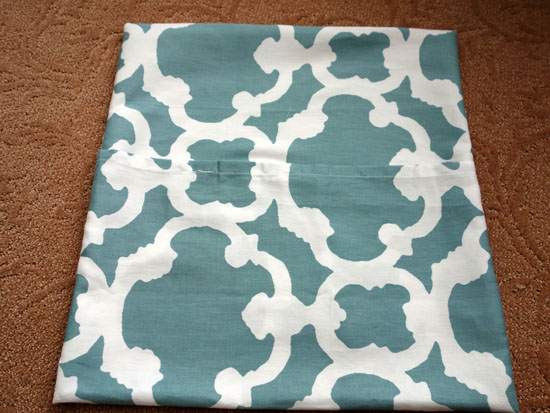
If done correctly, the back of the pillow cover should look like this.
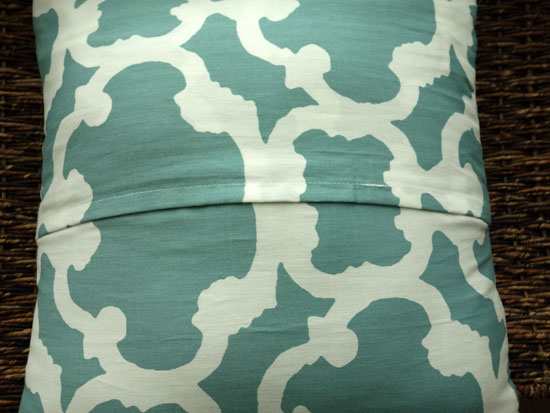
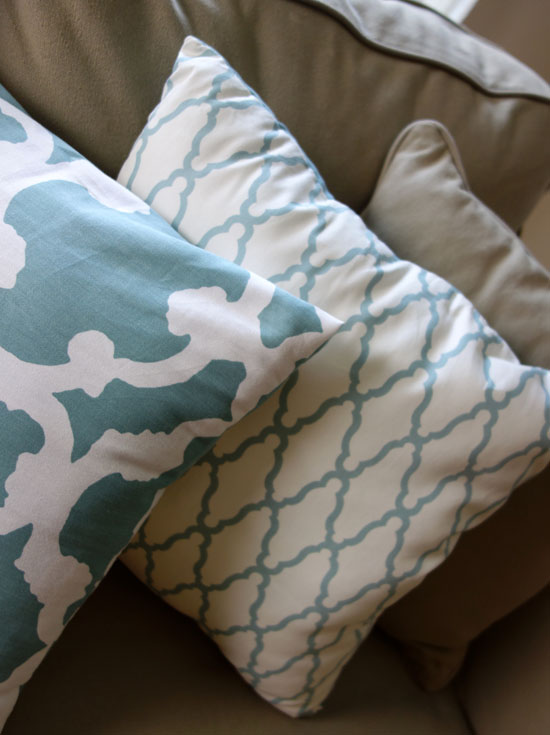
I think the throw pillows turned out pretty great. Such an easy way to update your house on the cheap and best yet, it required very little sewing.


Wow this is so cool. Great list of pillows