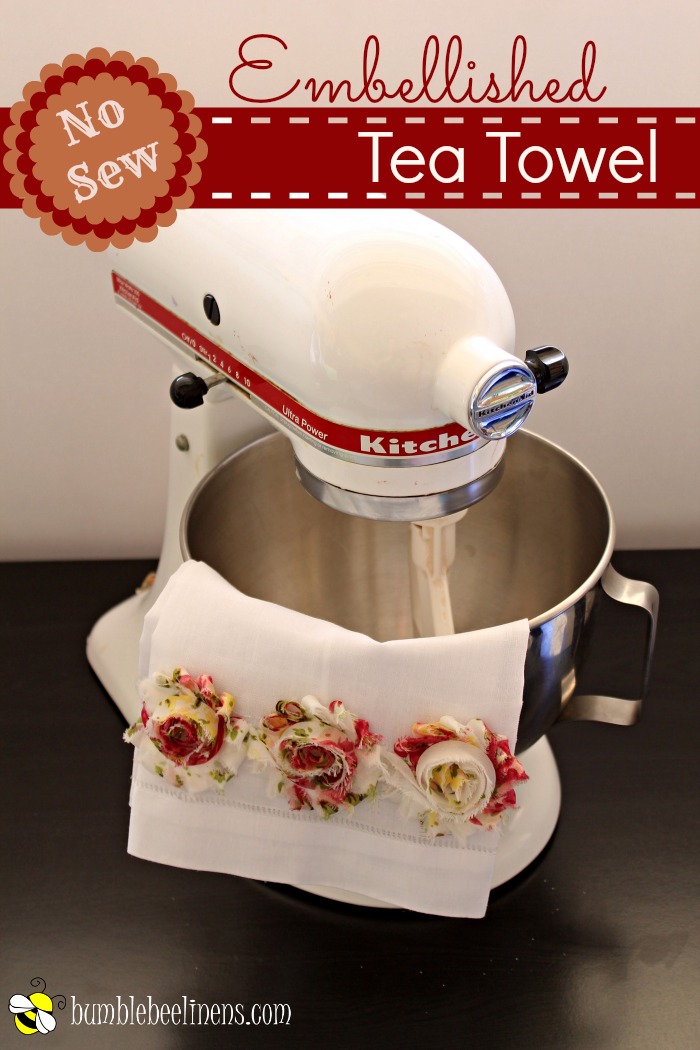
These simple and fast No-Sew Spring Embellished Tea Towels are completely adorable. They would make the perfect bridal shower gift or housewarming gift. You don’t need any sewing skills and they’re completely washable for a lifetime of enjoyment.
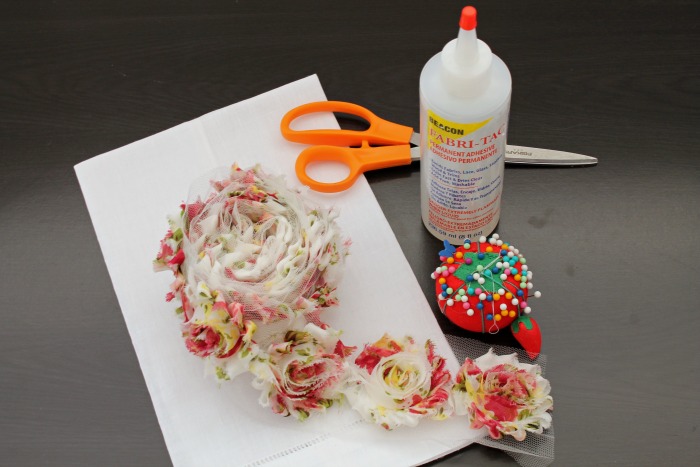
Supplies
- hemstitched tea towel
- ribbon trim
- scissors
- straight pins
- washable fabric adhesive
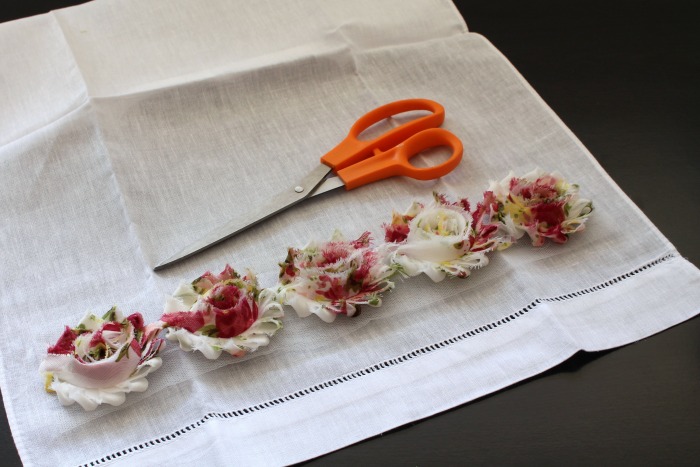
Position the uncut ribbon trim on your tea towel to find the appropriate length of trim for your project.
Most ribbon trim will work best if you let the ribbon wrap around the sides of the towel and end about 1 inch onto the back of the tea towel on each side.
In my situation, I chose a trim that wouldn’t look great if wrapped all the way around. Therefore I ended my trim to end in the front.
I also chose to position the trim so that the towel could be folded into thirds without folding the rosettes. Depending on the embellishment, you should find the placement and length of trim that works best for your use.
Cut the trim to fit your needs.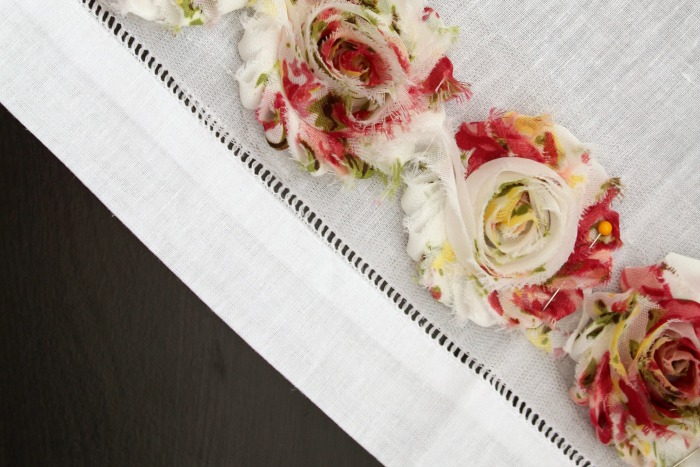
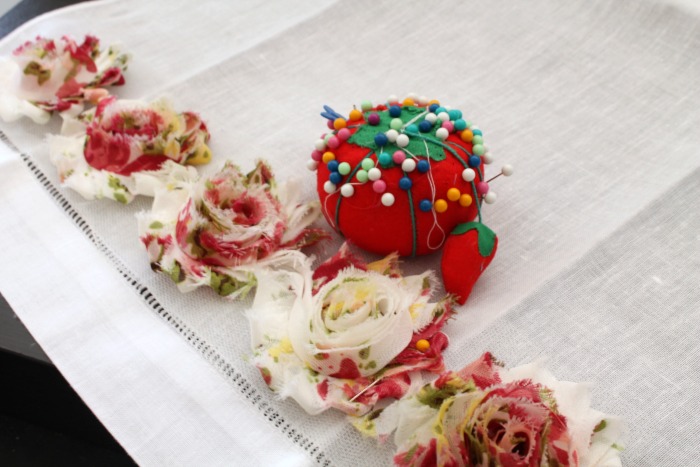
Position the trim on the tea towel and secure with straight pins all the way across the width of the towel. I chose to position my trim above the hemstitch detail on the hand towel. You can place your trim as close to the hemmed edge as you like, but it looks best to leave about 2 inches of towel below the trim.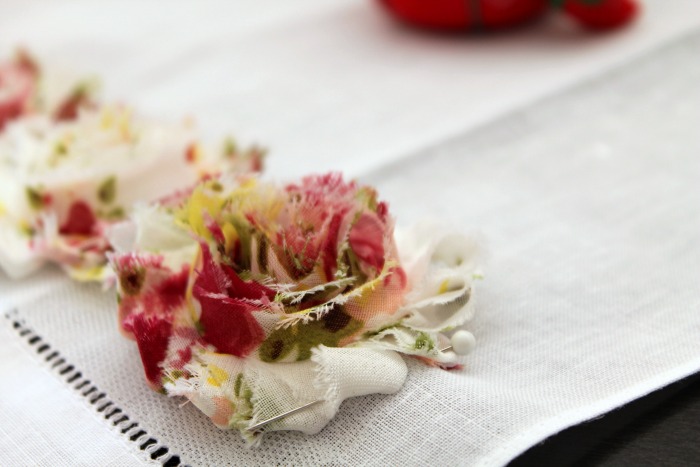
You’ll want to turn under the ribbon ends and pin them under also. This will make sure that there are no loose edges. The trim I used had a mesh backing that was almost invisible on the towel, but it still makes for a more finished look to turn under the edges so that no raw cut edges are exposed.
Pin the trim all the way across the width of the towel making sure to keep the trim at the same distance from the hemmed edge of the towel. This was easy to do with the hemstitched towel we used. If you don’t have a built-in guide like our hemstitch detail, you might want to mark a distance across the width of the towel to keep your trim straight. You can mark that with straight pins or a disappearing ink pen, if that helps.
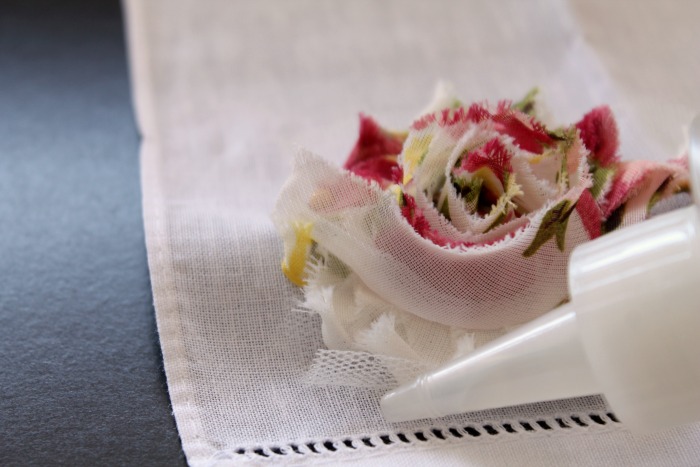 Apply a tiny bead of adhesive along the edge of the trim and press down for a few seconds. Pay special attention at the ends to make sure to adhere the turned under fabric all along the cut end. This will keep the trim in place and keep it looking good even after machine washing.
Allow the glue to dry for about 30 minutes before removing the pins. Make sure to follow the adhesive label for complete drying and washing directions.



i’m a linens junkie! – love this post and can’t wait to see the ideas in the ebook! thanks. – maybe i can dig myself out from under all this lace and embroidery i’ve been ‘hoarding’ (according to my son – while i call it ‘collecting! LOL!