
I’m going to confess, I’ve been wanting to do this craft for a VERY long time. Not because my chair cushions are disgusting, which they are, but I’ve been dying to use a staple gun. It’s silly but I’ve wanted to use one for YEARS. I’m guessing it dates back to when I used to watch hours and hours of the TLC design show, Trading Spaces. Does anyone else remember that show?

The premise of that show was that there were two sets of neighbors and they would swap houses and redecorate a room in the other person’s house in a short time frame. They were given a designer, a $1000 and 2 days to do the work. On that show, they always used to reupholster something, whether it be chairs or headboards or in some cases, entire walls.
(Editor’s Note: One of my bucket list items is to be on any of the HGTV or TLC decorating shows, so if you know a producer, please hook this girl up….Pretty please)
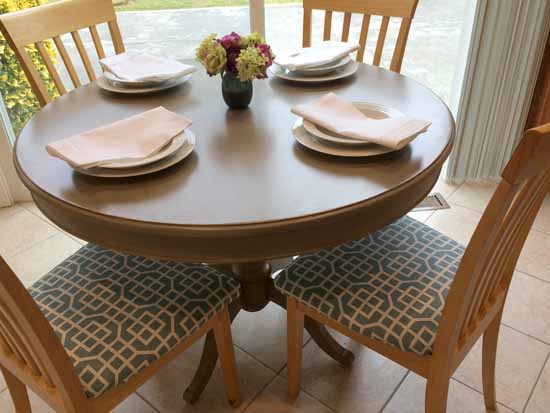
So earlier this year we did some light remodeling in our kitchen. One of the things that we did was swap out our rectangular kitchen table for a round one. The eat-in portion of our kitchen is pretty tight so my thought was that a round one would allow for more room to walk by. I found one at Ballard Designs that I love.
My intention was to find some matching chairs but I didn’t love the options they had and they were crazy expensive. Who knew that chairs could start at $200-250 a piece? If I’m going to pay that much for chairs, I better love it.
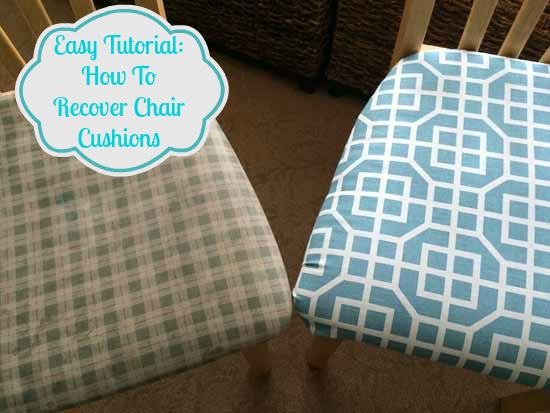
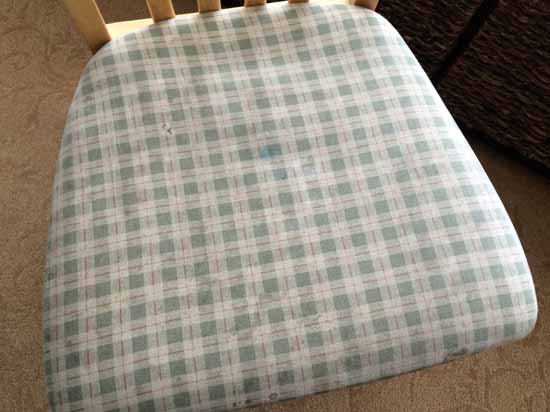
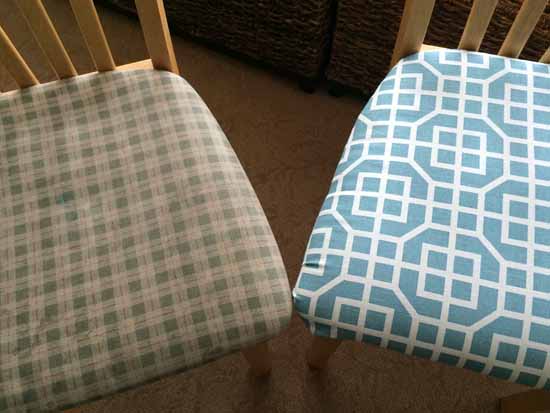
Since I haven’t found any chairs that I love yet, I decided I would just keep the chairs that we have and refresh them by replacing the chair cushion, because they are way yucky. The fabric is stained, faded and worn through.
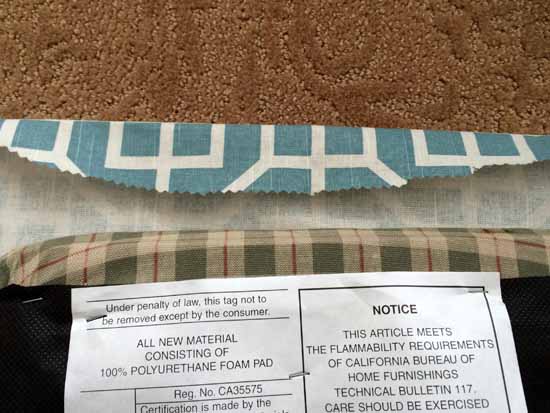
Since I love saving money, I decided instead of buying custom decorator fabric and getting it professionally done, I decided to recover the cushions myself with an inexpensive tablecloth. Not only are tablecloths super affordable, but some tablecloths come scotch guarded and are stain resistant. So if they get dirty, all you have to do is wipe it down.
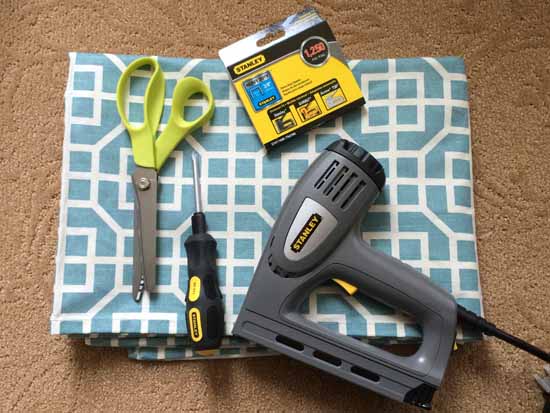
For this project, you are going to need a screwdriver, a tablecloth, pinking scissors and a staple gun.
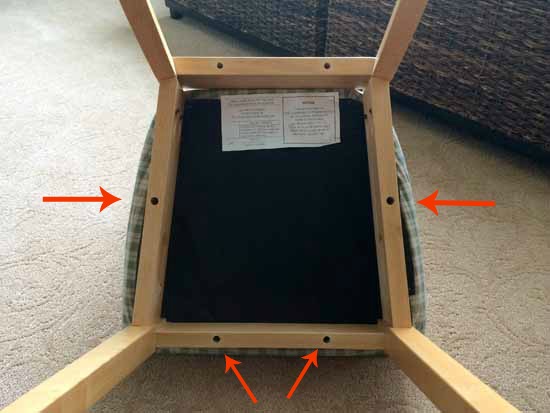
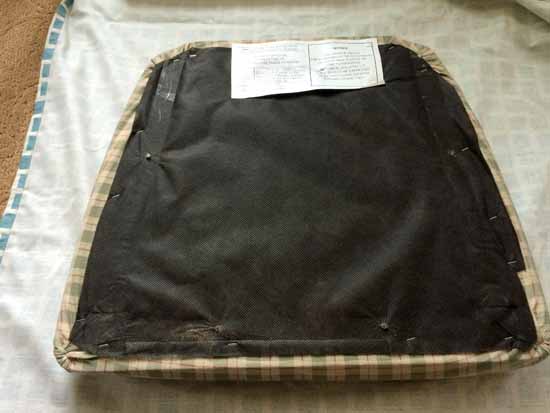
So first you are going to turn your chair upside down and unscrew the cushion seat from the chair base. On my chair the screws were in four places.
Once you have removed the seat base, lay it upside down (cushion side down) onto your ironed table cloth. The fabric pattern should also be facing down. (Please note I decided not to remove the original fabric since I’m not sure what’s underneath it.) If you are using patterned fabric, make sure you lay down your cushion on top of the fabric straight.
With pinking shears, cut the fabric slightly wider than the shape of your chair seat. Be sure to leave enough space around the fabric that there’s enough that you can easily staple the fabric onto the chair seat.
So now for the fun part, load your staple gun. I bought a electric staple gun but you can also use a manual one. Read the directions on the packaging to see how you load it.
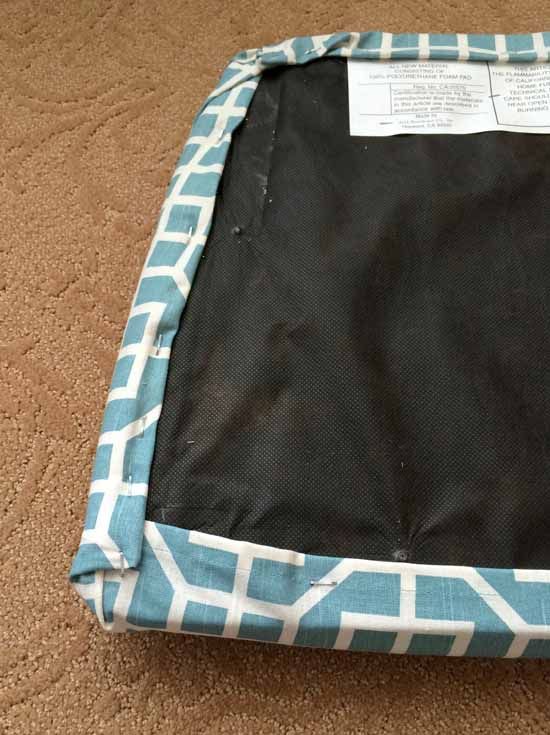
Starting from the bottom of the cushion, fold the fabric over the chair base to lie just below the chair screw holes. Since I used the hemmed edge of the tablecloth I didn’t need to fold over the fabric first.
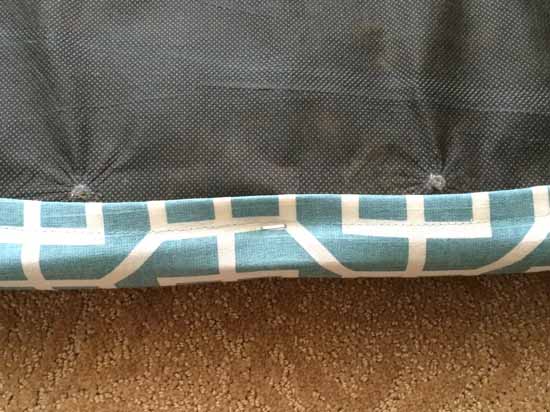
Start stapling. To ensure that the fabric remains straight, staple first in the center and then in each of the corners. Then staple inward towards the center staple.
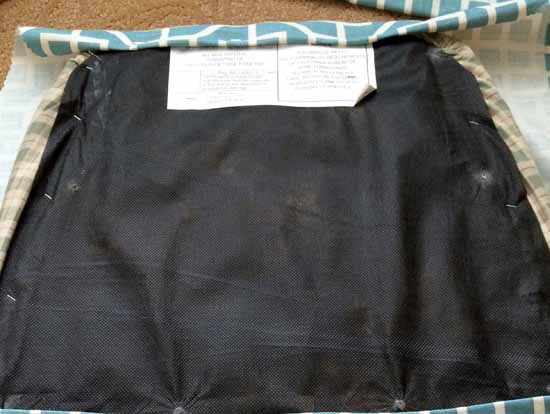
After the bottom of of the chair is done, you will want to staple the fabric to the top of the seat base. This time you will want to fold the fabric over so that there is a nice clean edge.
Next pull the fabric taut before stapling down. Similar to the bottom, start in the center and then each of the corners. Then start stapling inwards.
After the top is done, you will want to do the chair cushion’s right side. Instead of stapling the center first, you will start at the bottom left corner of the chair cushion and then do the top left corner. This is because the cushion is not straight and you will need to fold along the edge of the chair corners.
In the bottom right corner, first fold at angle the fabric down to cover the corner. Then fold down again and then once again. Each corner takes about 3 folds. Once everything has been folded, staple down.
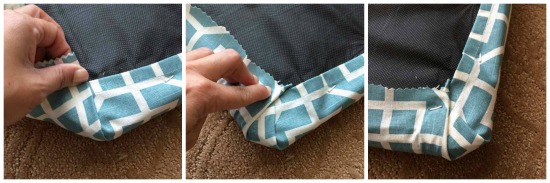
Repeat on the top corner of the chair. Once the corners are done, you will want to fold the edge of the tablecloth fabric over and staple to the chair.
Repeat on the left side of the chair cushion.

Flip over the seat cushion cover.
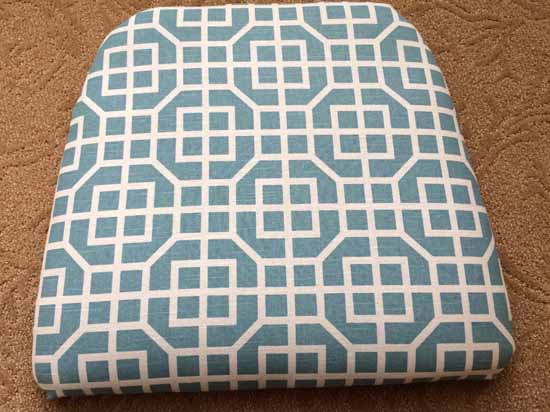
After the seat cushion is finished, reattach the seat cushion to the chair frame using the original hardware. Much better, right?


To do a pro job take off black base cover w/staple puller or screw driver. Now lay out and staple bottom of center front of seat, then pull taunt and check no angle; straight of grain of fabric. Now staple center back of seat. Do the same then with sides. These are always your starting points. Working from center front and work to right then do 2 staples to back. Now do left side. Don’t forget to check if its straight and taunt. Do same on sides . Now pull corner straight to corner ; don’t need to cut off much (will be further away, but black cover hides this,giving more leverage for adjustment) Make Taunt. Now work back to central staples working in a little excess at a time. Do this all the way around . When satisfied staple black paper back on or if ripped bad cut anew one out of soft cardboard. Hope this helps, trained by a pro.
You did a great job! They look wonderful, and I love the look and colors of the whole area – thank you so much for sharing. You have inspired me to do the same to my dining room chairs, they are sadly in need!
A couple of other observations. It looks as though those are wide crown staples. “Wire” type staples work much better for upholstery. Also, you can generally get a better and more stable cover with the smaller staples. You get better penetration (especially in MDF (particle board)) and therefore better hold on the fabric, spreading the tension and stress over a larger area. The other thing I would comment on is the spacing of the staples. Rather than spacing them as if you were doing a basting stitch, close them up so that you would be able to get the fabric taught with out introducing puckers and pulls into the project. As you work out to the corners leave about the last 3 – 2.5 inches loose. Gently,work the fabric from the center of the cushion over the corner, then along the edge back toward the center about one inch, manipulate the spare fabric into a triangular pleat folding it back toward the corner. Smooth it until it looks nice and staple it. Repeat seven more times, twice on each corner.
Rather than cardboard, I would find an upholstery supply store and either get the black dust cover, sometimes known as Cambric. Then you do not have to roll the edges of your fabric, but fold the edge of the Cambric (this also makes things less bulky). Or get their Chip Board and cut it to about 1/2 to 5/8 smaller on each side and skip all the folding.
P.S. keep tabs on your existing screw holes, it is difficult to find them, again, especially if you use cardboard. Also, number each seat and corresponding frame to ensure the holes line up again.)