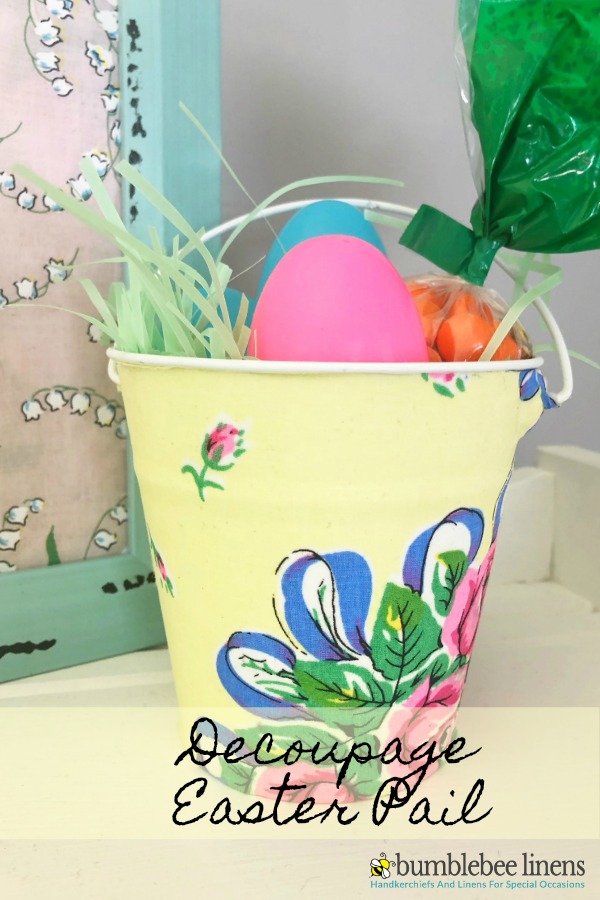
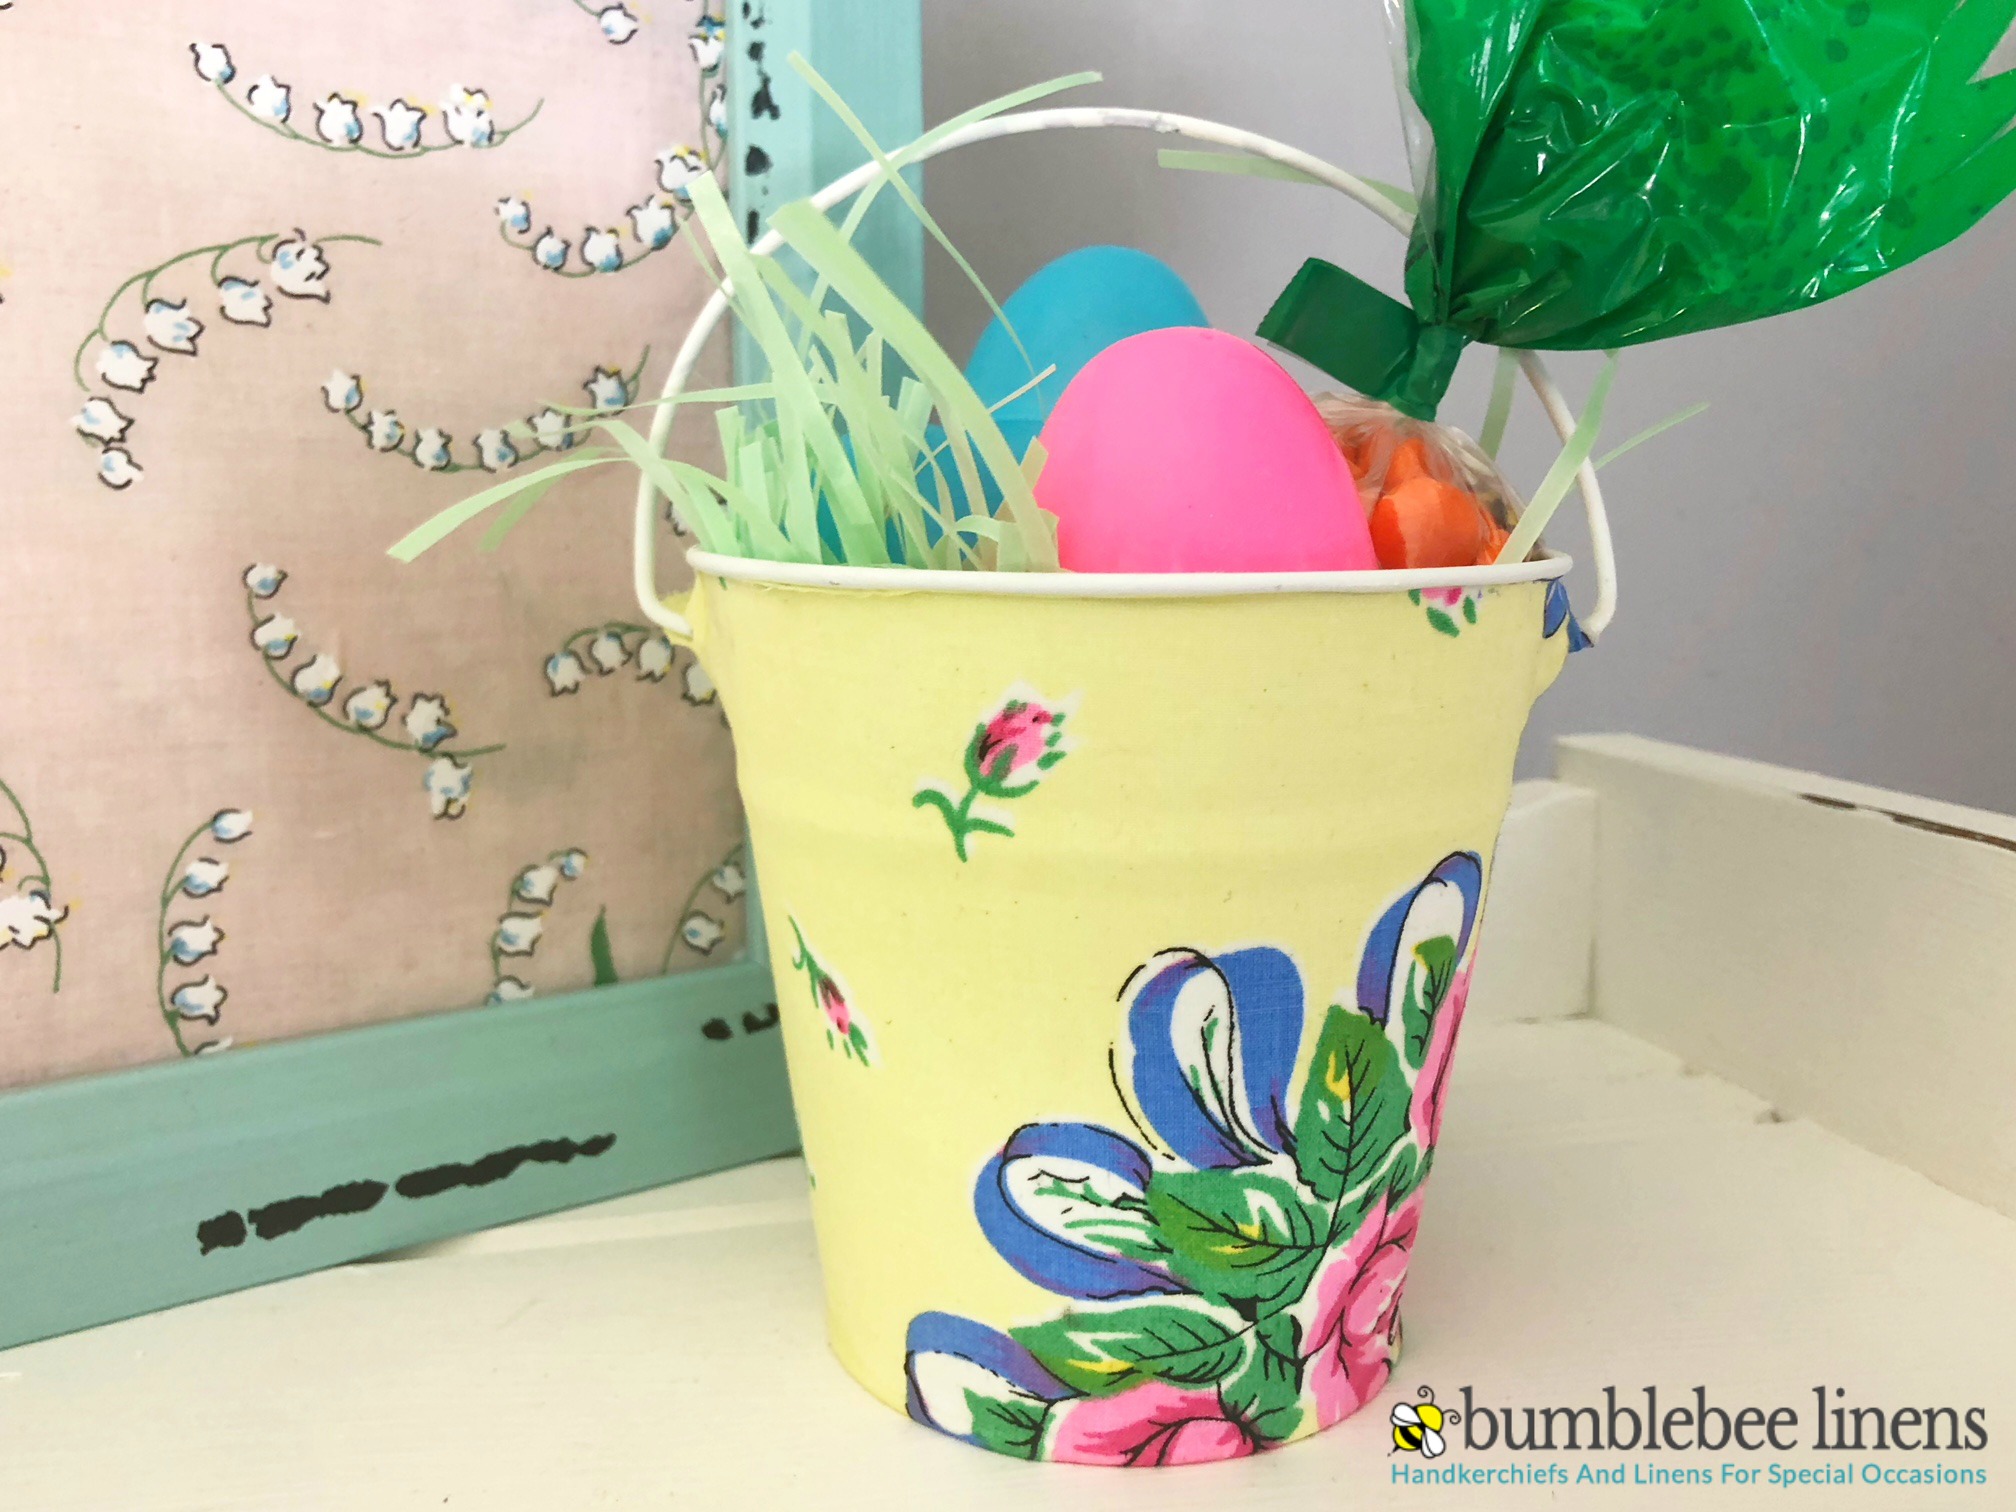
Easter is on it’s way, don’t bother with those store bought plastic baskets when you can personalize an adorable Decoupage Easter Pail with a Spring colored Handkerchief.
Easter is almost here and that means Spring! I can almost smell it. I am starting to hear the birds chirp and the weather is warming up ever so slightly. Soon beautiful new flowers will be in bloom and everyone will be outside.
I love going to community Easter eggs hunts around town, we usually make sure to stop by one. The kids have so much fun searching for those colorful plastic eggs filled with goodies like candy and small toys.
Instead of buying one of those plastic buckets this year, I thought it would be fun to use a handkerchief and make a cute Decoupage Easter Pail. Not only are we using it for Easter but the kids can bring them to the Easter egg hunt and collect as many eggs as they can.
How to make our Decoupage Easter Pail:
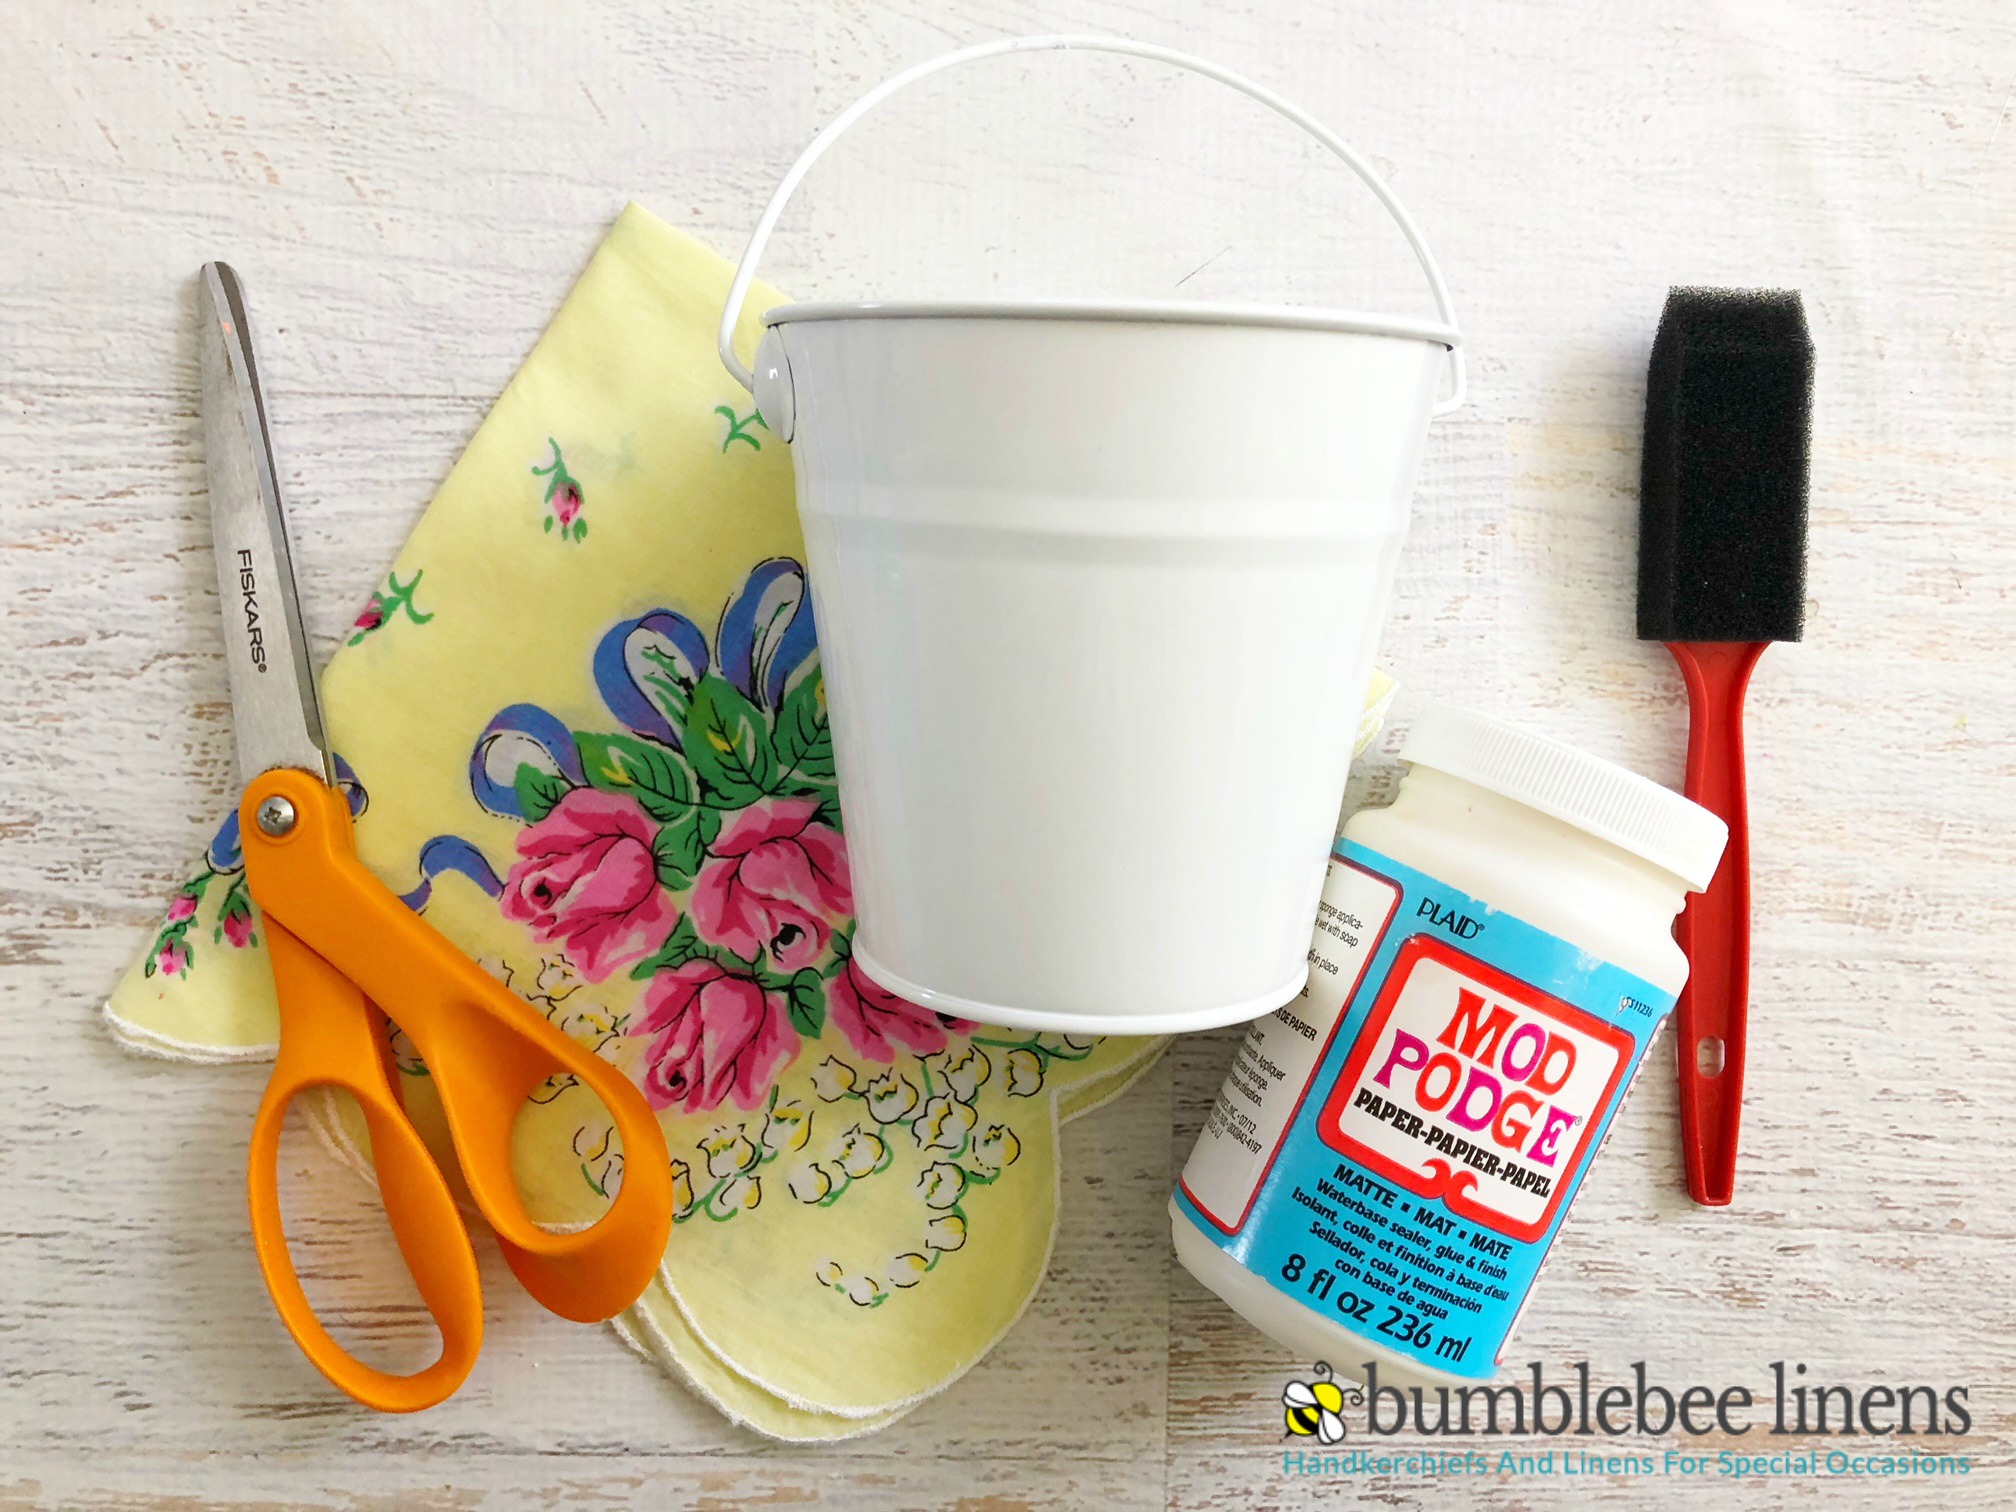
Materials:
- handkerchief
- white pail
- Mod Podge
- paint brush
- scissors
- First you’ll want to measure and cut your handkerchief by holding it up to the pail, leaving about and inch on the bottom and cut it into a rectangle.
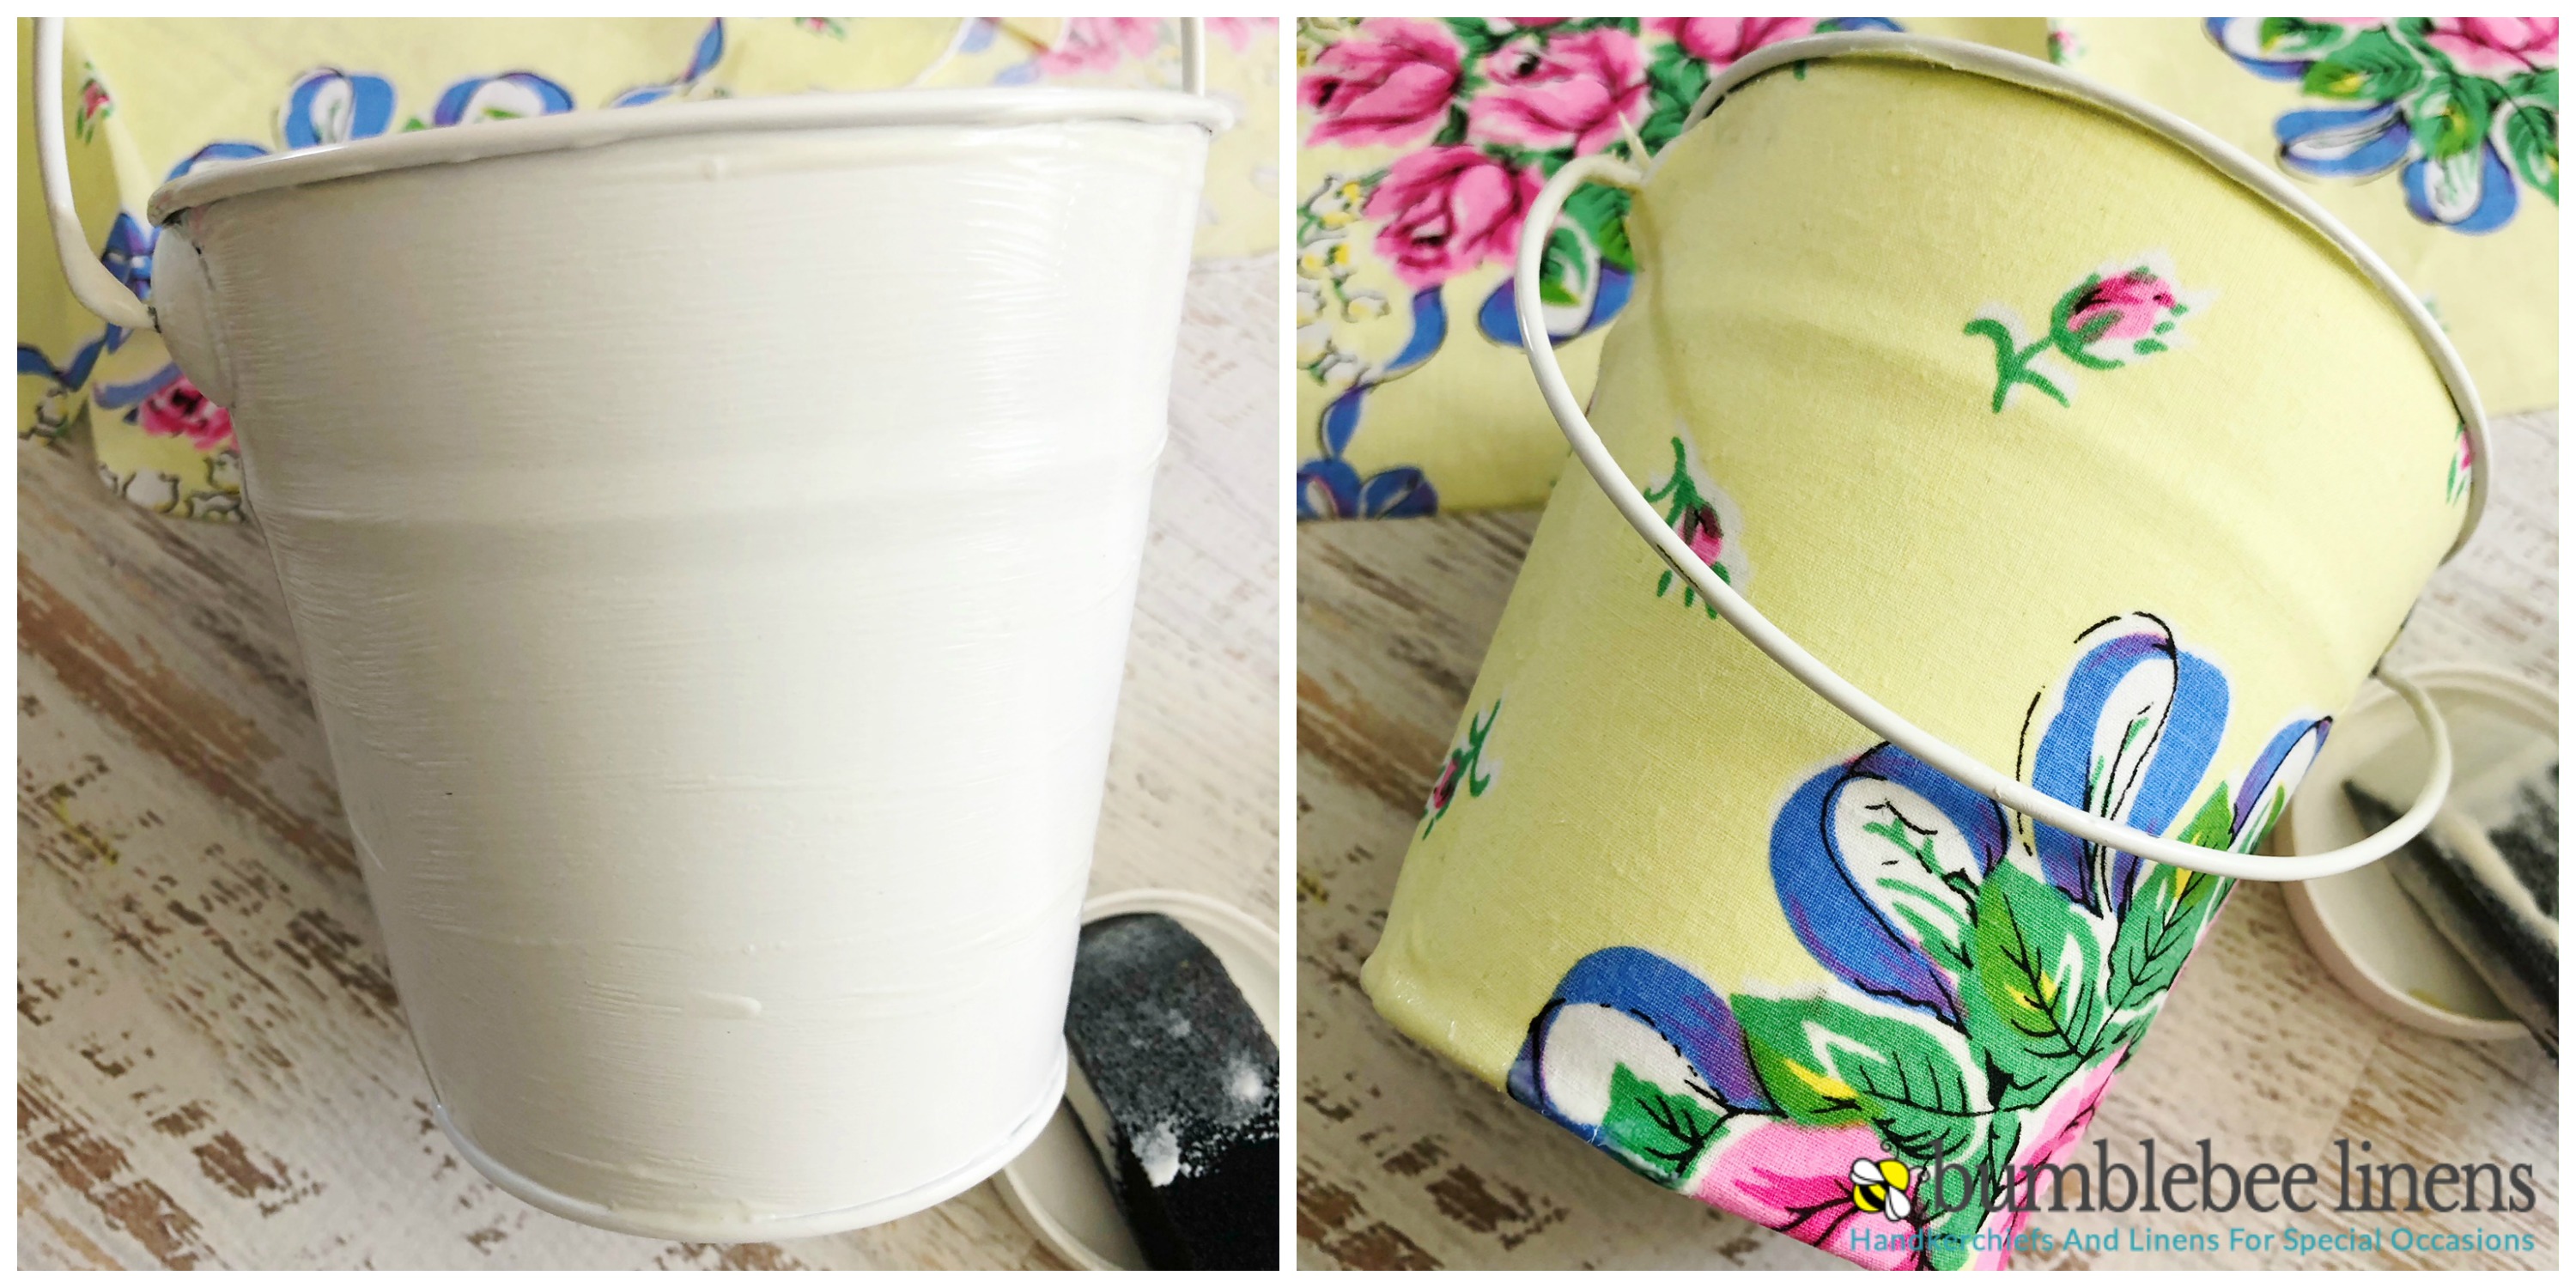
- Apply a smooth but thick layer of Mod Podge onto the front and sides of the pail and stick the center of your rectangle onto the center of the pail between the handle.
- Press the handkerchief smoothly along the pail, you will need to cut a small bit off the top of the fabric in order to get in to lie smoothly under the lip of the pail and a a small cut by the side of each handle.
- Turn your pail to the back, apply more Mod Podge and press the back smoothly onto the pail.
- Now apply Mod Podge onto the bottom of the pail and fold the handkerchief onto the bottom and press smoothly.

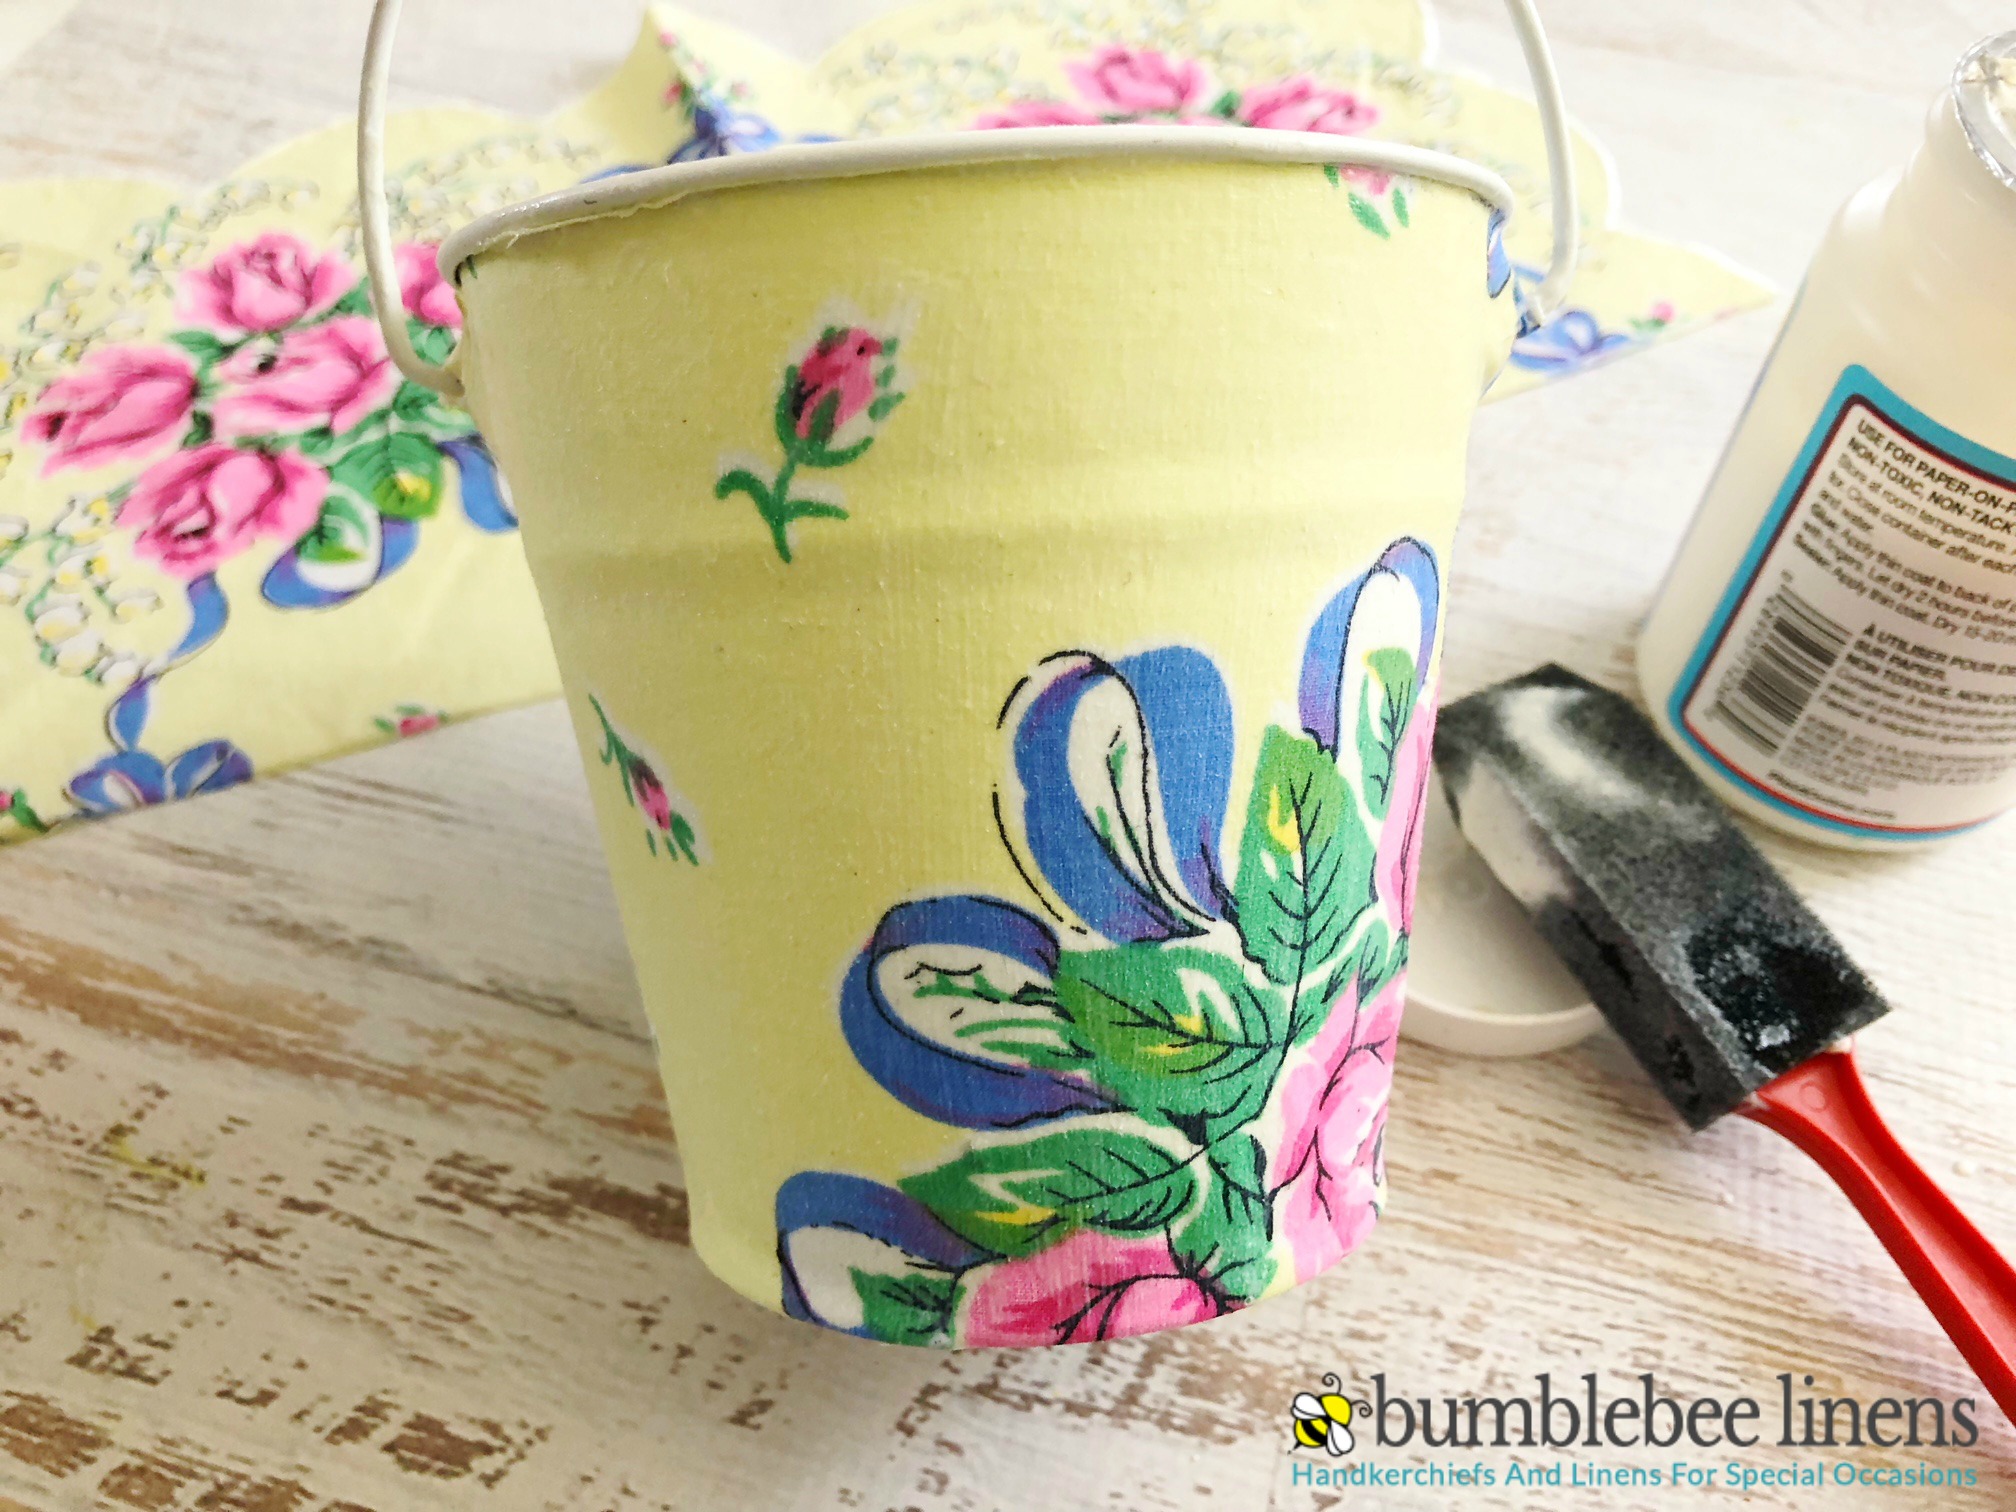
- Apply another coat of Mod Podge to the pail over the handkerchief and let it dry for a couple hours.

- Fill your Decoupage Easter pail with Easter grass, eggs and goodies.
Make your own Decoupage Easter Pail with some of our Spring colored Handkerchiefs below:

