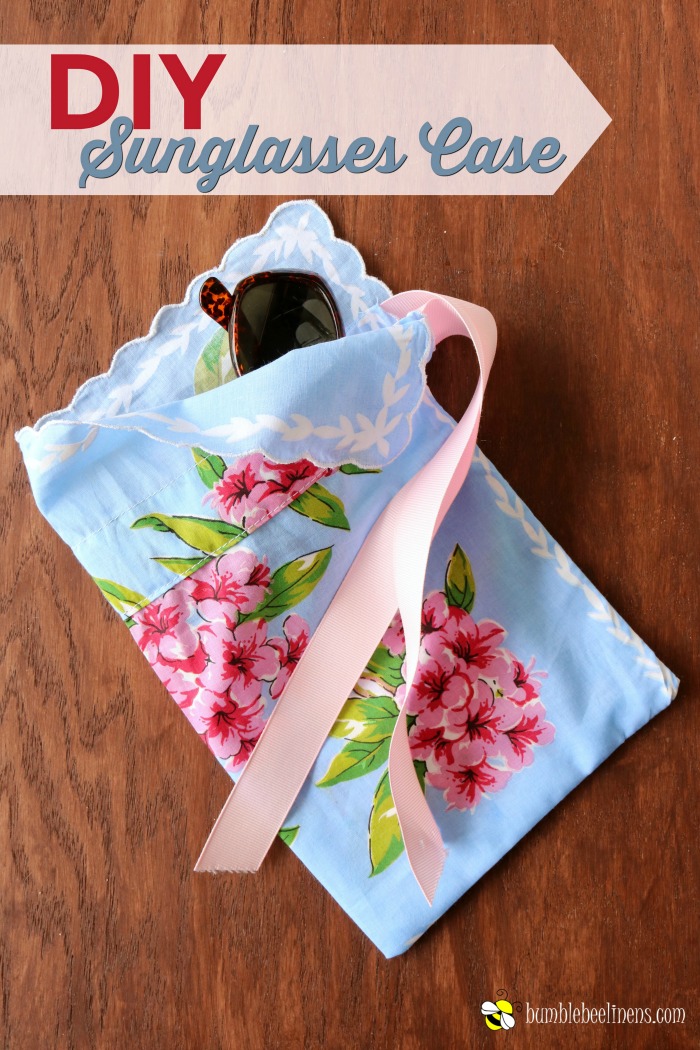
A friend recently gave me a new pair of fancy sunglasses. They came with a simple drawstring fabric case and I was inspired! This Handkerchief Sunglasses Case is easy to sew and takes very few supplies. You can finish this tutorial in under 15 minutes and have your very own personalized case.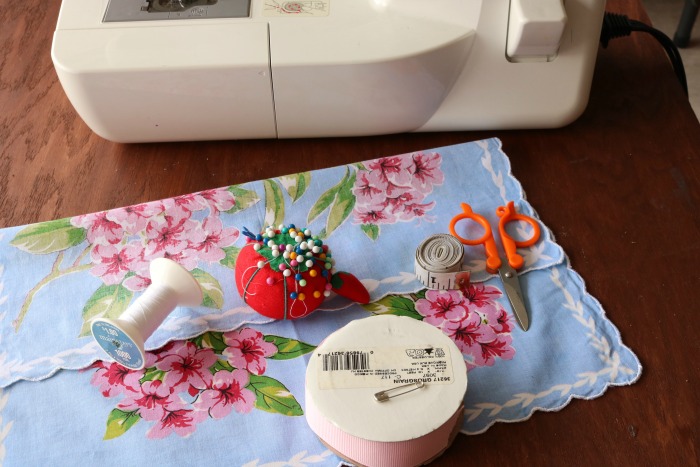
Supplies:
- Handkerchief
- Iron
- Tape Measure
- Pins
- Ribbon
- Scissors
- Sewing Machine
- Thread
- Safety Pin
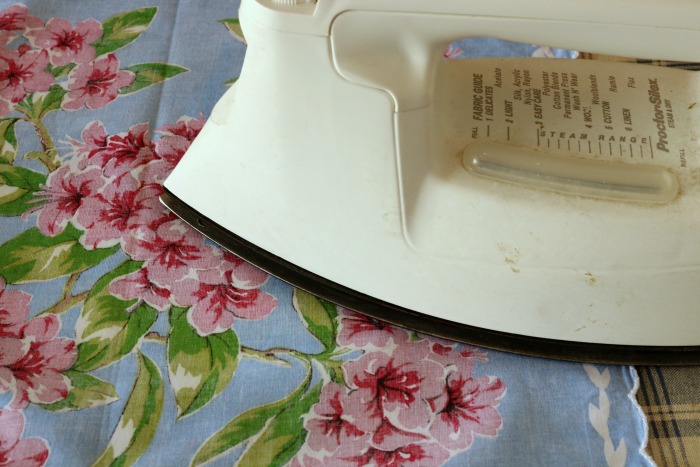
Iron your handkerchief.
This will remove all the folded lines from manufacturing and shipping.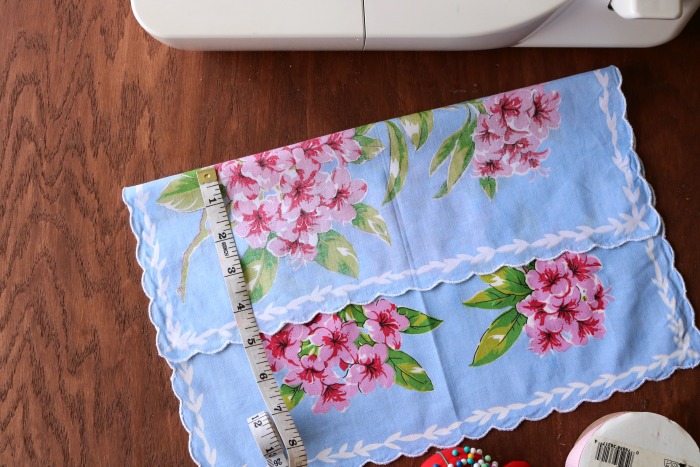
Fold down the handkerchief about 5 inches (front/right side onto itself).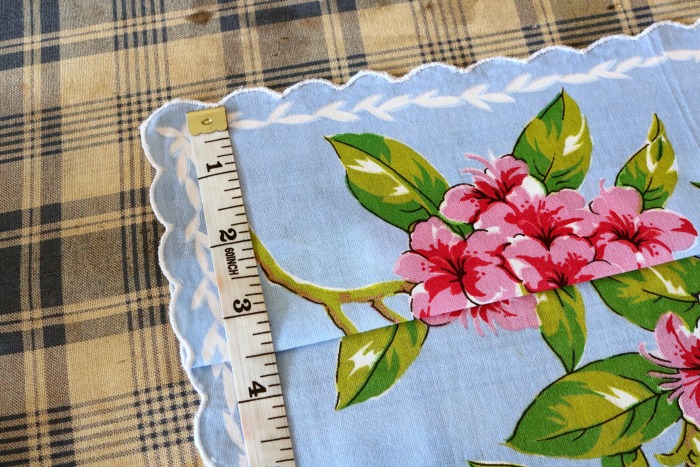
Fold the same edge back up again so that you’ve created a folded over section that is about 1 1/2 inches wide. The right side of the fabric will be showing again and it will be 3 1/2 inches from the new crease to the top edge.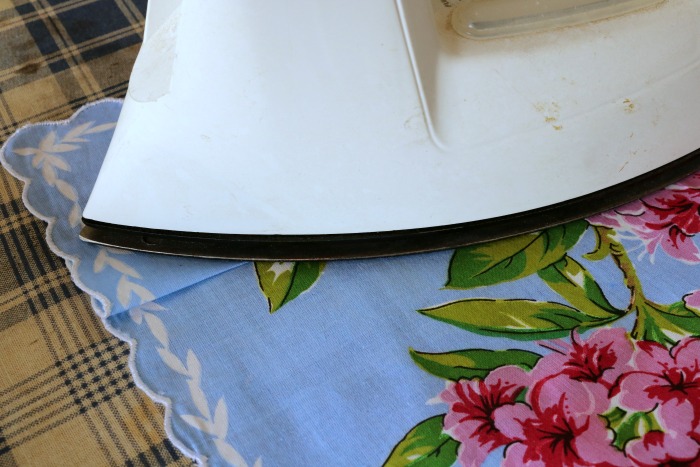
Press down these folds with a hot iron. Ironing these edges makes a nice crisp appearance and makes your project look more polished.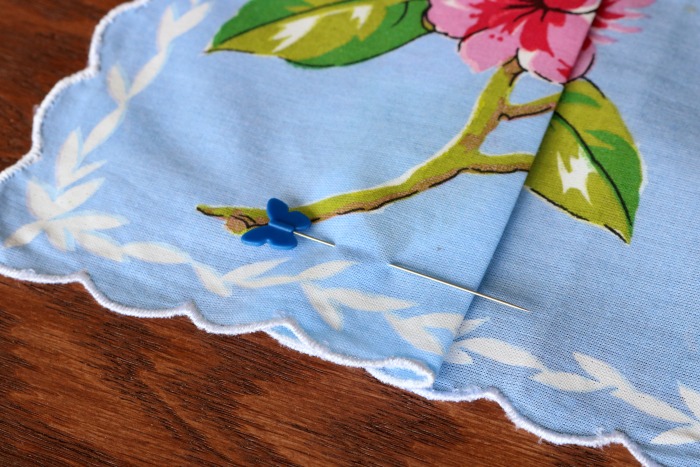
Pin along the fold to hold it all in place. You might not have to pin all the way since the pressing will create a nice crisp edge that will likely hold in place while you sew. However, I always find my projects are much more successful when I go the extra mile to pin along the seams to be sewn.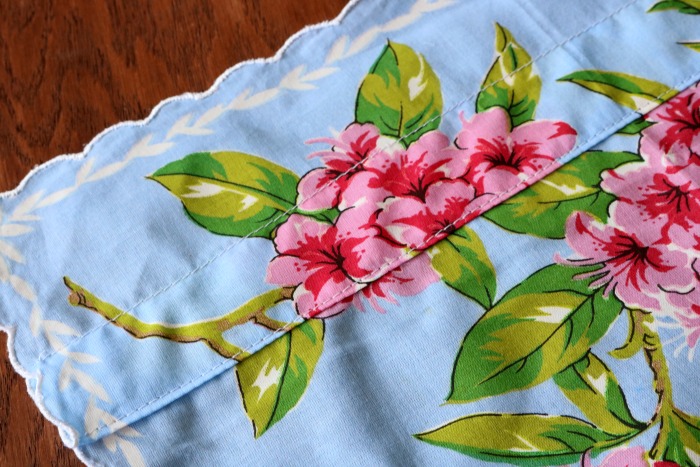
Sew a straight stitch along both edges of the double folded section.
I started on one edge and sewed that shut with a straight stitch. Then I turned the handkerchief over to sew along the other folded edge.
This creates two parallel stitched lines across the width of the handkerchief. The ends of the tube on both sides will be open.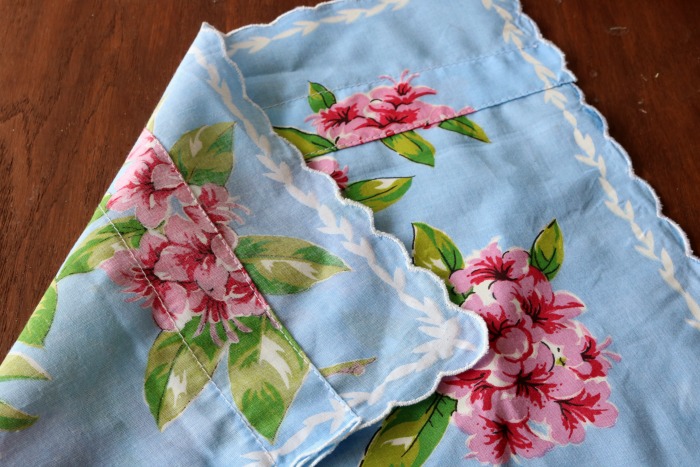
You can see here the top and bottom stitch lines are visible on the front and back of the fabric.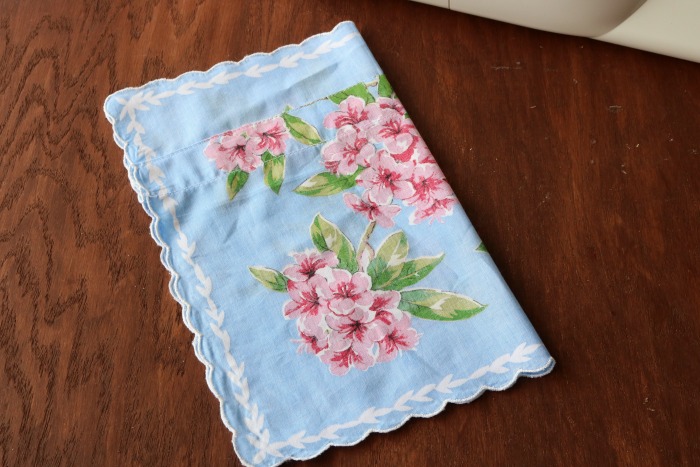
Fold the handkerchief onto itself with the right sides facing in. Notice how the stitched casing is at the top of the project and also folded onto itself.
Press the fold with a hot iron. Pin the handkerchief in place along the bottom and side edge.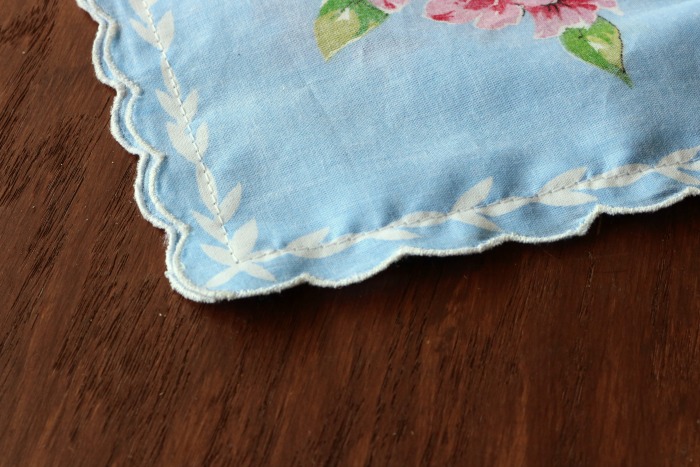
Starting at the folded edge on bottom, sew a straight stitch along the bottom and side edge of the handkerchief stopping at the casing you created in an earlier step. Do not sew this casing shut.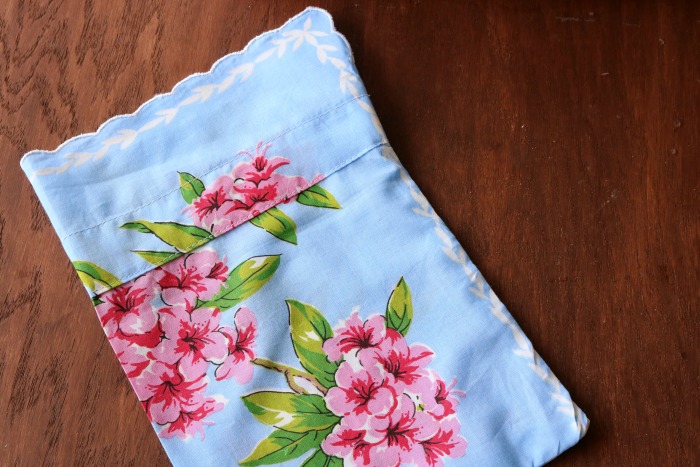
Turn the case right side out and press the corners and edges flat.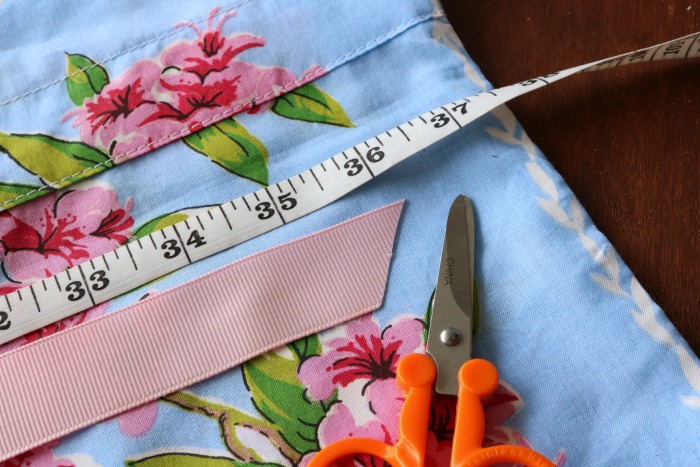
Cut a length of ribbon. I cut mine extra long at 36 inches.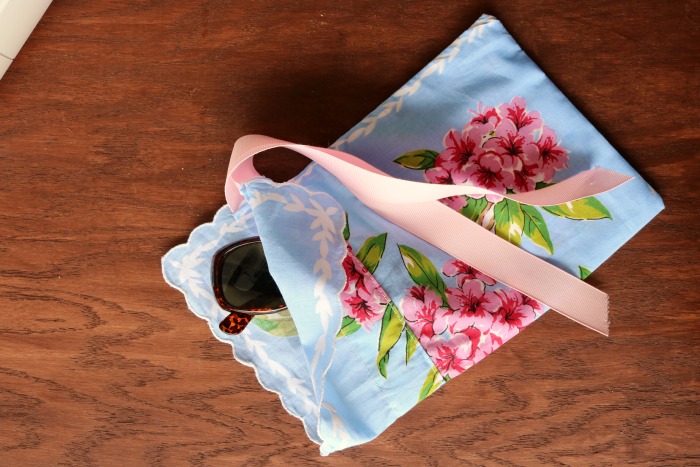 Attach a safety pin to one end of your ribbon.
Feed the safety pin through the fabric casing tube at the top of the case. Remove the safety pin and pull the ribbon through until it’s equal length on both ends.
You’ve now created your very own Handkerchief Sunglasses Case. How cute is that!

