
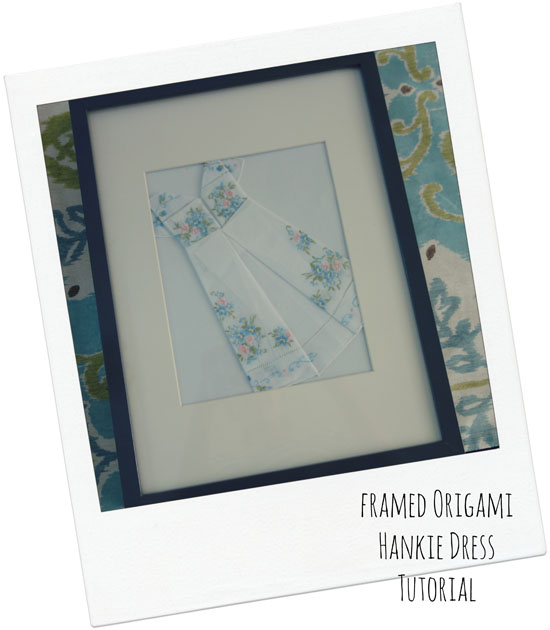
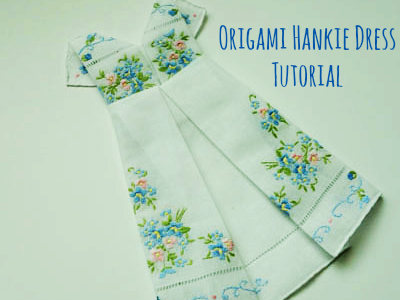
I found this really cute idea on Pinterest the other day. The idea was to fold a little dress out of origami paper and stick it on a bridal shower card. Such a cute idea! Anyhow, it got me thinking wouldn’t this be a cute way to display your wedding handkerchief after the wedding instead?
After the wedding you can fold your wedding handkerchief into this little origami dress and then frame it for posterity.
This craft does require many steps but it is pretty easy to do. I would recommend ironing down every several steps to create nice clean creases.
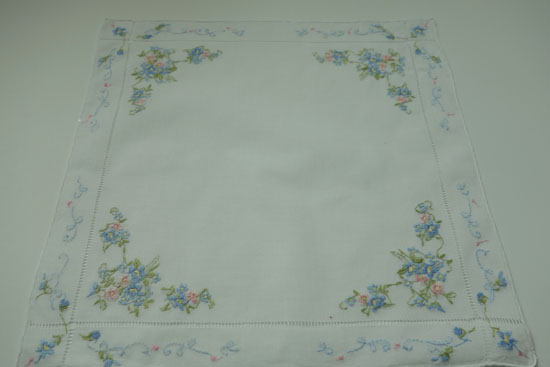
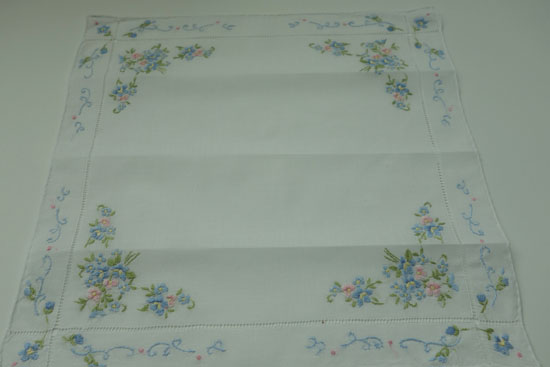
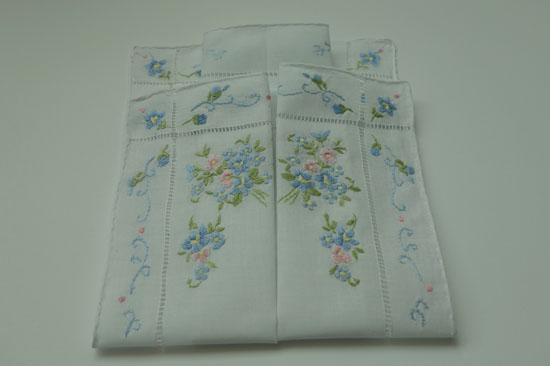
Flip your hankie upside down. In other words, have the back of the embroidery face you (bad side).
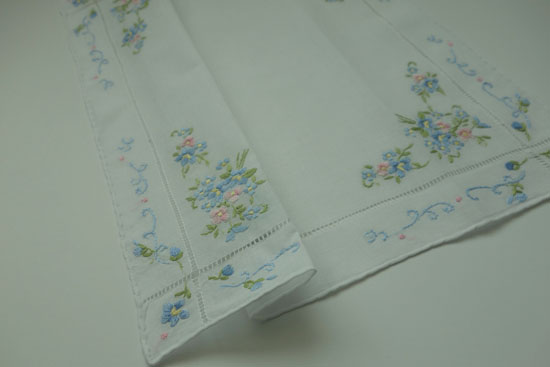
Fold the hankie in half and create a strong crease in the handkerchief.
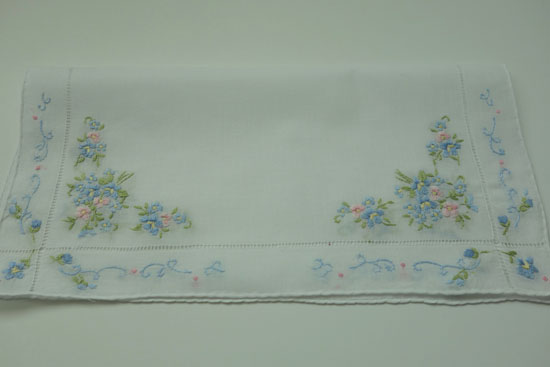
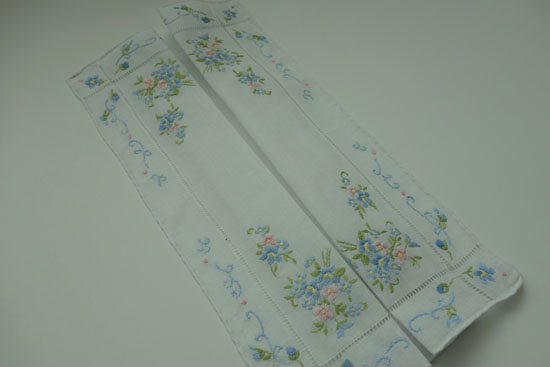
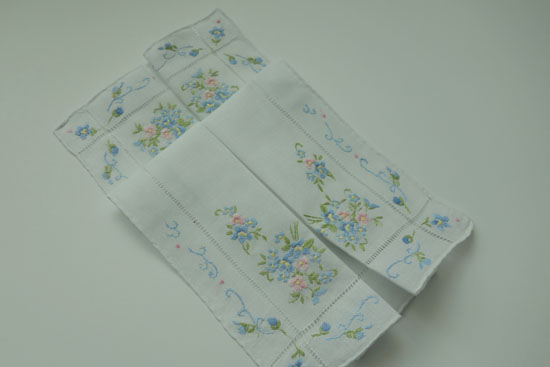
Open the handkerchief back up and bring the top part of the handkerchief to meet in the middle. Use the previously created crease as your guide to where the center is. Repeat with the bottom portion of the handkerchief.
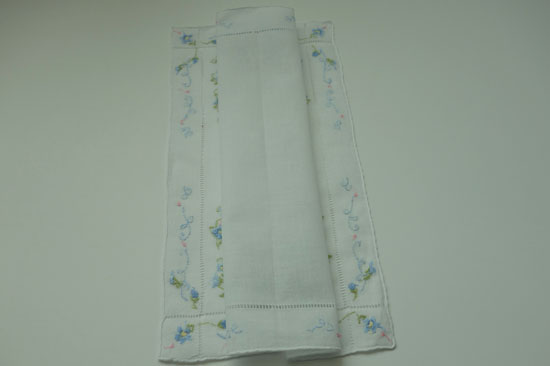
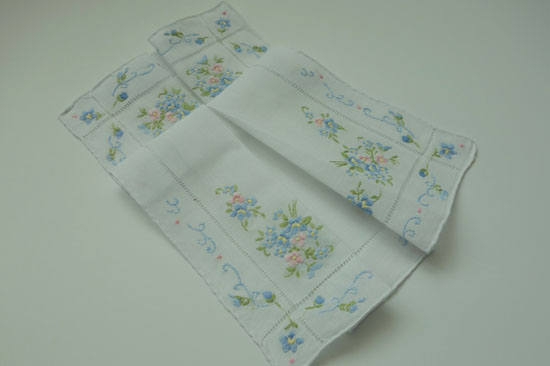
Once again open the handkerchief back up but now have the top of the handkerchief (good side) face you. You should now have three creases and the handkerchief will be divided in fourths.
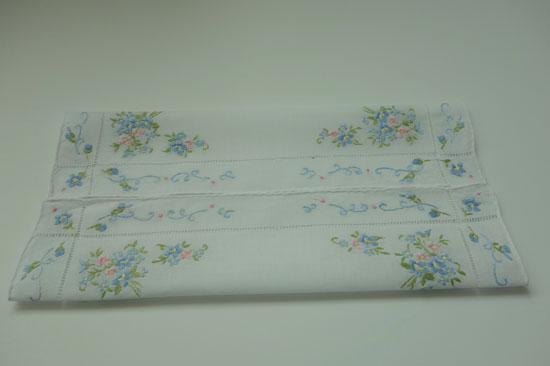
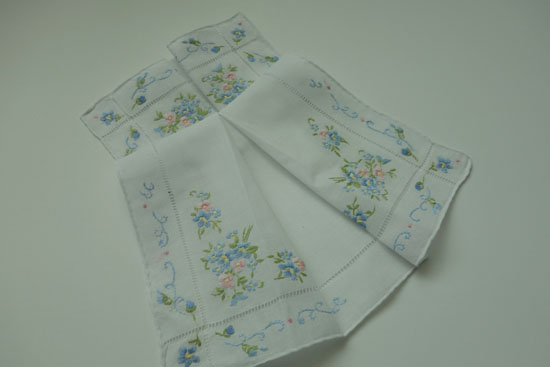
Now fold each side crease into the center crease.
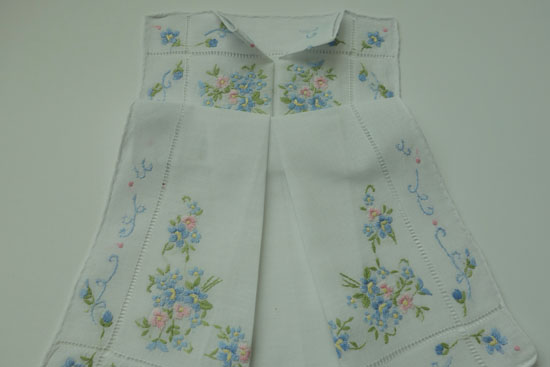
When you are done, the hanky should now look this.
Flip the hankie over.
Leaving the hankie flipped over, take the bottom of the hankie and fold it almost to the top. Leave a space approximately 1/2″ from the top.
Optional Step: You may want to press down on the hankie at this point with an iron.

Now take that same top portion of the hankie and now fold it back down approximately 1/2″ from the crease you made in the previous step.
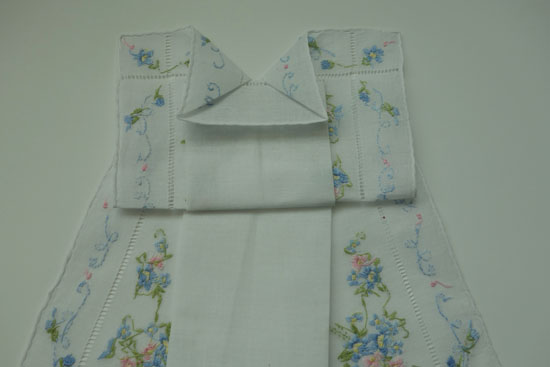
Flip the handkerchief over. At this point, your hankie should look like this. The bottom portion will be the dress and the top portion will be the bodice.
To open the pleats of the dress, you will want to pull the right side open slightly and press down at an angle.
Repeat with the left side pleat.
Optional Step: You may want to press down on the hankie at this point with an iron.
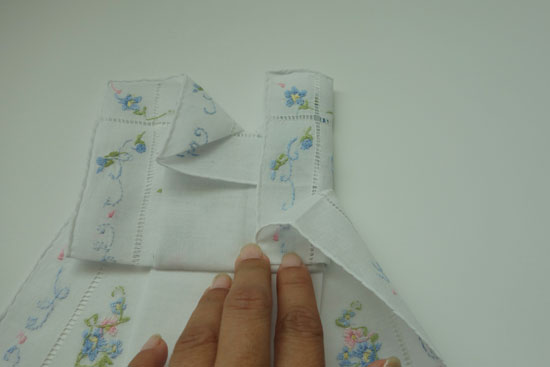
Now from the top of the hankie, in the bodice portion, fold the inner corners of the hanky down to create two even right triangles.
Optional Step: You may want to press down the hankie at this point with an iron.

Flip the hankie over again.
This step is a little hard to describe and show but you are now going to unfold the two created right triangles that you just created in the back. Using the crease line, pull down the handkerchief flat along each crease. Your handkerchief should now look like this, with three little triangles.
Optional Step: You may want to press down the hankie at this point with an iron.
Fold the right side of the hankie over to the center of the hankie.
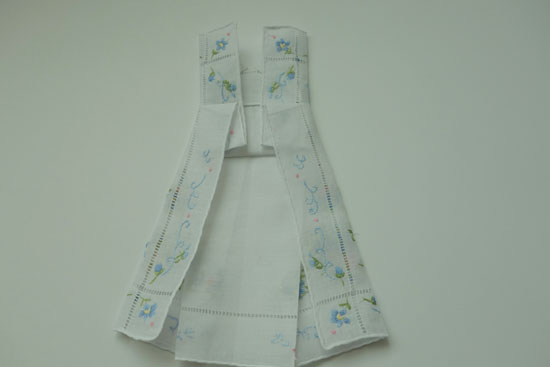
Now, fold the left side of the hankie over to meet in the center.
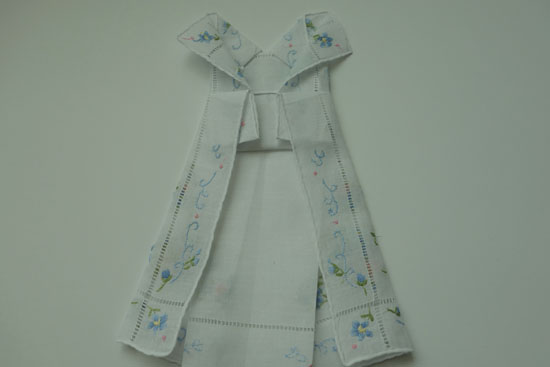
Final step is to take the top two flaps of the bodice and fold down at an angle. This will create the little cap sleeves for the dress.
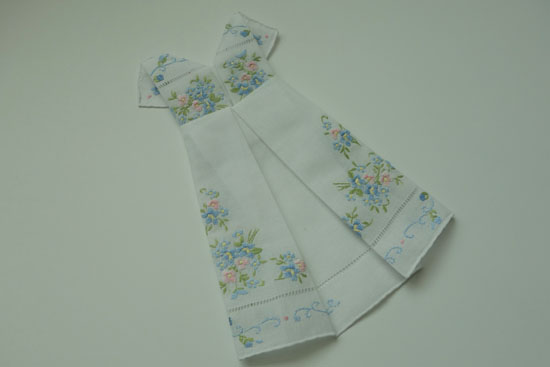
Flip the hankie over and press down with an iron to create nice strong creases. You will want everything to lay as flat as possible.
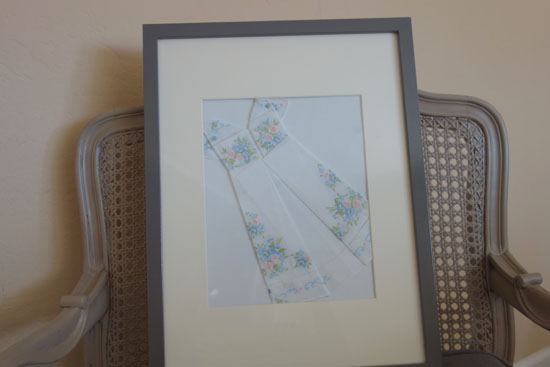
Frame the origami dress hankie. This is an Ikea frame where the inside opening measures 7 1/2″ x 9 1/2″ . The outside dimensions of the frame are 11 3/4″ x 15 3/4″
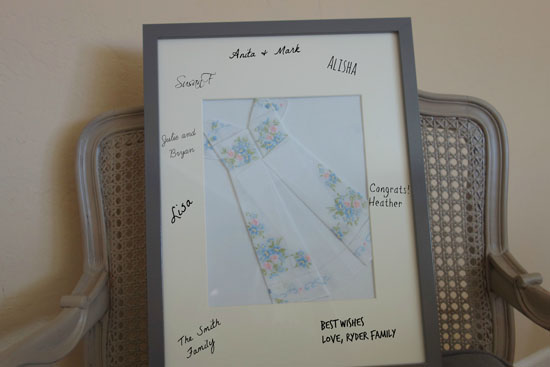
Now, if you want to take this idea a step farther, have your origami dress matted with your wedding guests’ signatures. Doesn’t this make an awesome alternative wedding guest book?
Craft Materials
Wedding Handkerchief
Iron
Picture Frame (Optional)


thanks so much. I’ve seen these and couldn’t figure out how.
Fantastic, I’ve been wanting a clever idea for my vintage hankies! Thanks!
I love this idea. I have hankies from my mother and I am going to attempt to make these for each of her 10 grandaughters. I hope they turn out as good as yours!
Beautiful! I have so many pretty vintage hankies and this is a great way to use them as gifts! Great tutorial!