Free Shipping
Over $75
Easy Return
30 Day Policy
Questions?
650-492-4617
10am to 5pm PST
Mon. - Fri.
Free Shipping
Over $75
Easy Return
30 Day Policy
Questions?
650-492-4617
10am to 5pm PST
Mon. - Fri.


Looking for an easy, fun and creative way to make cute clothes for your little girl? All you need is a pillowcase and some ribbon and you can create this lovely pillowcase dress with very little skill required! Any of our Embroidered Pillowcases are perfect for this craft, especially our Pillowcases with Ribbon and Flower Embroidery or our Pillowcases with Flower Embroidery. In the instructions below, we will show you how to create these pillowcase dresses step by step.
When you are new to sewing, one of the easiest dress patterns for girls is a pillowcase dress pattern. There are no tricky zippers or buttons that will get in your way and once you are finished with this easy project, you can show it off!
Plus, if you have already got some experience as a seamstress - making these kinds of dresses can be a simple yet creative way to use up fabrics from designer collections.

 Figure 1
 Figure 2
 Figure 3
 Figure 4
 Figure 5
 Figure 6
 Figure 7
 Figure 8
 Figure 9
 Figure 10
 Figure 11

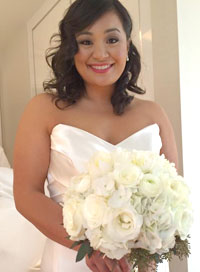
When I got married last spring, I had custom handkerchiefs made for all of the attendees at my bridal shower and it was the perfect bridal shower gift! Bumblebee also made my "something blue," a dress label with my new monogram (in blue!) that was sewn into my wedding dress. I am not the type that wanted to wear a garter belt or blue shoes, so this was a great way to incorporate this tradition while remaining true to my personal style. I will refer Bumblebee Linens to all of my friends!
Alisha S
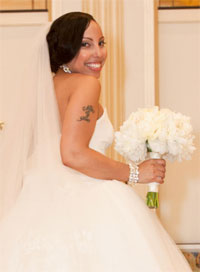
This company not only has great customer service, but they actually care and have great quality products. I purchased a hankie for my big day, which was beyond beautiful and brought me to tears as it was very special to me to have as I walk down the aisle, since I personalized it with a message to my mom and grandmother, who are no longer with us. I would highly recommend this company to anyone as they are extremely professional, answer emails in a timely fashion and ships quickly.
Nicole G

I knew I wanted to do something special for my sister and soon-to-be mother-in-law so I decided to get them a couple embroidered handerkerchiefs as wedding presents. Not only do I highly recommend the quality product from Bumblebee Linens, but I also highly recommend their customer service. Beautiful, heirloom quality handkerchiefs make thoughtful, personal gifts that you will be proud to give and they won’t break the bank.
Kayla P.

If you are looking for beautiful heirloom hankies, Bumblebee Linens is just the right place to find them. I've purchased over 150 times from Bumblebee Linens, and I open each package knowing I'm going to find something gorgeous. Their products are high-end, top quality. Their service is exceptional! I continue to be a very satisfied customer since 2011.
Sherri E.
Spin The Wheel To Win FREE Linens And Valuable Discounts!
Enter your email below for a FREE spin.
*You can only spin the wheel once. Prizes are emailed along with upcoming promotions and newsletters
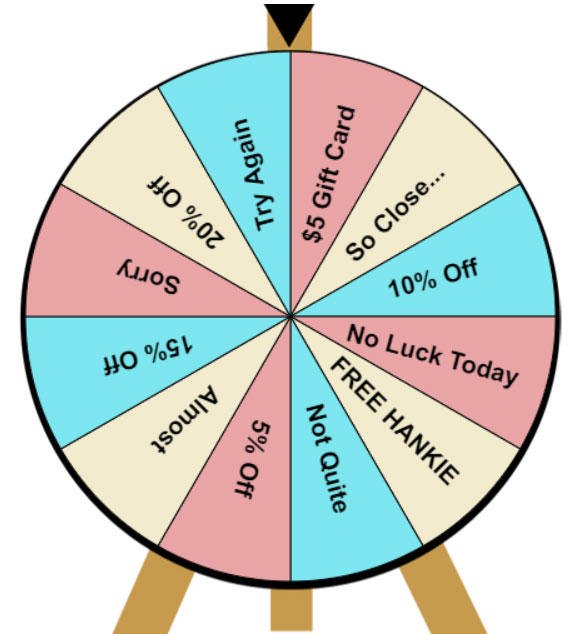
Click The "Spin" Button Below To Spin The Wheel