
I’ve been a big fan of using freezer paper as stencils for awhile now. It’s a fabulous way to stencil fabrics with because not only does the paper stick nicely to fabric with a little heat, it can also be easily pulled away once you are done. Plus the paper is sturdy enough that paint won’t leak through, when stenciling.
But best thing about freezer paper is that it’s super cheap. You can make tons of stencils for pennies.
For a simple design, freezer paper is the way to go.
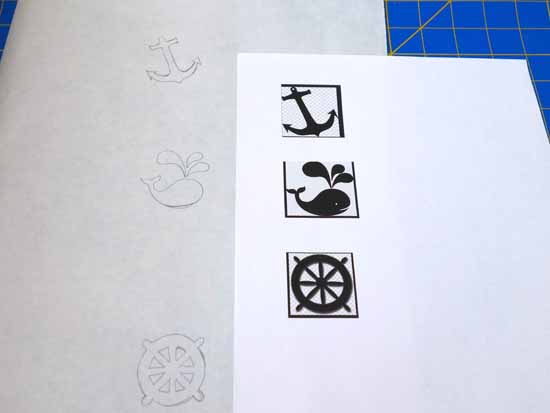
For this craft, I decided to dress up my linen dinner napkins with some cute nautical prints.
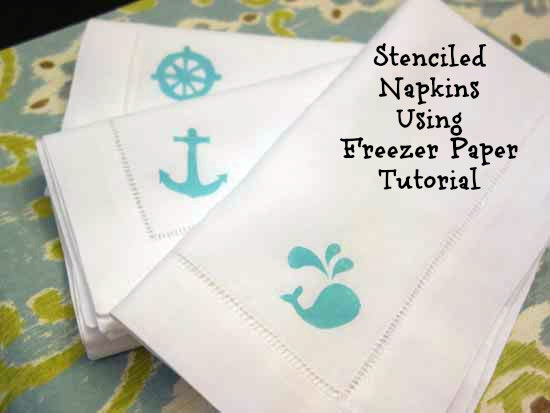
Table of Contents
BUY THE MATERIALS
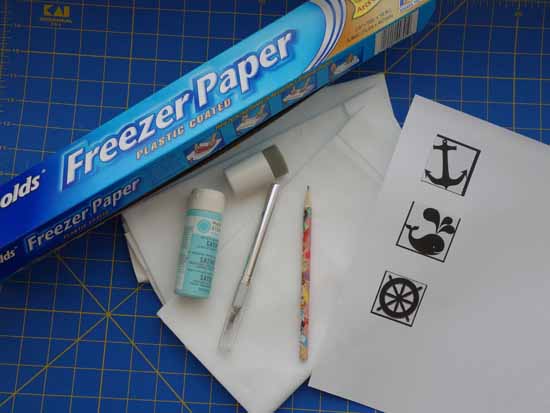
You first need to buy freezer paper. Freezer paper can be found at your local grocery store, in the same aisle as plastic wrap and foil. Freezer paper is not the same thing as wax or parchment paper. What makes freezer paper different from the rest is that one side of the paper is paper and the other side has a thin plastic coating. The plastic coating is what creates the temporary bond with fabric when heated.
Next buy fabric paint and a foam pouncer at your local craft store.
Purchase some dinner napkins or dress up napkins that you already have around your house
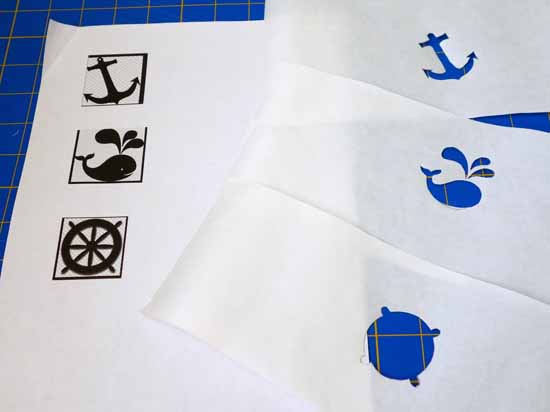
CREATING THE STENCIL
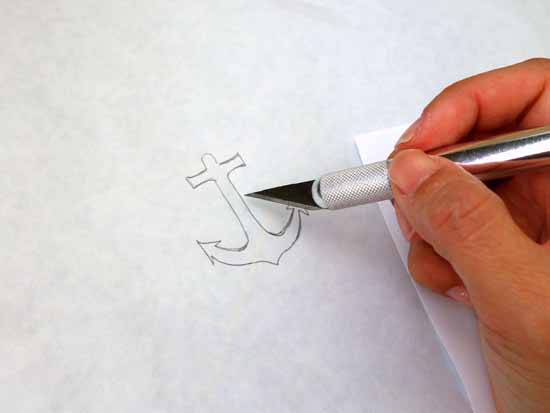
Copy or draw your design onto some freezer paper. Since I’m not good at freehand drawing, I printed a design from my computer that I then traced onto the freezer paper.
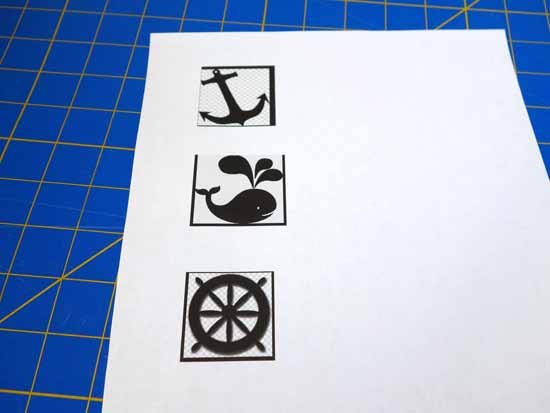
Freezer paper is pretty translucent so if it’s a simple design this should work out fine. You are going to trace/draw on the paper side.
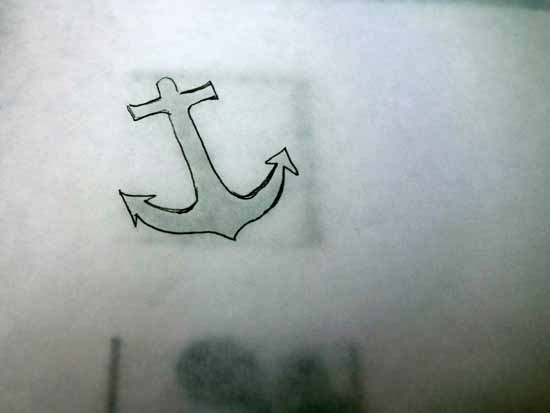
To create the actual stencil, carefully cut out the design with an exacto knife. Be sure to not cut anything out besides the image.
STENCIL IT
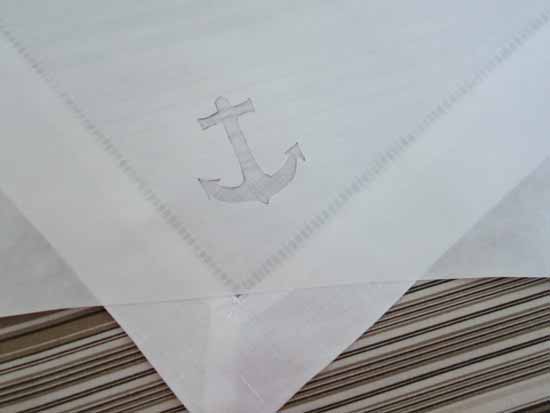
First iron the napkin flat, removing all the wrinkles.
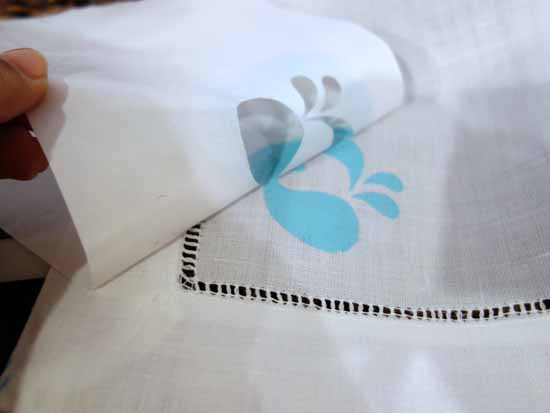
Dry iron (no steam) the freezer paper stencil onto your napkin with the shiny side of the freezer paper down. Make sure you iron around all edges of the stencil so that a seal is created for your stenciled image.
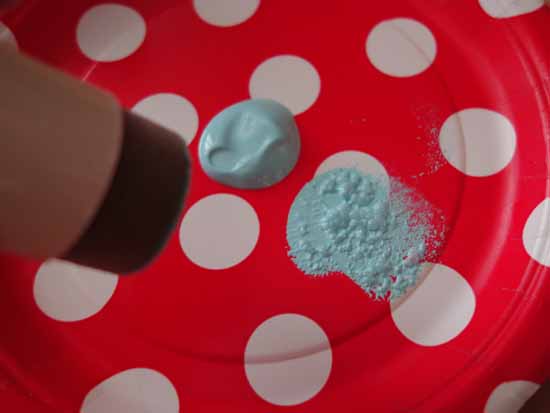
Place a small dab of craft paint onto a small paper plate.
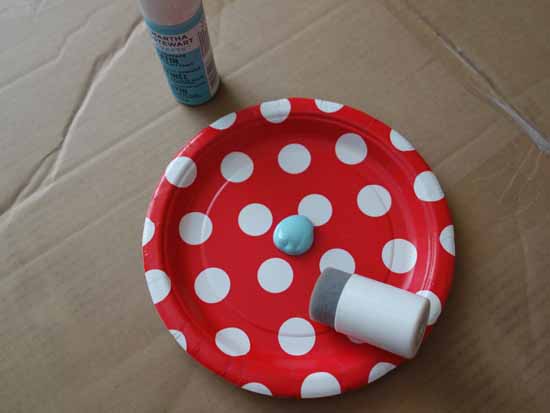
Use the foam tip of the pouncer and then lightly “pounce” off the excess paint onto the plate. A foam pouncer is a craft tool used to apply paint in an up-and-down dabbing motion.
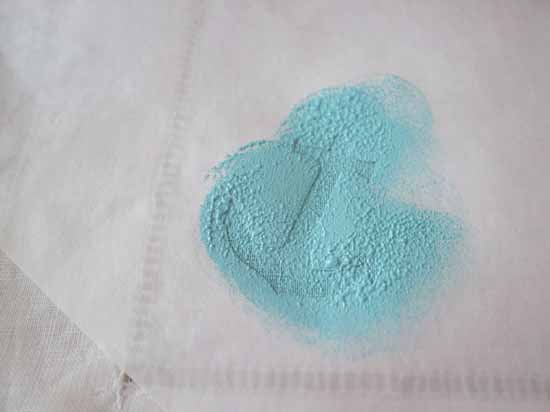
In case the paint bleeds through the fabric of the napkin, be sure to place your napkin over paper or a large piece of cardboard.
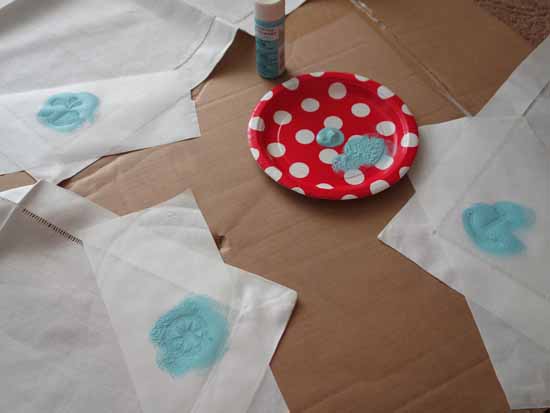
Lightly “pounce” the fabric paint over the freezer paper stencil onto the dinner napkin. If you would like the paint to look thicker, build up the color versus applying a thick coat.
Let the fabric paint dry.
Once the fabric paint is dry, carefully remove the freezer paper stencil.
The final step to this easy craft is to set the fabric paint. You do this by dry ironing the napkin on a low setting. Be sure to either iron on the back of the napkin or with a piece of cloth on top of the iron. Do not iron directly on the fabric paint. <Please note that all fabric paints have different setting instructions so be sure to follow your paint manufacturer’s directions.>
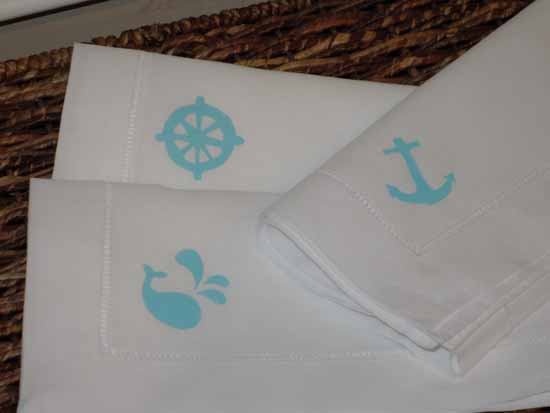
Hope you enjoyed this tutorial!
Craft Materials
Linen Dinner Napkins
Freezer Paper
Craft Fabric Paint
Pouncer
Pencil
Exacto Knife
Iron


I want to get the kit for my grandaughter to make as gifts to family and friends.