
I don’t know where the time has gone but it’s already the middle of the year and Father’s Day is just around the corner.
My kids and I love surprising my husband each year with a handmade gift. The kids love crafting and I love giving him something truly unique.
Since I love hankies and I think that all men should carry them, I love gifting my husband a different personalized handkerchief each year. Last year, my kids used fabric markers to create special Father’s Day handkerchiefs for him. Though he loves the hankies, he never uses them because he doesn’t want to get the kid’s art work dirty.
So this year, I decided the kids would stamp the hankies instead. This way they are still personalized but not that personalized, if that makes any sense.
All you need is a blank men’s handkerchief, an disappearing ink fabric pen, a stamp pad, a ruler (or cutting mat) and some fun small stamps.
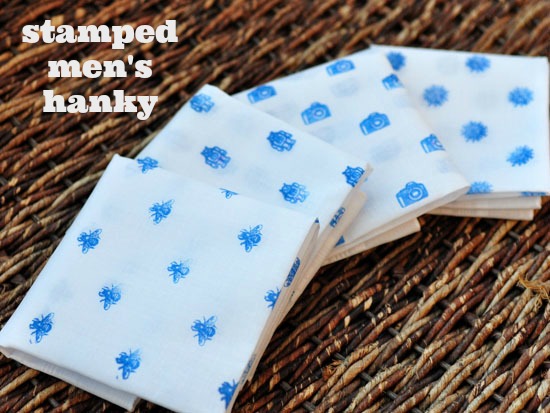
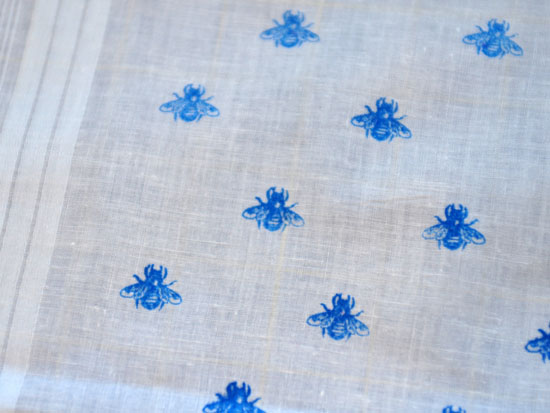
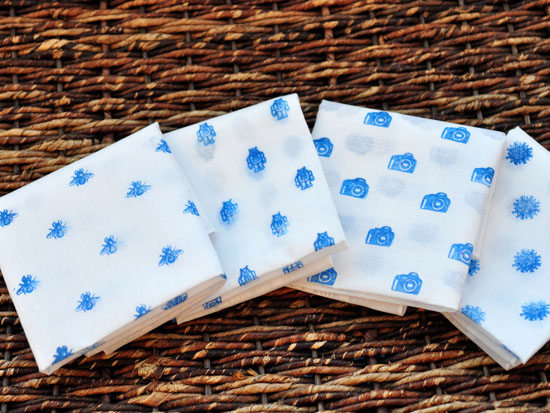
I first had my kids pick a personalized stamp that represented them. My 5 year old son picked a robot since he loves robots. My seven year old daughter picked a snowflake because she still loves the movie Frozen. I picked a bumblebee and a camera. The bumblebee to represent our business and the camera since photography is one of my husband’s hobbies.
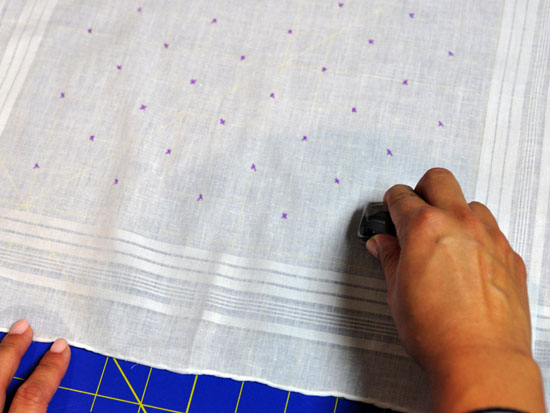
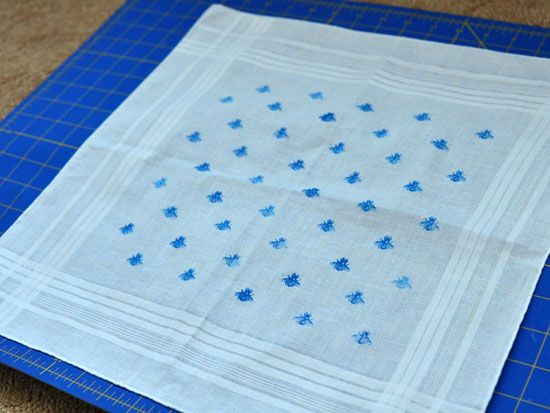
First place the ironed handkerchief face up on top of the cutting mat.
If you look very closely you should be able to see the grids of the mat through the hankie fabric. Using the grids, make a small “x” with your disappearing ink pen, everywhere you plan to stamp. I marked mine in a grid pattern every 2 inches.

Once you are done marking the hankie, you will now get ready to stamp the fabric. (Note: you may want to do a couple test prints before using the final project. For my kids, this was a critical step as the first handful of prints looked more like blobs. My seven year old got the hang of it fairly quickly but it took my son a little more time)
Press the stamp firmly onto the ink pad. (Note: Since the stamp is fairly small and detailed, I would only recommend using a ink pad for this craft. Sponging on ink can cause the ink to fill in the recesses)
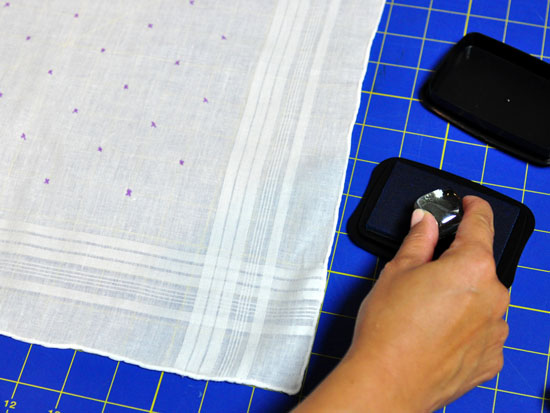
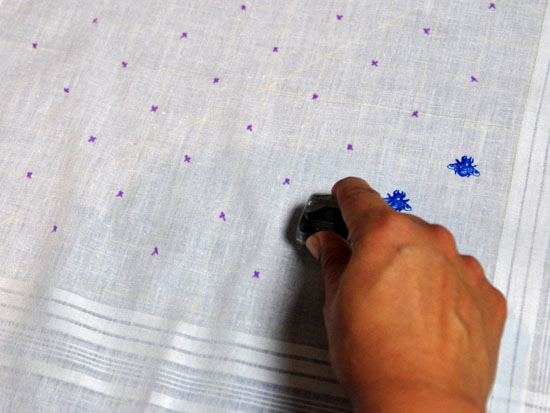
With even and moderate pressure, press the stamp onto each of the marked “x”s. You will need to reload with ink after each press.
Let the ink of the hanky dry and wait for the disappearing ink to disappear. In general, these marks should automatically disappear after several hours. In some cases, it may take 24-48 hrs. Putting the object under direct sunlight should quicken the process.
Once the ink and the disappearing ink has disappeared, turn the hankie upside down and dry iron the hankie to set the ink. (Note: Do not iron over the marks until the ink has disappeared or use water to remove the ink. This might cause the stamps to smear)
Repeat for the remaining hankies and stamps.
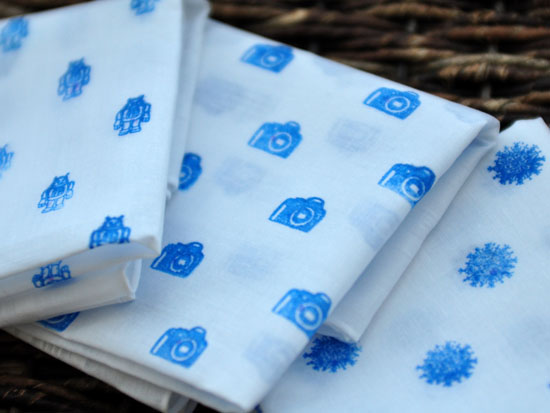
Voila, aren’t they cute? This is truly a Father’s Day gift that your hubby will love and cherish.
Craft Materials
One men’s handkerchief {Bumblebee Linens}
Permanent Ink Pad for multi surfaces {Michaels}
Ruler or Cutting Mat (with grids)
Small 3/4″ Stamps {Blossom Stamps or pick one at your local craft store }


Love you stuff !
I am amazed that your articles are clear step-by-step instructions after reading which you can easily get down to business and be sure of the result.