
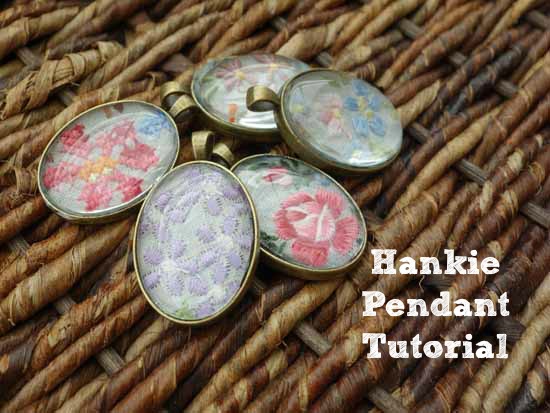
A couple of months ago, I was shopping at this antique store and saw this cute antique pendant. The pendant was oval and had some tiny pressed flowers underneath the glass. The pendant reminded me of a floral locket that my aunt used to wear. I don’t know why but I was immediately drawn to the pendant and after getting over the sticker shock (the pendant was $49), my first thought was “Wow, what a great craft. I can make this and it looks super easy to do”. So here’s my instructions on how to make your own floral pendant.
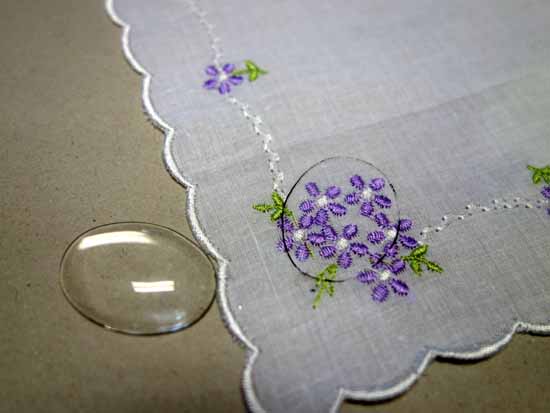
For my version, instead of pressed flowers, I decided to use an embroidered floral handkerchief. The embroidered flowers resemble the pressed flowers and you know me, I love me some hankies. =)
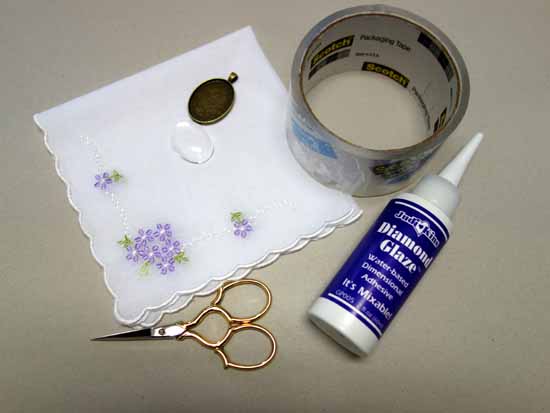
Besides the ladies color embroidered hanky, you will also need a pendant necklace kit, packing tape, Diamond Glaze adhesive, and scissors.
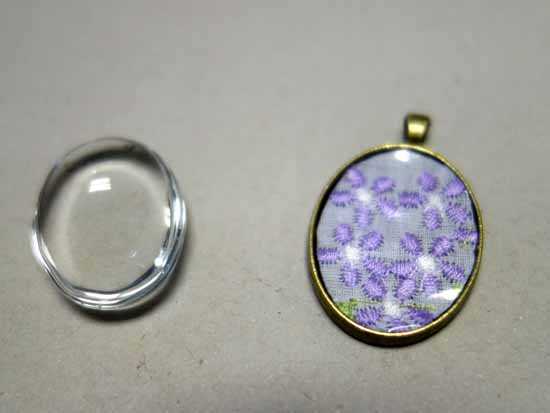
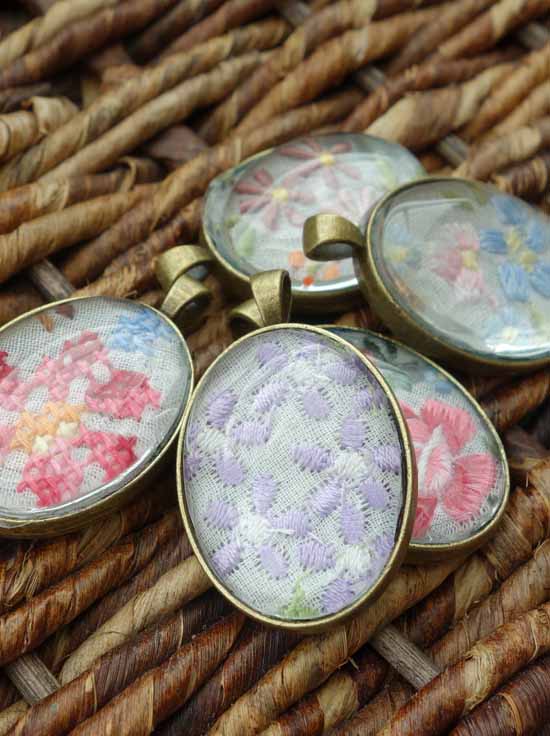
You can find the pendant kit at your craft store in the jewelry making aisle or you can purchase it online. The pendant kit comes with the pendant tray and the matching glass cabochons (the glass top of the pendant). I chose the oval antique bronze kit. The pendant kits also come in silver, gold and black. They are also sold in a square or circle shape.
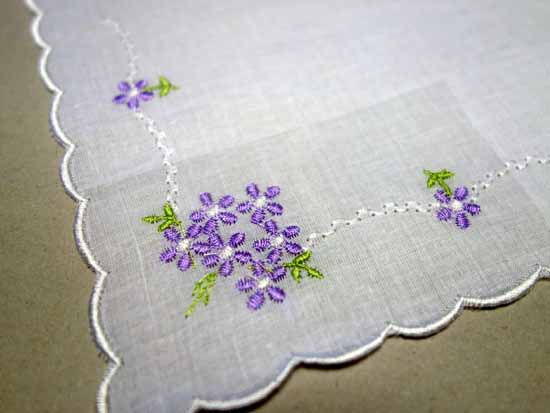
So the first step is to prepare the handkerchief to be added into the pendant. First, you need to take a strip of packing tape and place it on top of the handkerchief’s embroidery. Be sure to pick the part of the handkerchief that you want framed.
Place another strip of packing tape on the back side of the handkerchief, directly underneath the first strip.
The reason for this step is that the glue (Diamond Glaze) will cause the fabric of the handkerchief to look wet when applied. If you did this with decorative paper instead of fabric, this would be an unnecessary step. This would also be unnecessary if you used pressed flowers instead.
Place the glass cabochon on top of the “taped” handkerchief. Move the piece around until you have a pretty pendant display.
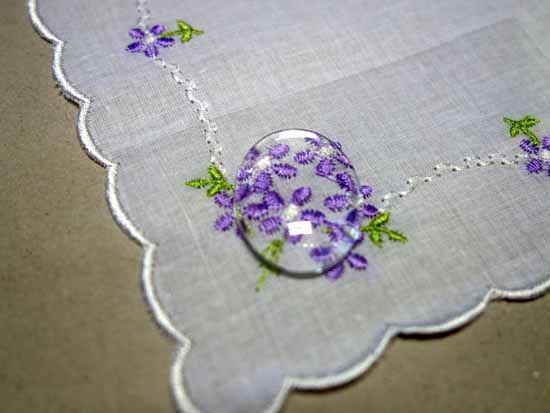
With a pen, lightly trace around the glass to great an hankie oval.
Cut the oval pattern out with a pair of scissors.
Place the cut hankie piece into the pendant tray.
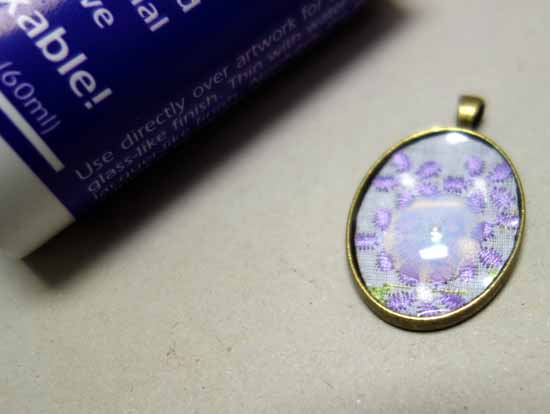
Add a dot of “Diamond Glaze” adhesive on top of the handkerchief piece.
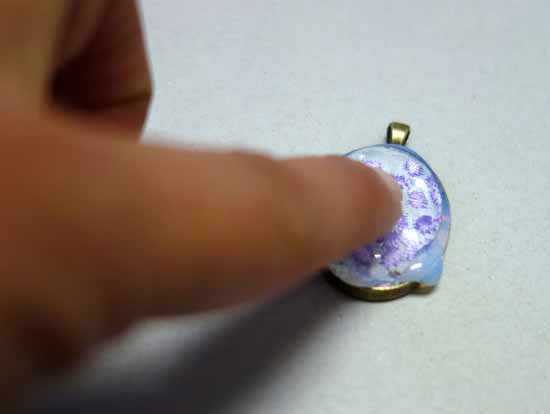
Place the glass piece on top of the hankie and press down firmly to remove all the air bubbles. If the glaze oozes out from under the glass, don’t worry. While the glue is still wet, you can easily remove the excess with a dry cloth.
Let the hanky pendant sit and dry on a flat surface. Depending on how much glue you use, this could take up to one hour.
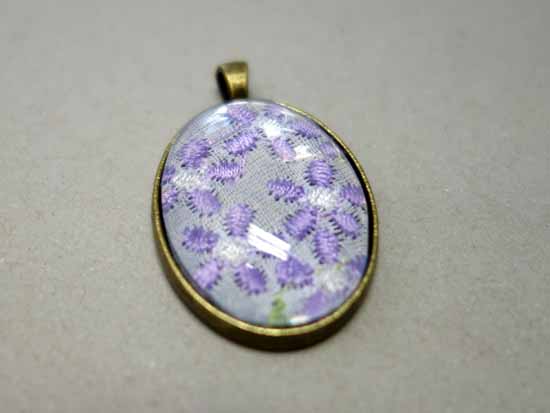
Now you are done and I think it’ll make a great gift for my aunt for Mother’s Day. I’m going to make a couple extra for me.


I love this idea! I have some of my grandmother’s embroidery that would look beautiful in a frame like this. I could make several and send then to my first cousins. Thanks for the idea! My daughter is getting married in December and I bought her your very best crocheted hanky as an engagement present. So beautiful!
Had a question about the packing tape…I didn’t see it in the photos on the hankie. It appeared there might have been some on the back, but I didn’t see any on the front. Did I miss something?
Hi Debra
It’s hard to see in the picture but a strip of packing tape was placed on both the front and the back of the hankie by the embroidery. If you look closely at the picture you can kinda see the outline of the tape. The outline of the tape resembles a crease in the fabric. =)
This is so fabulous! Thanks for this wonderfully simple idea and the excellent step-by-step photos! There’s just one part I’m confused about. Do you use a dot of glue under the handkerchief. I can see the dot of glue on top holds the glass to the handkerchief, but what holds the whole thing into the pendant? Thanks for your help!
Hi Erin,
Actually I just added a dot to the top of the hankie but I’m sure it doesn’t hurt to put one underneath too. The glue from the top is what is holding the thing onto the pendant tray (since the glue oozes to the sides of the tray)
I’m still confused about the packing tape. What is it used for, is the sticky side toward the embroidery,just along the inside edges,a very small strip? I really like this if I can do it. Thanks.
Hi Terry,
Sorry it wasn’t clear but the packing tape is needed to create a moisture barrier around the “hankie oval”. If we didn’t create the moisture barrier, when the glue is applied directly to the hankie fabric, the fabric will look wet under the pendant glass.
The other added benefit of placing tape on the top and bottom of the hankie, the fabric of the hankie won’t unravel when cut.
The sticky side of the tape is placed towards the embroidery and also on the hankie’s underside. In other words, once the tape is added, you will only feel a smooth finish, not stickiness. You don’t need a lot of tape, just enough to cover the hankie oval completely.
This post is worth sharing, looking forward to more exciting!
Couldn’t you use Mod Podge for fabrics instead of the tape? I worry about the tape deteriorating over time.
I think using Mod Podge is an excellent suggestion.