
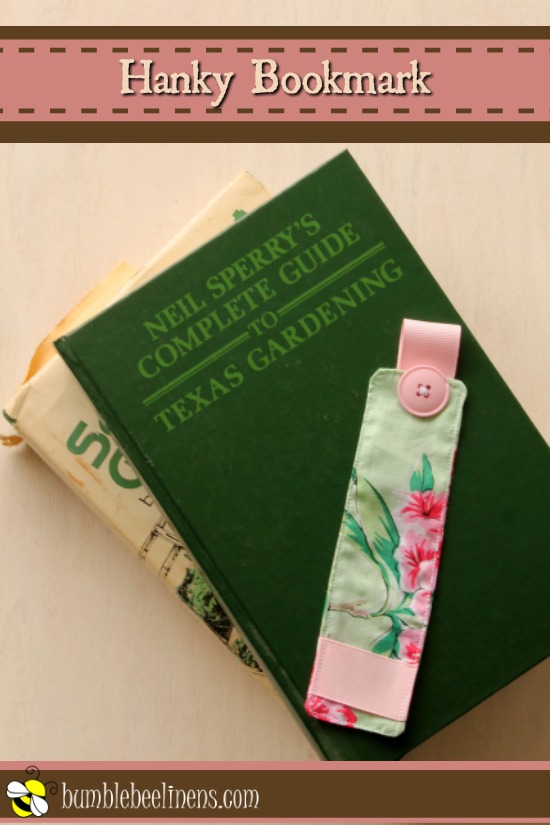
Make a special gift for your favorite teacher, librarian, or book lover. This Hanky Bookmark is simple to sew and takes very few supplies. Even a beginner can make this Hanky Bookmark in under 30 minutes.
You should be able to make 3 – 4 bookmarks per printed handkerchief depending on the dimensions.
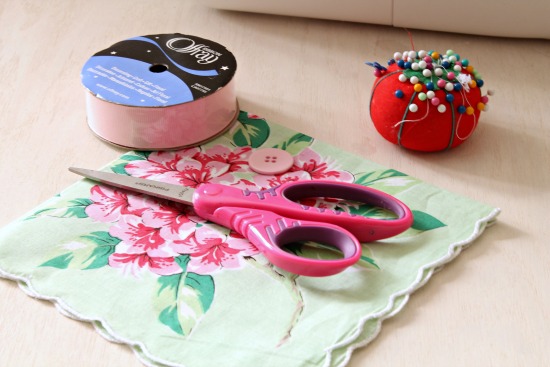
Supplies
- Printed handkerchief
- Straight Pins
- Scissors
- Ribbon
- Sewing machine and thread
- Button
- Needle for hand sewing
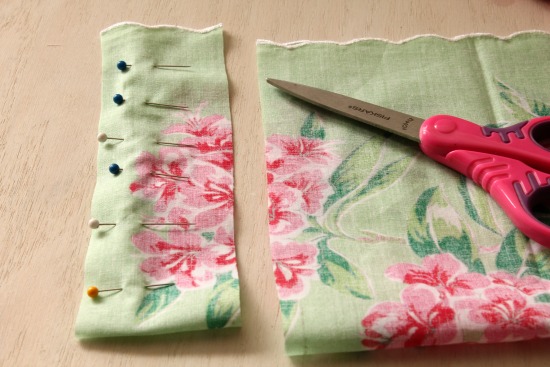
Fold the handkerchief in half onto itself so that the printed side is facing in.
Pin the edge of the two facing sides of fabric together. This will hold the outer edge in place. Make sure to place the pins in about 1/2 inch so that you can cut off the finished edge in the next step.
Cut off the scalloped edge from the long side of your bookmark.
Cut off a length of the handkerchief that is about 1/2 inch wider than you’d like your finished product to be. I like to make sure that the finished product is about 1 inch wider than the ribbon I’m using at the top.
For example, if your ribbon is 3/4 inches wide then your finished bookmark will be 1 3/4 inches wide and you’ll want to cut the handkerchief to 2 1/4 inches wide to begin the project.
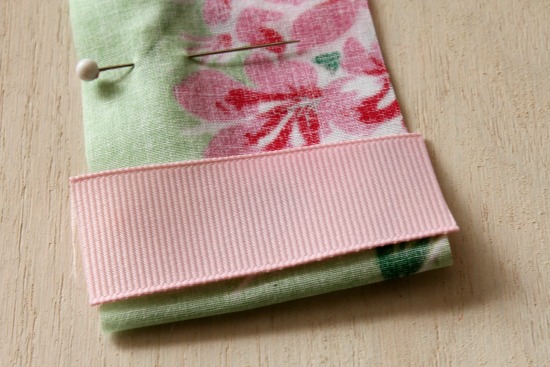
Cut a length of ribbon about 1/4 inch wider than the width of your handkerchief.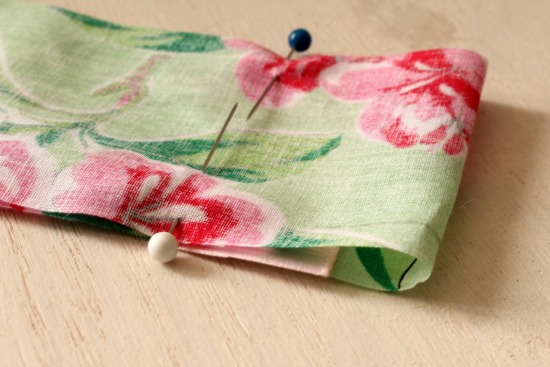
Place the cut piece of ribbon INSIDE the folded handkerchief. I like to place mine a little more than 1 inch from the bottom of the handkerchief. This will create a finishing touch at the bottom of the bookmark.
Pin the ribbon into place on both sides of the handkerchief.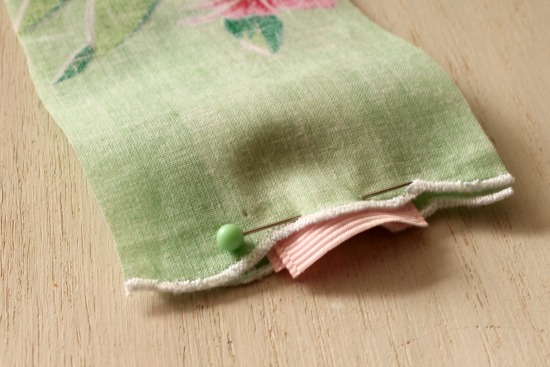
Cut another length of ribbon about 3 inches long.
Fold this ribbon in half onto itself and place it in between the pieces of handkerchief at the top of the bookmark. Center it along the top and pin it in place.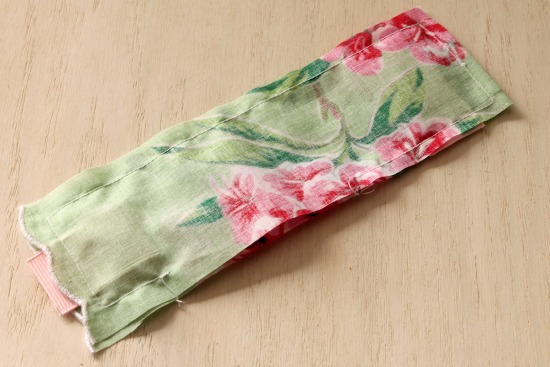
Sew a straight seam about 1/4 inch from the edge of your bookmark along three sides, leaving an opening to turn the fabric later on one long side.
It’s easy to do this. Start about 1 inch from one corner of your handkerchief. You can see the starting point of my seam at the bottom left of the picture above.
Sew a straight seam from that point to the bottom corner. Then turn and sew around the three other sides. When you reach the fourth side (where you began sewing), stop sewing about 1 inch from the top corner. This will leave an unsewn opening in the middle of that fourth side. You can see where I stopped sewing the bottom edge just right of center in the image above.
Trim any excess fabric and make sure to snip the corners before turning.
Turn your bookmark right sides out. Use scissors to gently press into the corners so that they’re as pointy and crisp as they can be.
One of your sides of the bookmark will probably have a more interesting pattern than the other side. Think of this side as the front of the bookmark. Make sure to arrange things so that the bottom ribbon lands on the side of the bookmark that you’d like to be the front. Just flip it over if it tries to arrange itself on the wrong side of the bookmark.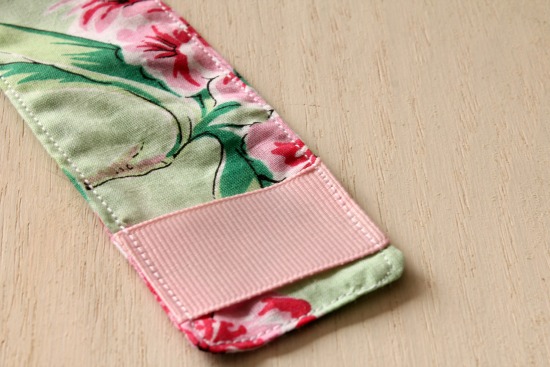
Iron the bookmark on warm, making sure to press the edges flat. Also make sure to iron the edges where the opening is. You’ll want to iron the edges facing in so that it will be easier to sew a clean edge.
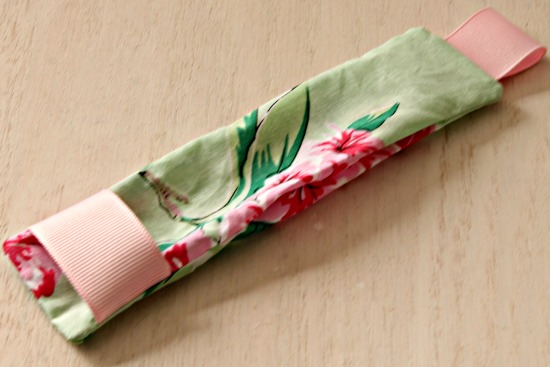
Sew a straight topstitch 1/8 inch from the edges. Start above the opening so that the first part of this topstitch closes the opening you used to turn the bookmark.
Begin and finish with a backstitch to lock your work in place.
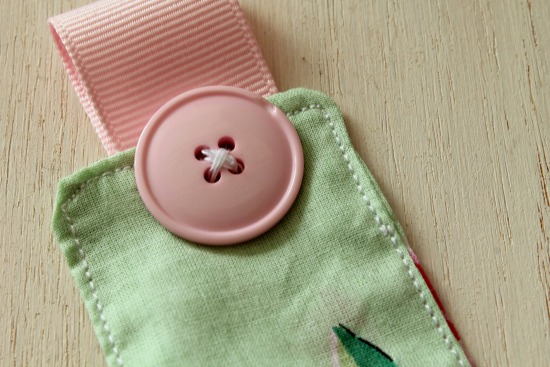
Use a needle and thread to attach the button on top of where the ribbon meets the bookmark. This will give a nice finished look.


