
 Try this easy to sew Handkerchief Bib for a fun baby shower gift! It’s simple to make in less than 10 minutes and it’s perfect for personalizing. There definitely won’t be another gift like yours at the shower!Supplies:
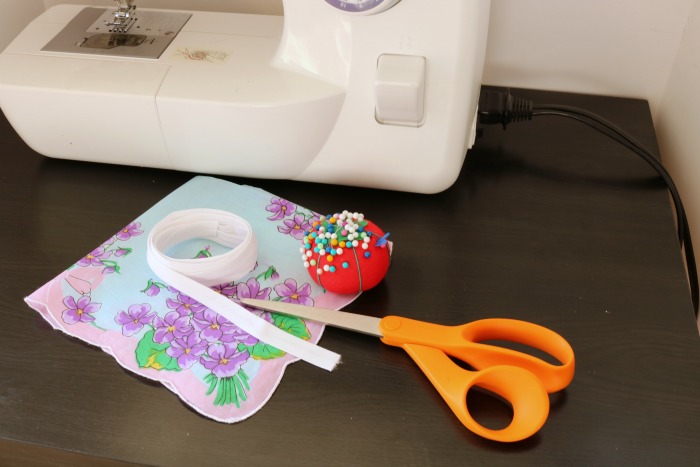
- Handkerchief
- Bias Tape
- Pins
- Scissors
- Sewing Machine
- Thread (match the bias tape)
The trickiest part of this project is the bias tape. Make sure to get a bias tape that is not too wide so that it dominates the design. I think a 1/4 inch bias tape width looks nice with the bib. This means that the bias tape will show around the top 1/4 inch of the bib.
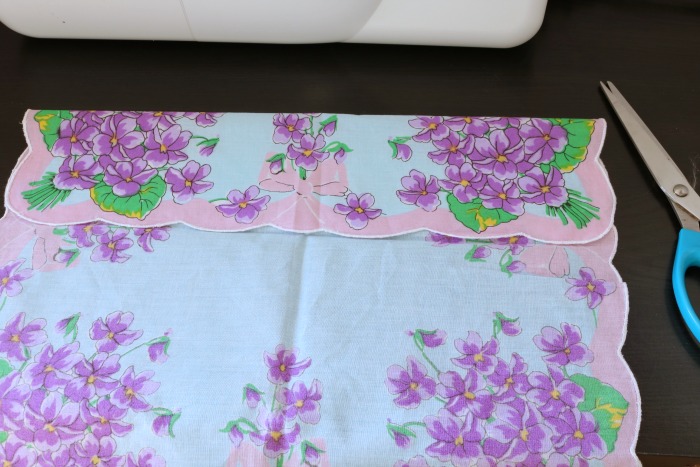 Fold the handkerchief onto itself about a quarter of the length.
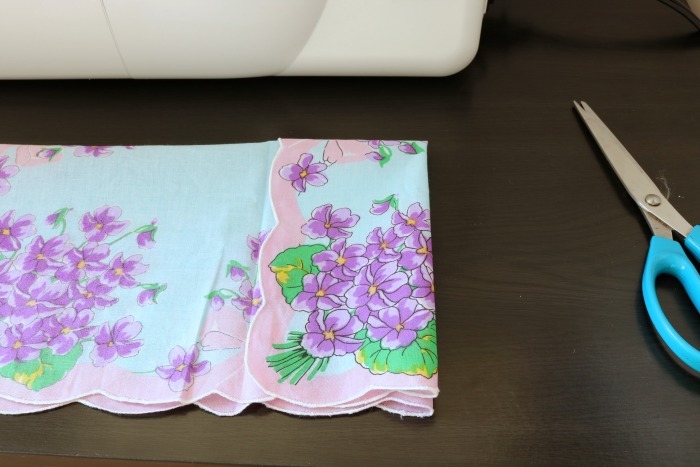
Now fold the handkerchief in half onto itself in the other direction to the first fold so that the quarter that was folded down is doubled onto itself.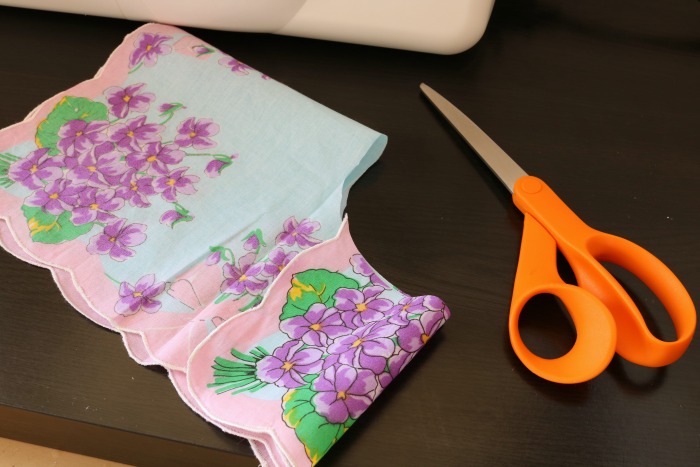
Cut through the corner of all the folds down to just below the original fold.
Open up the handkerchief and it will look like this.
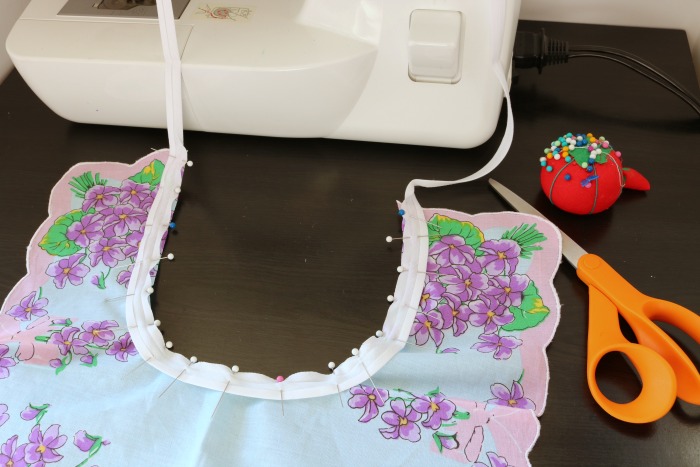
Cut your bias tape so that it fits around the cut part of the handkerchief plus 24 more inches.
Open up your bias tape to flatten the folds. You can iron it open if that’s easier. The creases for the folds will still be there as guides.
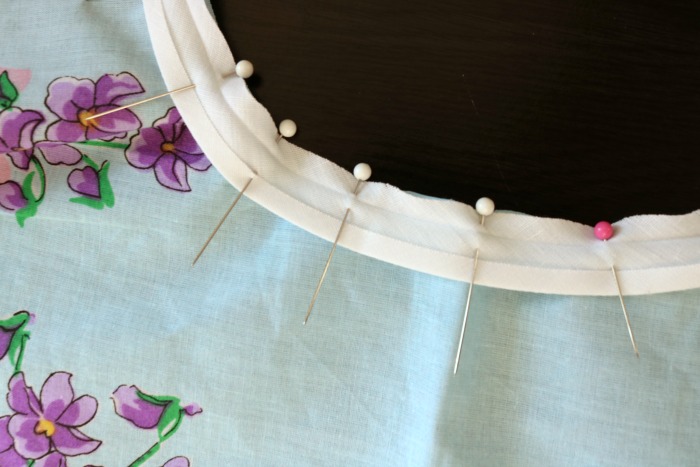
You’ll see that there is a skinny side and a fat side to the tape. Pin the right side of the raw edge of the fat (wider) side of the bias tape the to wrong side of your fabric. So the nice piece of bias tape is laying flat against the wrong side of your fabric with the tape edge and the cut edge of the handkerchief lined up. Pin the bias tape in place.
Sew a straight stitch along the bias tape in the first fold of the tape closest to the edge.
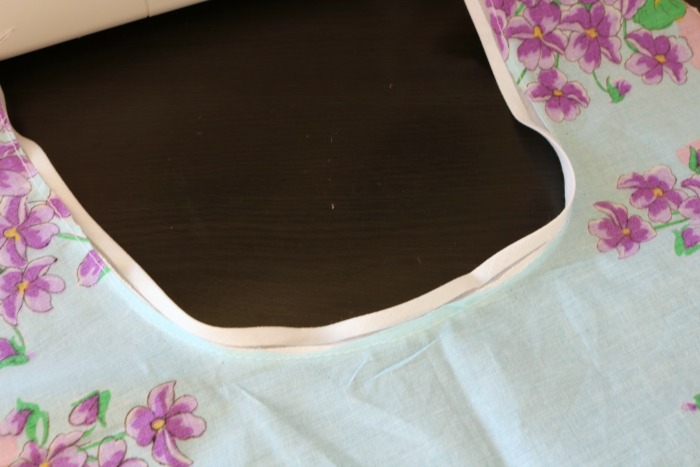
Fold the bias tape over the front of the garment. Make sure to fold the tape onto itself so that you’re hiding the handkerchief edge and the bias tape raw edge inside the folds. The bias tape basically sandwiches all the raw edges into the middle.
Create this fold along the entire length of the tape. Pin in place.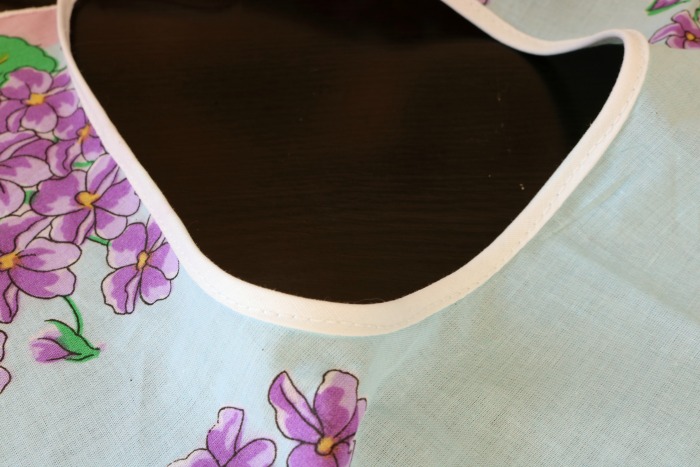
Sew a straight stitch along the entire length of the bias tape. You will have now sewn the skinny side of the bias tape on the front which then sews through to catch the fat piece of bias tape on the back side.
This will also create the ties for your bib.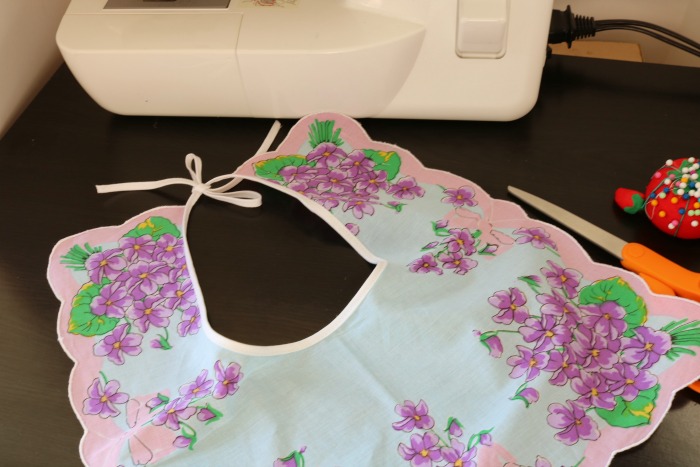
Press the neckline and the bib.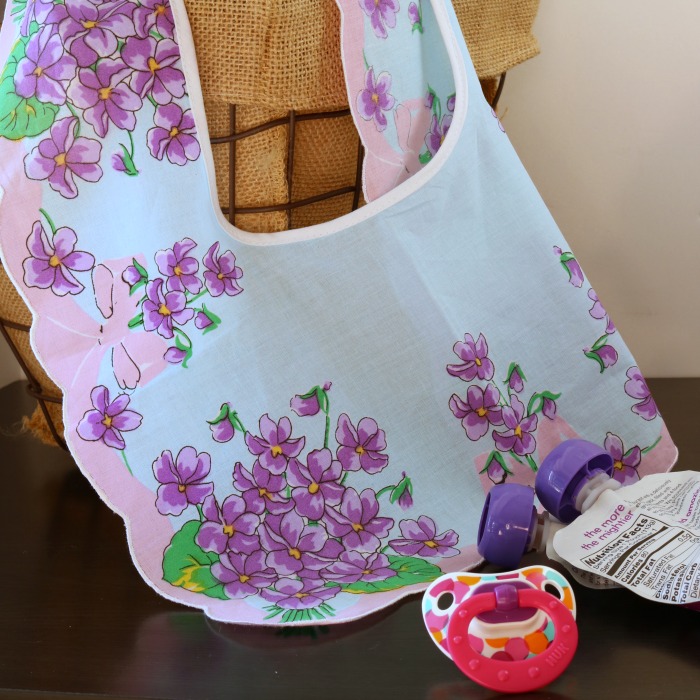
Enjoy!


